

When you step into a high-end home, there’s often an immediate sense of elegance and sophistication. One design element that contributes significantly to this ambiance is wainscoting. Often referred to as the “timeless trim,” wainscoting has been a staple in upscale interiors for centuries, and its enduring appeal lies in its versatility and classic charm.
The History and Appeal of Wainscoting
Wainscoting originally served a practical purpose, protecting walls from damage in high-traffic areas. Over time, it evolved into a decorative feature, adding depth and texture to walls. Wood panels are typically used to make traditional wainscoting. But, modern versions can include materials like MDF or PVC, making it accessible for various budgets and design preferences.
One of the reasons wainscoting remains popular is its ability to transform a room. Whether a formal dining room, a cozy living room, or a humble powder room, wainscoting adds a layer of architectural interest that can elevate the entire space. It works beautifully with various interior styles, from classic, traditional, modern, and contemporary.
Which is exactly what we were going for with our bathroom makeover. We wanted something timeless but impactful, and I think we achieved just that.
DIY Guide: How we updated our Powder Room
Materials and Tools Used
- Measuring tape
- Level
- Pencil
- Miter saw
- Nail gun and nails
- Wood filler
- Sandpaper
- Paint and paintbrushes
- Pole Wrap
- Chair rail
Step-by-Step Instructions for Adding a Wainscoting
Measure and Plan
Begin by measuring the height of your walls and deciding how high you want the wainscoting to go. Typically, wainscoting is installed about 36-42 inches from the floor.
Sketch out your design, including the placement of panels and two chair rails, and ensure your panels are evenly spaced for a balanced look.
Prepare the Walls
Clean your walls if necessary. Using a level and pencil, mark the height of your wainscoting throughout the room.
Attach the Panels
After marking out the panels with a pencil, evenly spaced on the walls, cut the small wainscoting to the correct measurements with a miter saw. Use an 18 gauge nail gun to shoot the trim to the wall.
Add the Chair Rail
Cut the chair rail to size using a miter saw. Apply construction adhesive and press it above the panels, aligning it with your top pencil mark. Secure with nails, ensuring it’s level all around the room.
Add the Pole Wrap
I wanted a contemporary look and used vertical-cut pole wrap for the panels and chair rail detail. I cut the pole wrap while it was still rolled up for ease. One cut could not cover all panels, so I had to make precision cuts to fill each space perfectly. I recommend installing the pole wrap first and then adding trim around it. Shoot on with a nail gun.
Fill and Sand
Use wood filler to fill any gaps or nail holes. Sand the surfaces smooth once the filler is dry.
Paint
Prime the wainscoting if necessary, then paint it in your desired color. A semi-gloss or satin finish works well for trim, as it’s easy to clean and durable.
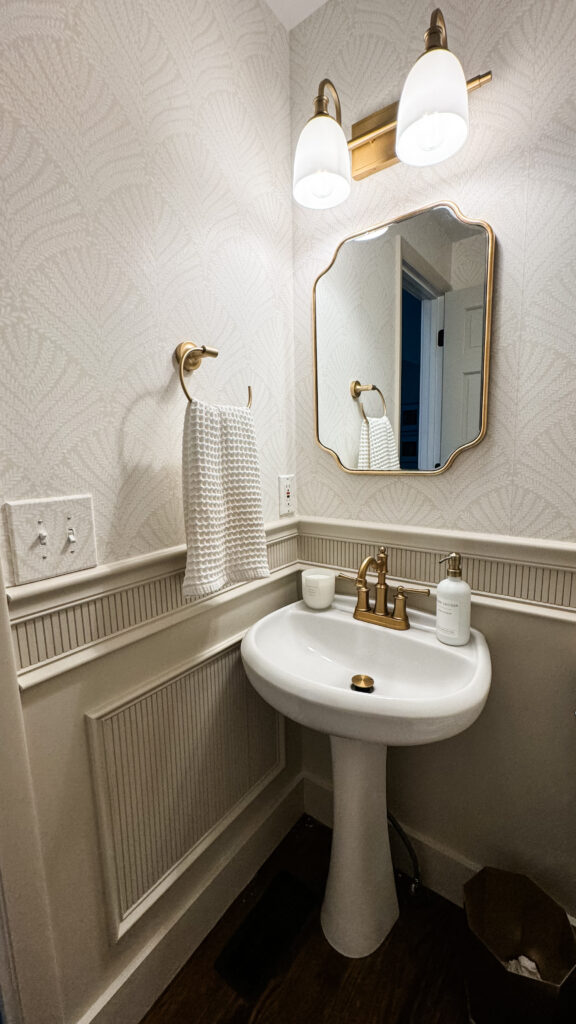
I painted ours with Sherwin Williams Accessible Beige.
Final Touches
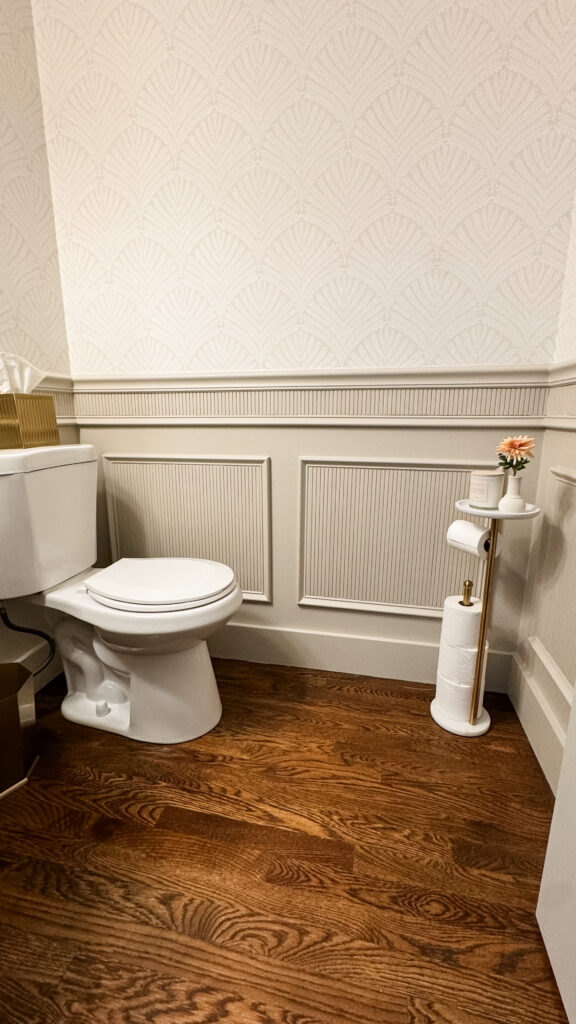
The new wainscoting should add a touch of elegance and sophistication to your powder room. Honestly, I debated painting the other half of the wall instead of adding wallpaper after everything was installed, as I felt the wainscoting was impactful enough. However, I am so happy I added wallpaper because it finished everything.
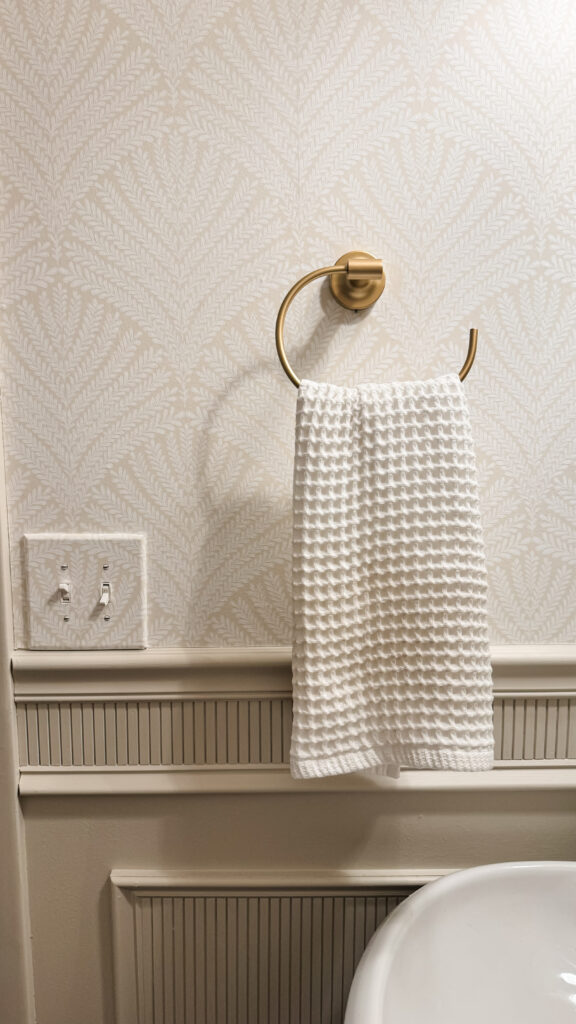
I used wallpaper from York Wallcoverings, called Beachcomber in the color neutral/white.
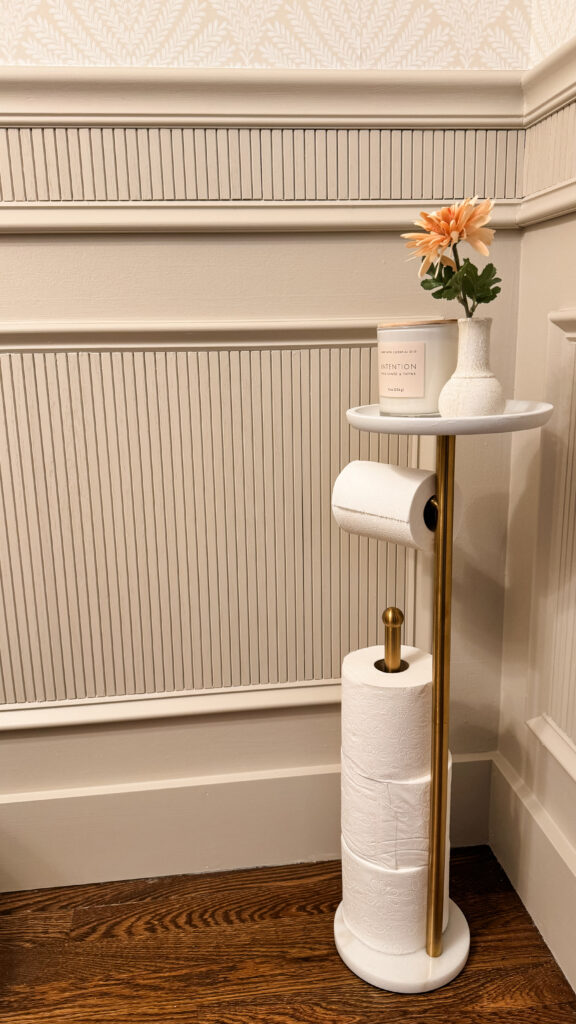
After installing the wallpaper, I was able to add the final touches that tied everything together, such as a new light fixture, mirror, towel holder, and décor.


Hopefully, this blog post helps transform a space in your home into one you love!


