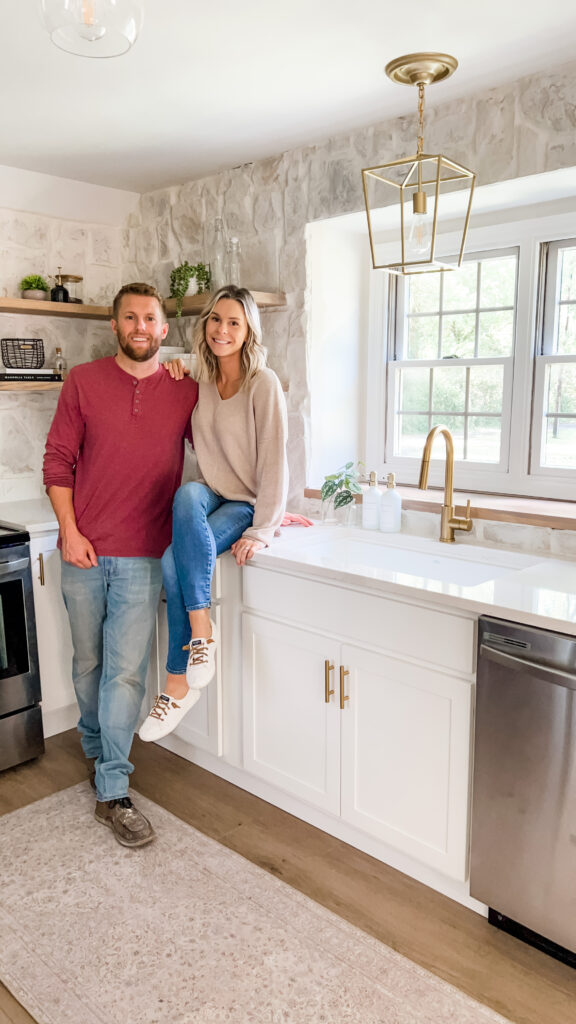
One of our good friends recently hired a contractor to renovate their kitchen. Her vision was to turn her outdated kitchen into a French country-themed kitchen with earthy tones, a stone backsplash and warm gold elements. However, her contractor informed her that he was uncomfortable installing a stone backsplash or open shelving, so Noah and I stepped in to help give her the kitchen she envisioned.
This would be our first attempt to install any stone backsplash. We had installed a brick backsplash in our basement, so I figured it couldn’t be much more complex than that. I don’t want to say I was wrong – it wasn’t more difficult, but it was different. So let me walk you through the process.
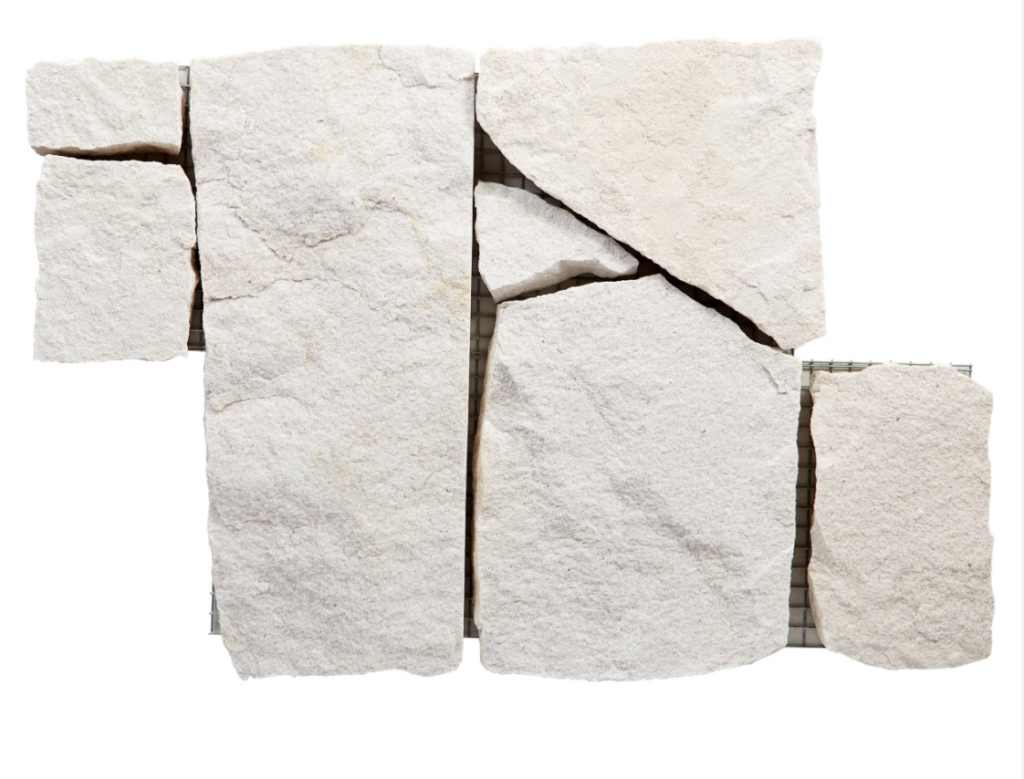
The stone we used was Rock Ridge Alamo Sandstone Random Ledger Panels from Floor and Decor.
Step-by-step process on installing the Stone Backsplash
First, we removed all the drywall where the stone backsplash would be and installed a concrete board using 2” screws mounted to the studs. The stone panels were about 26 lbs each, so that would be too much weight for drywall to hold.
The stone comes on a metal mesh material to give you different panels that puzzle together, making installation quick. However, we couldn’t keep the stone in panel sections with our floating shelves due to the panels being too large. So, we used a grinder to cut apart the panels, making it possible for us to lay each stone individually. However, we kept the mesh wiring behind the stone for better support and to grip the mortar better. Once all the stone was cut and ready, we were ready for installation.
We used a heavy-duty mortar recommended by Floor and Decor to hold up the stones because they are so heavy.
You’ll need a 5-gallon bucket, corded drill and mud/paint mixer to mix your mortar. Mixing is easy. First, put some of the mortar into the bucket, add water and mix, and continue to add each as needed. You’ll want your consistency to be a little thicker than peanut butter. Also, don’t mix a whole bag at once. Mortar dries pretty quickly, and you don’t want it to dry up on you before you can use it all.
Before laying the stone, I also filled up a 5-gallon bucket with clean water and a sponge. I worked in small sections wetting the concrete board before applying mortar. This helps prevent your mortar from drying too quickly and cracking out. Using a mortar trowel, scrape mortar onto your concrete board to where you can see the grooves, then apply mortar to the back of the stone and set the stone in place.
The best part about this backsplash is there wasn’t much of a rhyme or reason for placement; I just went with what looked right. I used spacers as needed.
After the stone was set and sat for 24 hours, I removed all my spacers. Then used, a piping bag filled with mortar that is the same consistency as before to pipe between each of the stones. This process is a little messy, so I would recommend wearing gloves. You also don’t have to be perfect; the goal is to get the mortar between the stones roughly. After that sat for 5 minutes, I went back with my hands and worked the mortar into any small cracks I missed with the piping bag. Ten minutes later, I returned with a wet sponge to smooth everything out and make the mortar look more seamless. Then I came back with another damp sponge and feathered some of the mortar onto the front of each stone, giving a ‘German smear’ look.
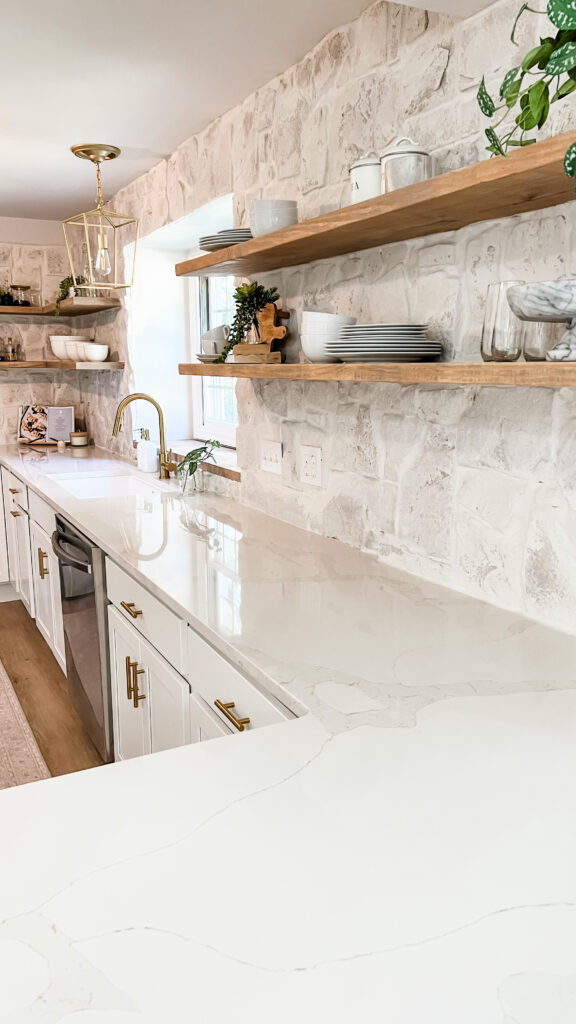
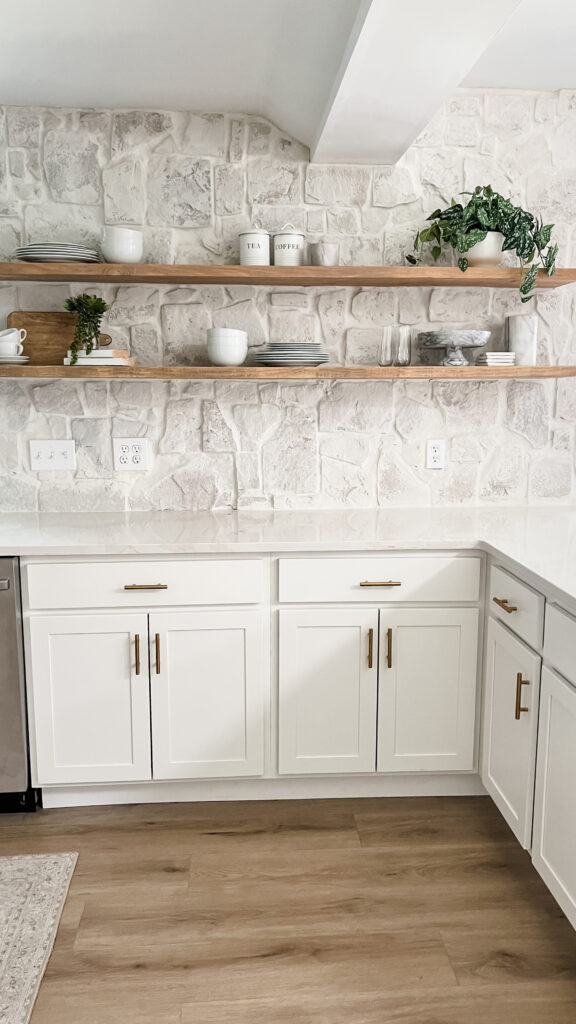
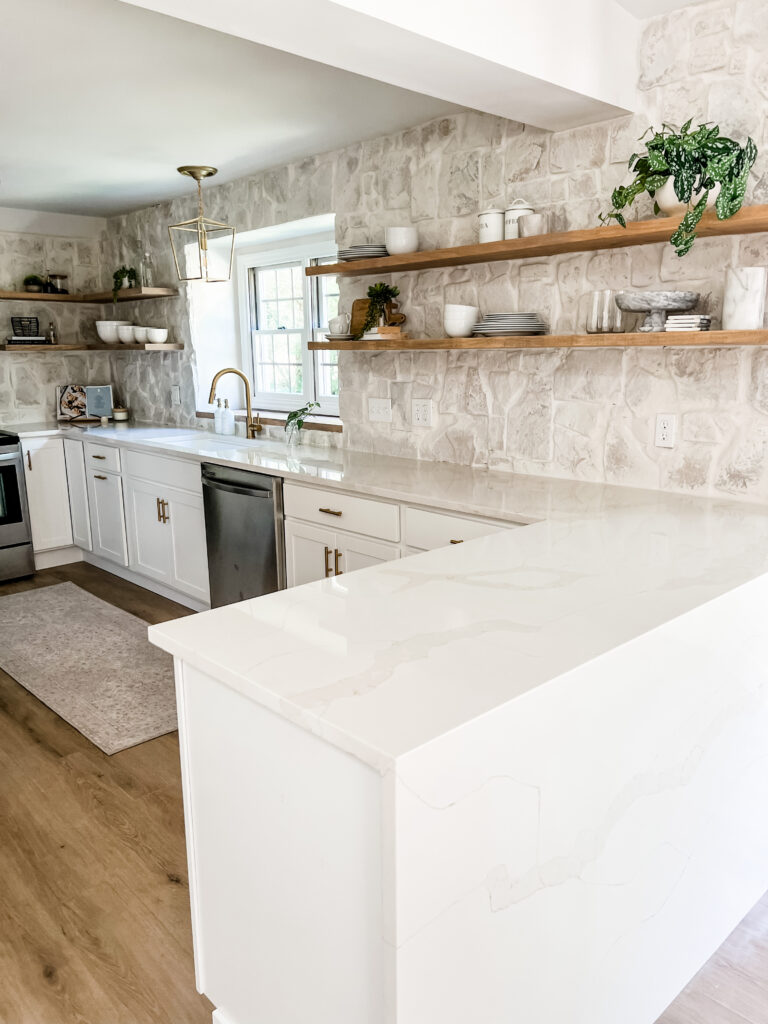
And that’s it! It was a lot of hard work and a messy process, but worth it! This backsplash turned out better than I could have ever imagined.
Here’s a quick little video of the whole process!