

Sometimes it’s the little things that make a significant impact. My favorite DIY projects are the ones that you can complete in a few days, use leftover materials from around the house and cost little money. This toilet room makeover was just that!
The first thing I did was go through our garage to find any leftover material we could use. I found some leftover white paint from Sherwin Williams called Bohemian Lace and thought this would be perfect for brightening up this small space. I also found some wooden pieces of pine and plywood that we could use to build floating shelves, some leftover wood trim we used for our door hacks, and a leftover door handle from our basement renovation.
Time to start our toilet room makeover!
I began painting three walls with the Bohemian Lace white paint I found. I did not paint the accent wall; I would cover it with wood paneling.
We then measured our wall behind the toilet to determine how much material we would need for an accent wall. Next, we headed to Home Depot to get the supplies we needed. While there, we found some V-groove wood paneling at a great price. However, I didn’t want to do the traditional look of a vertical V-groove. And I loved that this wood paneling came with grooves on the other side. So, I decided I would hang it backwards on the accent wall for more texture.
Some houses’ walls may be perfectly straight. However, that isn’t the case in our house. So we measured where each panel would hit on the wall. So that everything would fit perfectly and we wouldn’t have gaps at the bottom or top of our paneling.
Before installing, I lightly sanded the back of the paneling between the grooves to ensure they were nice and smooth. I also applied one coat of paint using a paintbrush to get between the grooves and then used a roller over the top for an excellent finish. By doing this, I wouldn’t have to move our toilet to install and paint the paneling.
After the paint was dry, it was time to install. Noah used an 18 gauge nail gun to nail each board into place. You can lock the board into place without constantly hitting studs by turning your nail gun at an angle and shooting in opposite directions. Each wood panel is also locked together, giving the accent wall even more support.
Being an exterior wall, the plumbing was run up through the floor. So we didn’t have to remove the toilet or cut around any water lines. Lastly, we used our table saw to cut off a small sliver of wood on the back of the last wood paneling piece that would have locked the paneling in place. We had to do this so it would lay over the existing installed panel, as we wouldn’t be able to slide it in from the side (since the wall was there).
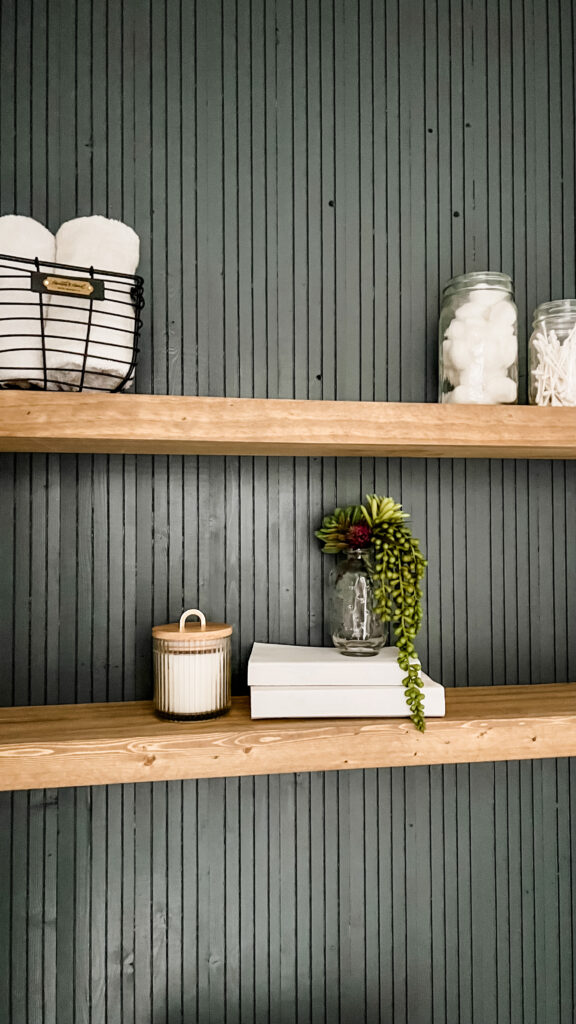
I applied another coat of paint after installing the accent wall. Then we started building our floating shelves.
You can check out how we built our floating shelves here!
After installing our floating shelves, we removed our bathroom door to paint it and added some trim to give it a more modern look. I found some Sherwin Williams Agreeable Grey paint in our garage that I used on the rest of the doors in our home. I first applied a bonding coat of paint before painting them with a foam roller. When the paint dried, we then installed our door trim. Then filled all the nail holes, sanded, and painted the trim. I hung the door and added a new handle to give the door a more modern look.
Check out this blog post for a step-by-step on our door hack!
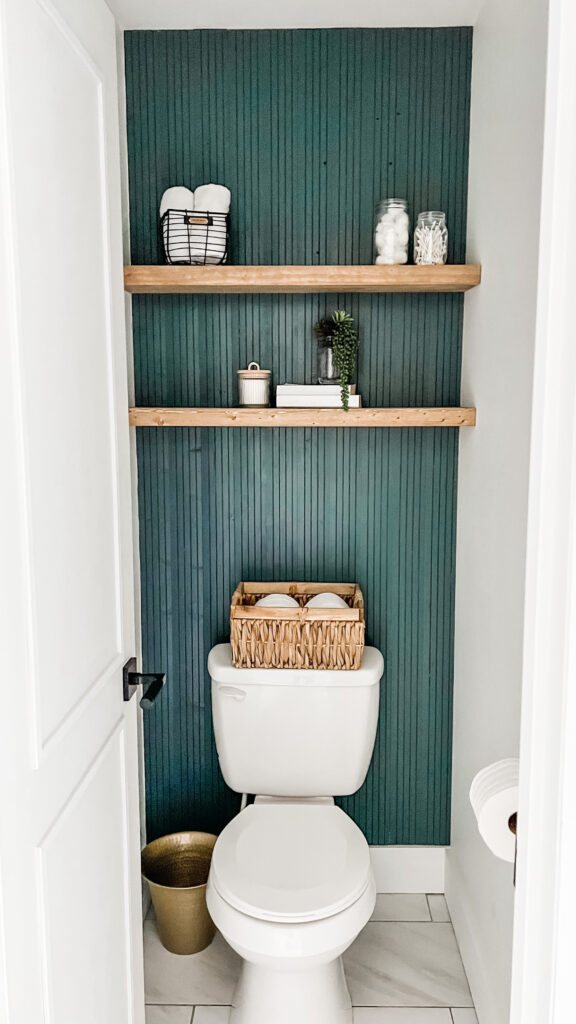
After a good clean, our toilet room makeover was finished and it’s looking better than ever!
Here’s a quick little video to watch it all come together

