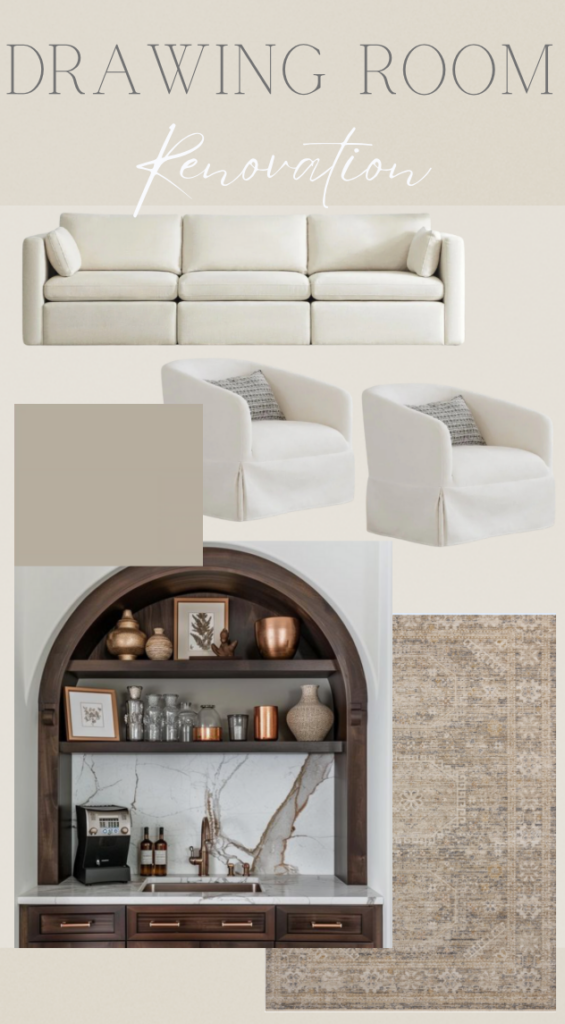
When looking for ways to update the dated and boring formal living room into a classy and chic ‘Drawing room’, we wanted to first start by adding interior trim to give the space a fancy pop. The baseboards shoe mold and window casings were all fine, so we opted to add crown molding and eventually an accent wall detail. First things first, let’s address the drawing room crown.

Materials Needed
- 5 ¼ ogee crown
- Sliding chop saw
- 18 gauge nail gun
- Tape measure
- Coping saw
- Stud finder
- Caulk gun
- Interior latex caulk
Follow along for details on how you can replicate this drawing room crown!
Step 1
Being a simple, rectangular room, we wanted to start by marking out our stand height on the wall. The 5 ¼ crown has a stand height of 4 ¼, so in the corners and throughout the room we measured down from the ceiling and marked 4 1/4” as a reference point.
Step 2
Use a stud finder to mark out studs just below the 4 ¼ lines so we know where to shoot. You can also mark out ceiling joists on two of the walls (the other two will be running parallel with the joists and not able to be shot).
Step 3
We planned to cope our corners which meant we could run one side square into the wall and ‘cope’ the other piece around it instead of mitering the interior corners. So, our first piece was a square-to-square measurement on the longest wall run. We cut that piece and mounted it using our 4 ¼ marks for reference.
Step 4
Measure and cut the next piece. For coping, we measured from the wall to the flat step on the piece of crown we just hung. On the miter saw we cut a 45-degree interior angle. Next, we use a pencil to mark where the paint of the crown meets the wood on that mitered cut. Next, we use the coping saw to cut off the unfinished wood from that miter leaving just a sharp painted edge. That coped piece fits neatly into the profile of the piece already on the wall giving us a sharp-looking interior joint that just needs caulk.
Step 5
Repeat the previous step on all the remaining walls.
Step 6
Once all of the crown is shot up and secured, go around with a caulk gun and hit both the top and bottom joints as well as the interior coped joints. I like to use lightweight spackling for the nail holes.
Step 7
Lastly, we hit the primed crown with two coats of paint.
Follow along as we tackle the accent wall next!


