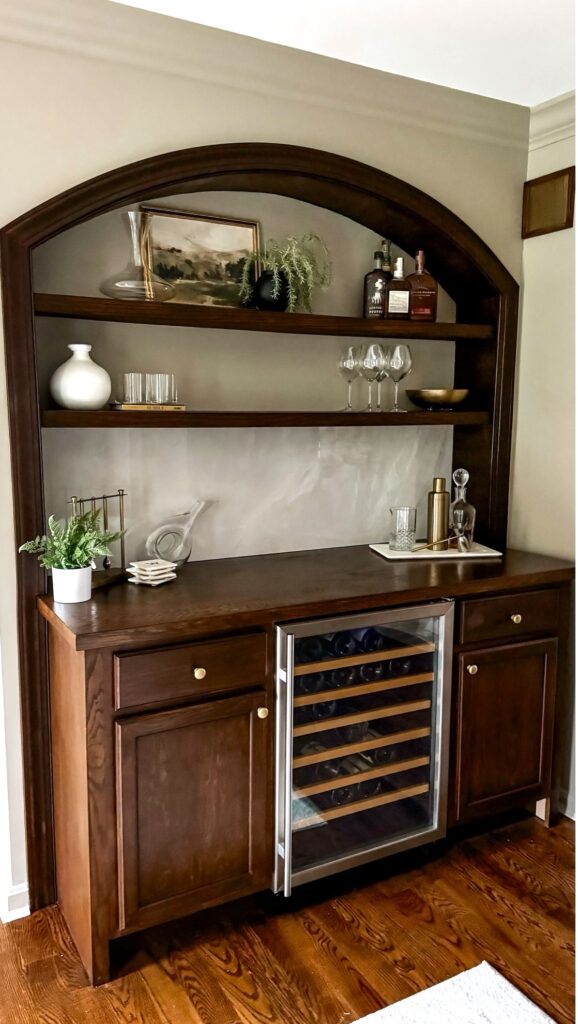
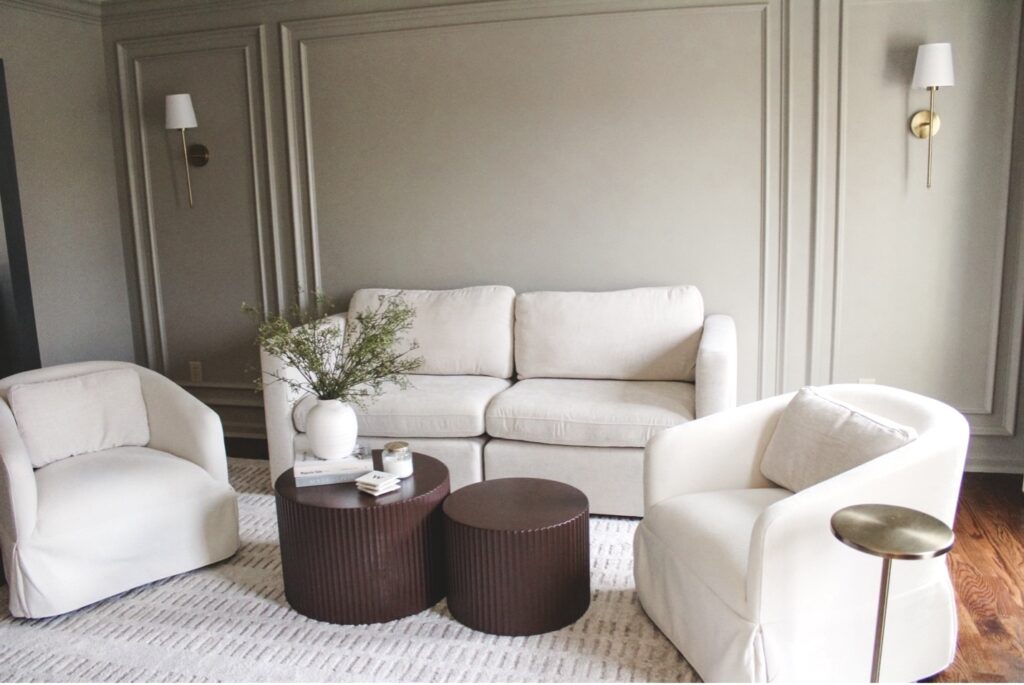
Continuing with the ‘Drawing Room’ project, the final step was the custom dry bar we built to give the room a WOW factor. With the simple rectangular space, we wanted to add a bit more impact, so we framed a small niche with an arched opening to encase the bar. With some store-bought cabinets, Oak plywood, and our favorite Rust-oleum products, we were able to knock out this cool project! Below, I’ll walk you through how to create your custom dry bar, complete with an arched opening, floating shelves, and all the finishing touches.
Materials Needed
Structural Materials
- 2×4 lumber for framing
- Plywood (¾” for bar top and shelves, bendy plywood for arch underside)
- Hardwood edge trim (e.g., poplar or oak)
- Flexible molding for arch casing
Cabinetry and Storage
- Pre-purchased cabinets (base and upper as needed)
- Beverage fridge
- Cabinet hardware
Finishing Materials
- Slab stone for backsplash (e.g., marble, quartz)
- Wood stain
- Polyurethane sealer
- Paint for walls and inside of arch -magnolia paint-drawing room
Tools
- Miter saw
- Table saw or circular saw
- Drill and screws
- Construction adhesive
- Nail gun with Brad nails
- Sandpaper (medium and fine grit)
- Paintbrushes and foam rollers
Miscellaneous
- Level
- Measuring tape
- Painter’s tape
Custom Dry Bar How-to
1. Frame the Wall and Create the Arch
- Frame the padded-out wall: Use 2×4 lumber to frame a false wall to house the cabinets, fridge, and arch. This gives the dry bar a built-in look.
- Add an optional arch: Mark the arch shape on plywood using a template (a string and pencil method works great). Cut it with a jigsaw and attach it to the framing. More of a visual learner? Check out our tutorial on arches
2. Install Cabinets and Prep the Base
- Position store-purchased base cabinets against the framed wall, ensuring they are level and secure. Use shims if necessary.
- Screw the cabinets into the framing for stability.
4. Create Floating Shelves
- Cut plywood to the desired dimensions for the shelves. Attach hardwood trim to the edges as you did with the bar top.
- Install wall-mounted shelf brackets or a cleat system for support. Attach the shelves securely.
- Sand, stain, and seal to match the bar top.
5. Add Flexible Molding and Bendy Plywood to the Arch
- Apply flexible molding around the arch casing for a seamless finish.
- Use bendy plywood to cover the underside of the arch. Secure with brad nails and construction adhesive.
- Sand, prime, and paint the arch and molding for a crisp look.
6. Install the Stone Backsplash

- Measure and cut the slab stone for your backsplash. Apply construction adhesive to secure it to the wall.
- Seal the stone with an appropriate sealant to protect against stains and moisture.
7. Finish Trim and Seal
- Sand, stain, and seal all wood trim, including the arch molding and any exposed hardwood edges.
8. Add the Beverage Fridge and Hardware
- Slide the beverage fridge into place, leaving proper ventilation clearance.
- Install cabinet hardware to match your chosen aesthetic.
9. Decorate Your Dry Bar
- Add barware, decor, and personal touches like plants, artwork, or a collection of glassware. Consider under-cabinet lighting to highlight the space.
Final Tips:
- Take your time with the finishing steps; a clean and polished appearance is what makes custom builds stand out.
- Don’t shy away from mixing materials—natural wood, stone, and painted finishes can work beautifully together.
This dry bar is more than just a functional piece—it’s a conversation starter and a testament to your DIY skills. Cheers to creating a beautiful space to entertain and relax!


