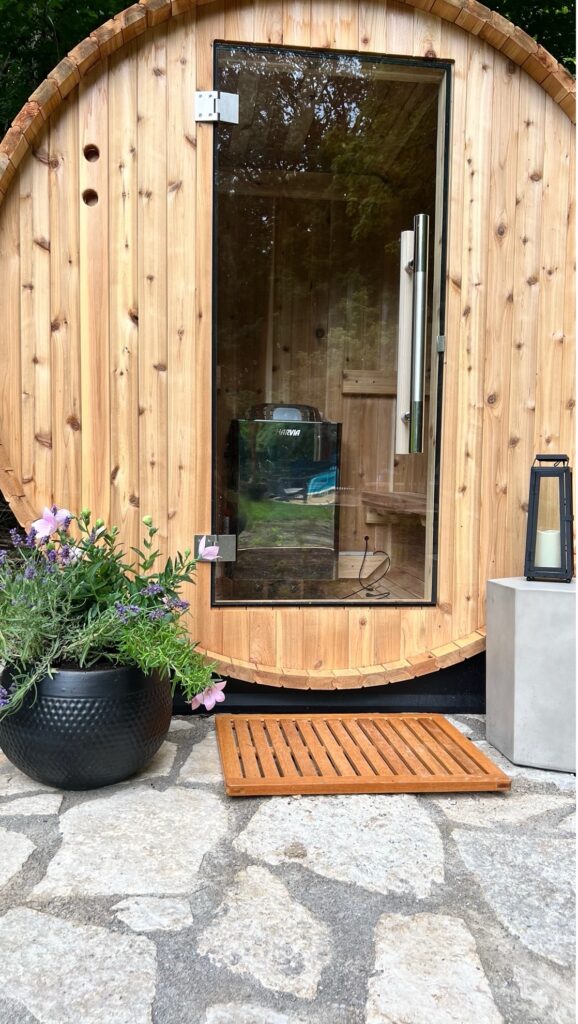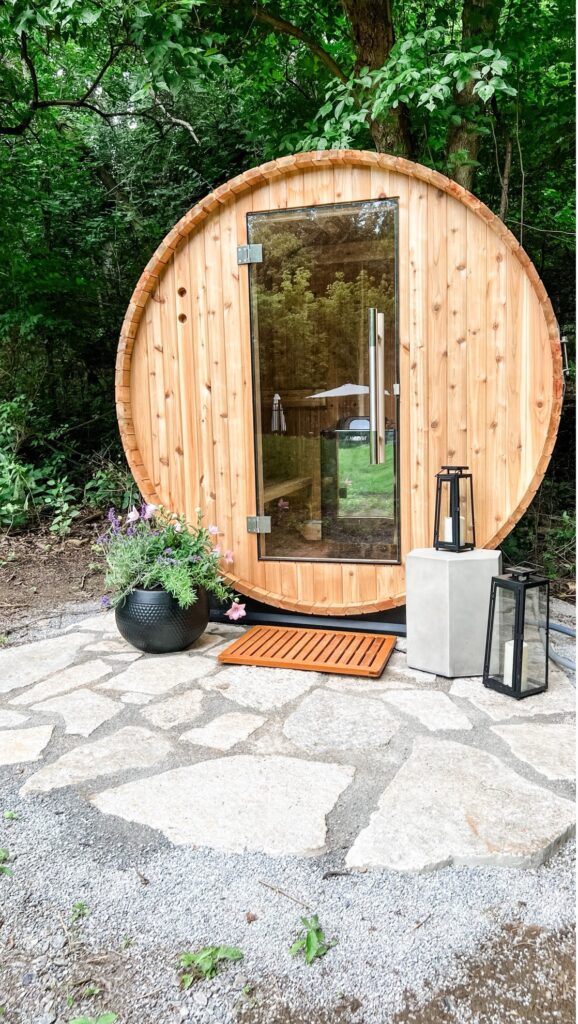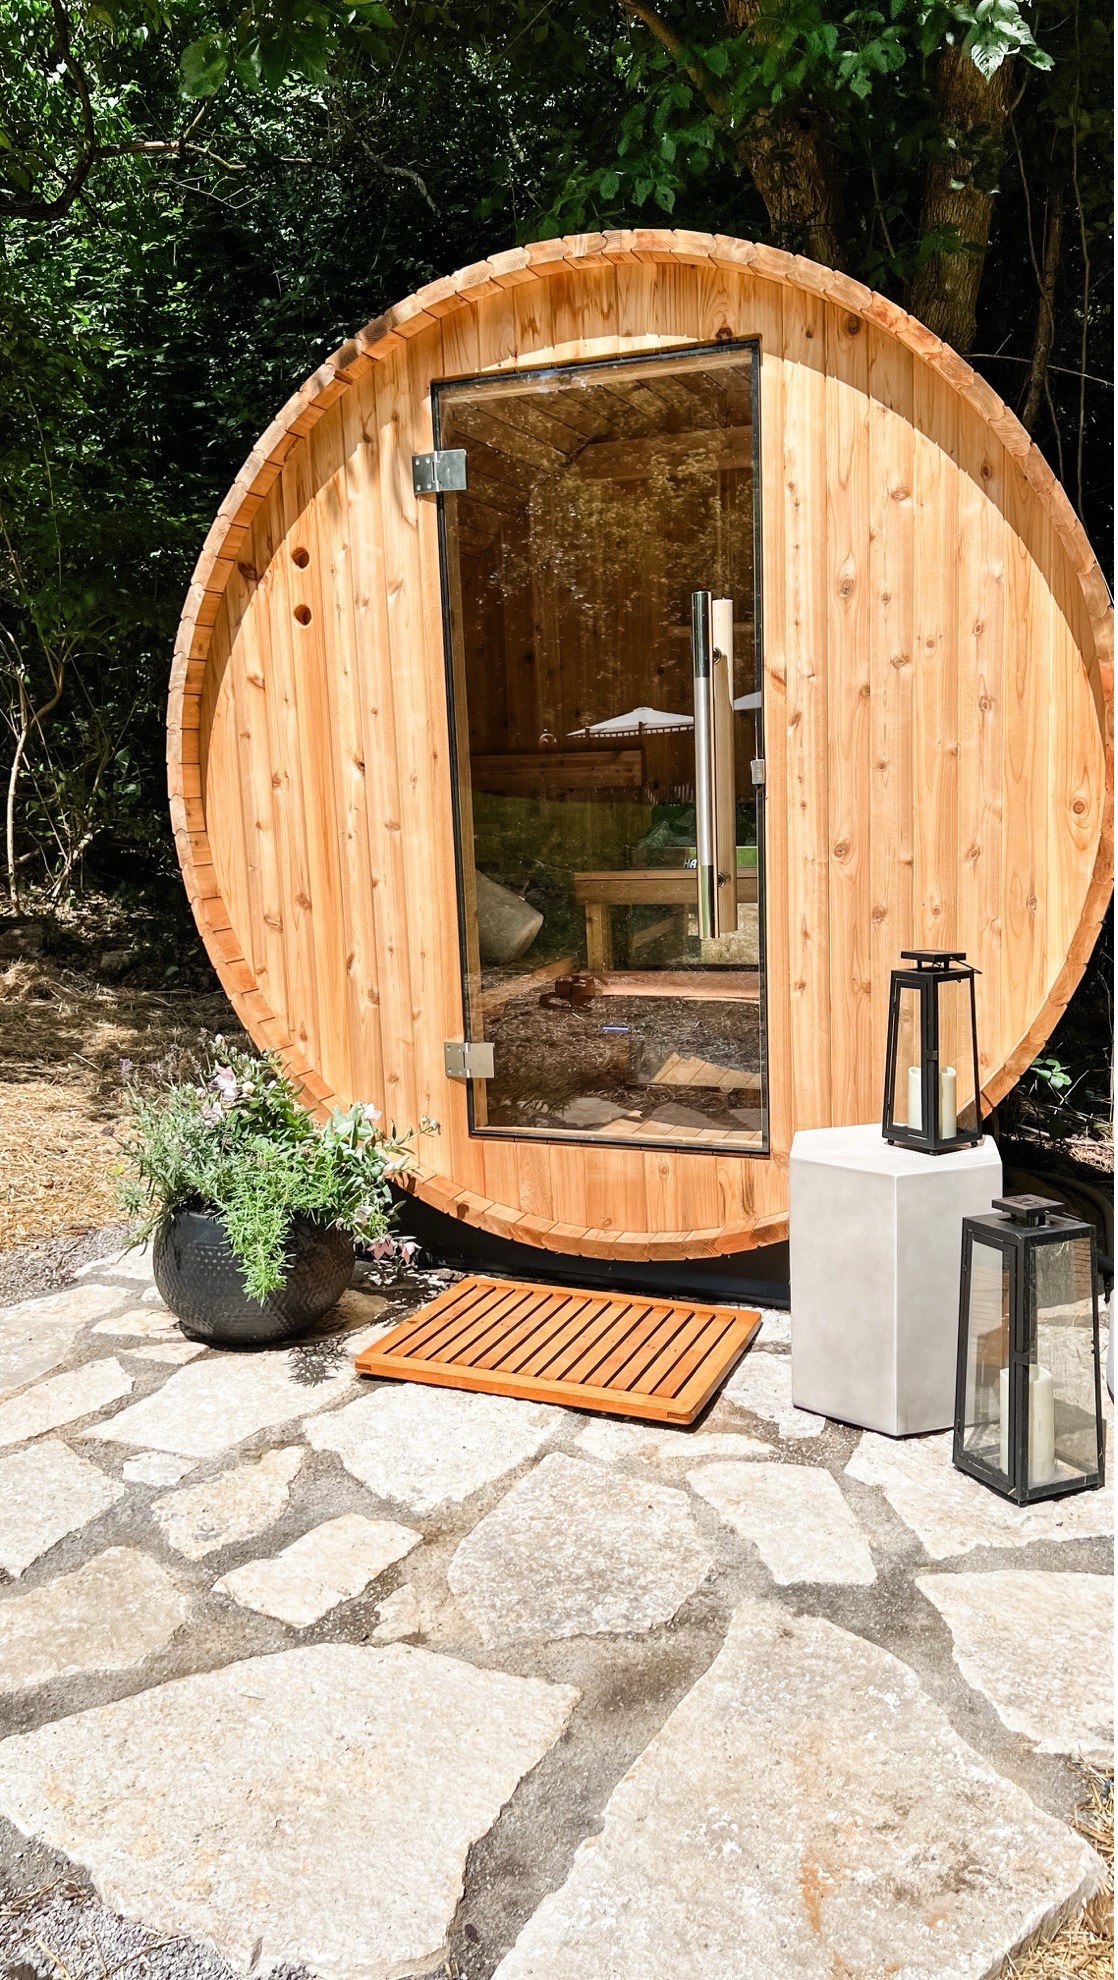

We installed a stone patio in our backyard to hold our outdoor sauna, but there are a lot of different reasons someone may want to add a stone patio to their backyard.
Transforming an outdoor space into a serene oasis often begins with the creation of a stone patio. A DIY stone patio not only adds charm and character to your backyard but also becomes a haven for relaxation and entertainment. Embark on this journey with us as we delve into the step-by-step process of crafting your stone patio.
Step 1: Planning and Design
Before you pick up a single stone, meticulous planning sets the foundation for your project’s success. Consider the size, shape, and location of your patio. Sketch out your design, ensuring it flows with the landscape and complements your outdoor living space.
Step 2: Gather Materials and Tools
For a DIY stone patio, gather the necessary materials: stones or pavers of your choice, gravel, sand, landscape fabric, and edging materials. Equip yourself with essential tools such as a shovel, wheelbarrow, level, tamper, and mallet to facilitate the construction process.
Step 3: Prepare the Site
Clear the designated area for your patio, removing any vegetation or debris. Outline the patio’s perimeter using stakes and string, marking the precise boundaries for excavation.
Step 4: Excavation and Grading
Excavate the area to a depth that accommodates the base materials and the thickness of your stones or pavers. Our stones were 1.5” thick and we wanted a 4” base, so we dug down roughly 5.5” from the surface level. Ensure a slight slope away from structures for proper drainage. Use a level to grade the area evenly.
Step 5: Add Base Layers
Lay down a base layer of gravel, spreading and compacting it with a tamper to create a stable foundation. We had two layers of gravel, the first layer was a coarse, chipped limestone, and the second was a finer gravel with dust ensuring a level surface for the stones to rest upon.
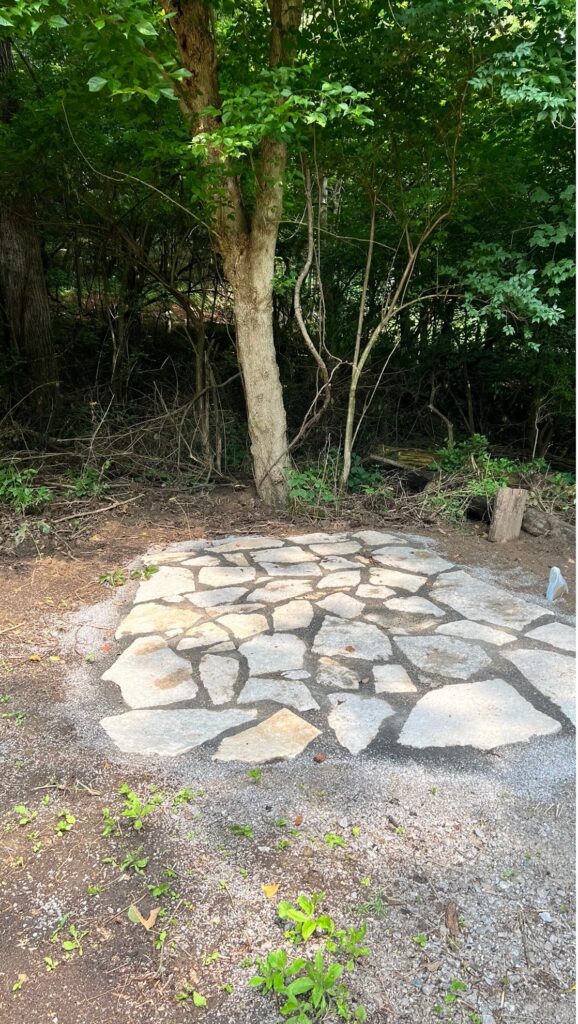
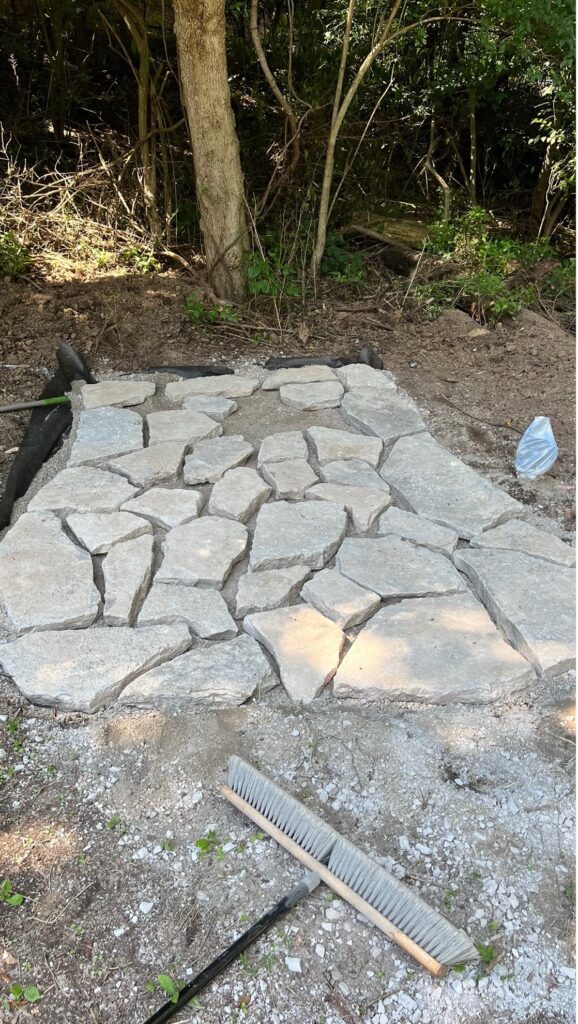
Step 6: Lay the Stones
Begin placing your chosen stones or pavers according to your design. We used a Wisconsin Fon Du Lac Limestone. Leave small gaps between stones for sand or gravel. Use a level to ensure each stone is even and use a mallet to tap them into place if needed.
Step 7: Fill in the Gaps
Fill the gaps between stones with fine sand or gravel, sweeping it into the crevices and compacting it gently. This step stabilizes the stones and discourages weed growth.
Step 8: Add Edging
Install edging materials along the perimeter of the patio to contain the stones and provide a clean, finished look. Options range from plastic or metal edging to natural stone or brick.
Step 9: Finishing Touches
Once the stones are in place, take time to inspect the patio, making any necessary adjustments. Use a hose to wash away excess sand or debris and sweep the surface clean.
Enjoy Your Handcrafted Retreat!
With the completion of your DIY stone patio, enjoy the fruits of your labor. Furnish the space with outdoor furniture, potted plants, or lighting to create an inviting and tranquil atmosphere. Host gatherings, bask in the sun, or unwind in the serene ambiance of your personalized outdoor sanctuary.