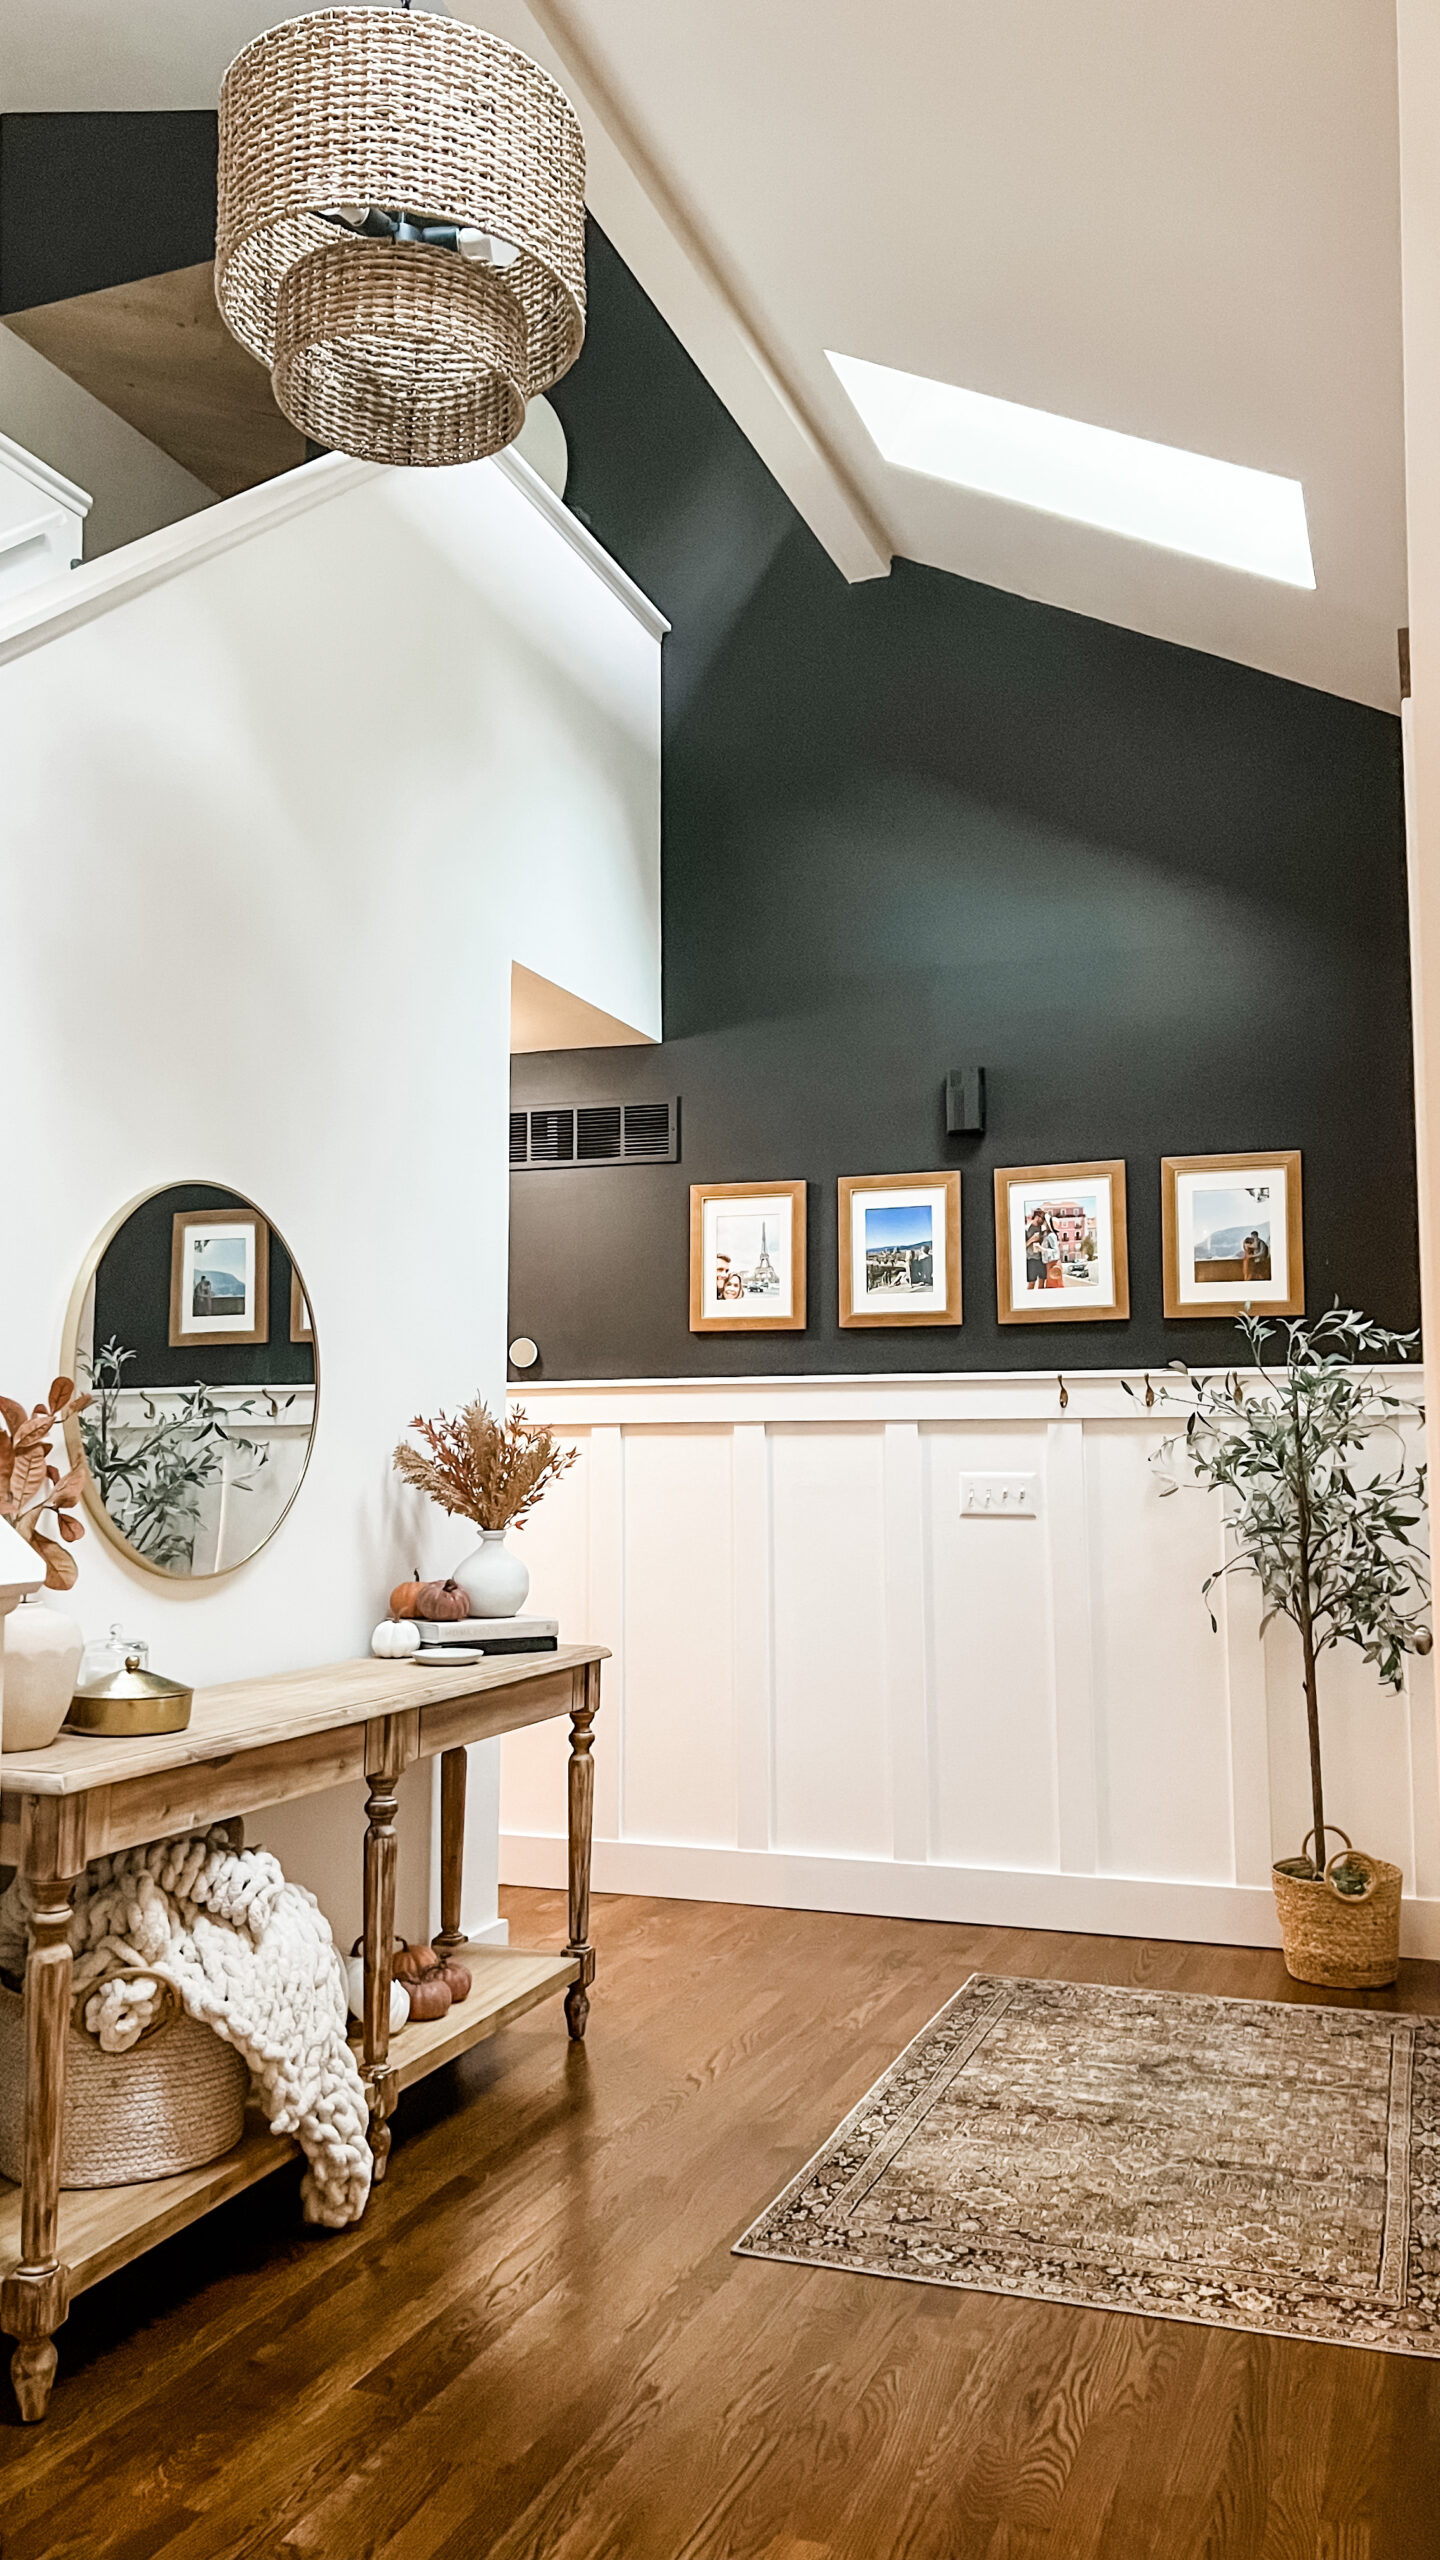

Lately, we’ve fallen in love with accent walls and using interior trim to spice up areas. We had a blank wall in our entryway that needed some love – and hooks for coats – so some classy wainscoting was the perfect solution. Wainscoting is a design element that has been used widely since the 18th century, and still is very popular today. While beloved for its fancy look, the application of wainscoting is very simple and intuitive. For this project we used:
- 1×6 MDF boards
- 1×4 MDF boards
- 1/2” x 3” boards
- Chop saw
- 18 gauge nailer
- Measuring tape
- Level
- Pencil
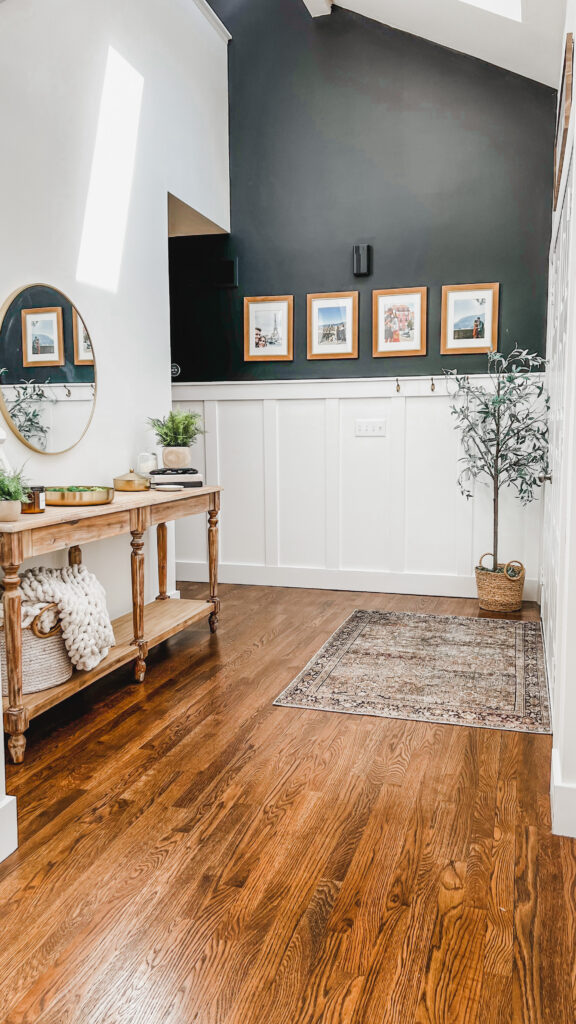
We started off by demoing the existing baseboards and pulled away any nails that remained behind. From here we laid our new 1×6” MDF baseboards and shot them into the studs with an 18 gauge nail gun. When replacing baseboards, note where the previous trim was shot in- that’s usually where the studs are. Next we made a level line ~48” off the ground for where our top board would go. From there we cut and nailed on the 1×4” top trim board according to our line. Next comes the uprights. To create some changes of depth, we use ½” boards for the uprights. Knowing we generally wanted ~20” spaces between each upright, we measured the total width of the space and used division to figure out what the exact measurement was- for this it was 18 3/8”. We lay out all of the boards with pencil and then cut each board to the exact measurement – this is important because most floors aren’t perfectly level, so if you level your top board, the measurements of the uprights will likely all be different. Shoot each board on with an 18 gauge nailer. The last piece is the cap. Rip a piece to 1 ¼” to allow for a ½” overhang of the ¾” thick top board (1×4 is actually ¾” thick… don’t ask). Lay it flat on top of the top piece and shoot down into the top to fasten it. Some wood fill, sand paper, caulk, and paint will take this project to the finish line. We added some hooks for coats in the entryway and this project was done!


