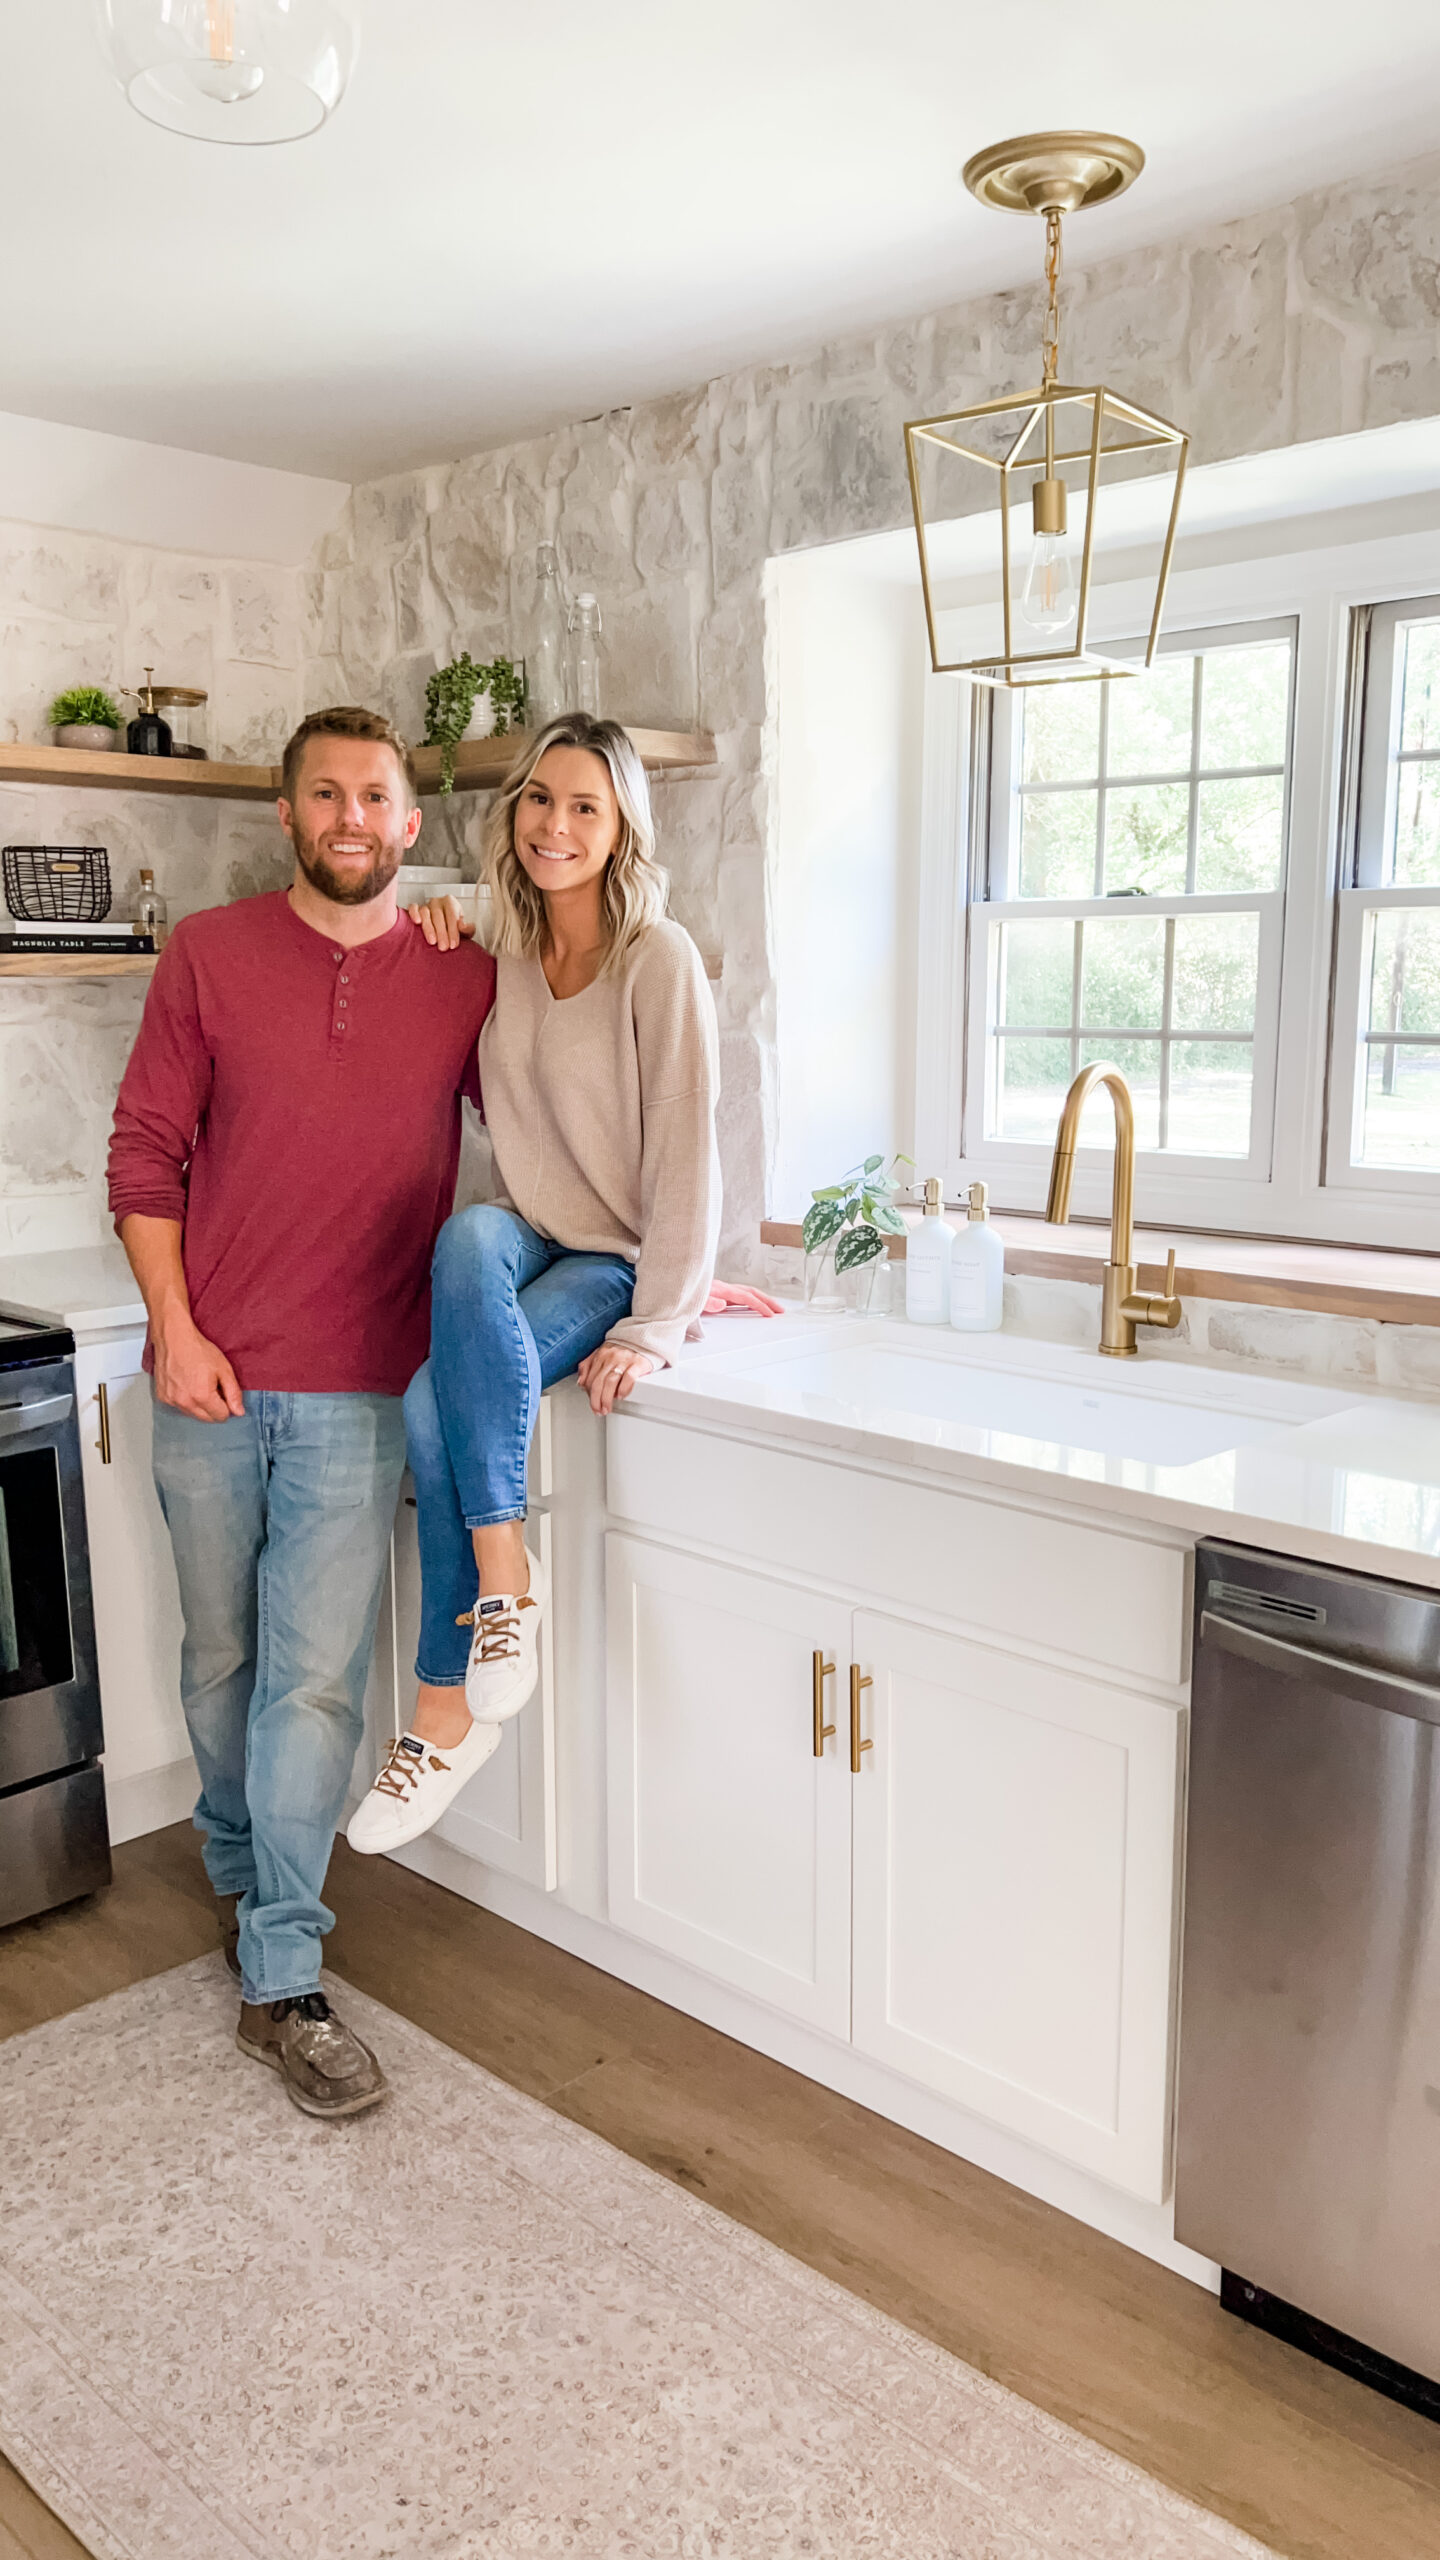
Sometimes, a budget-friendly bathroom makeover can be the most rewarding! My friend had a guest bathroom that needed a little update. Since it was a guest bathroom, a full renovation wasn’t necessary. Here’s a rundown of the budget-friendly updates we made to transform the space.
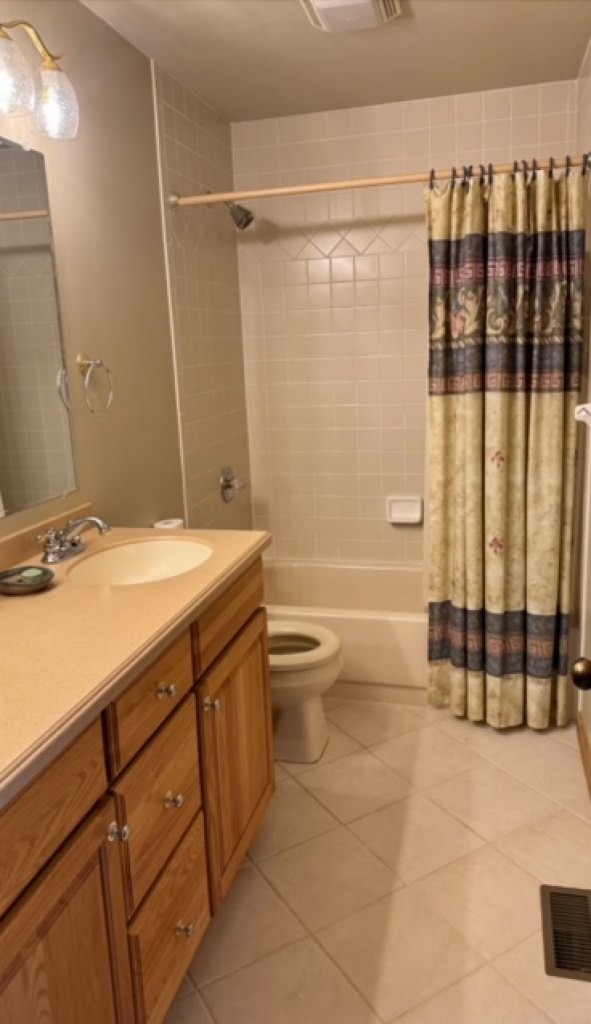
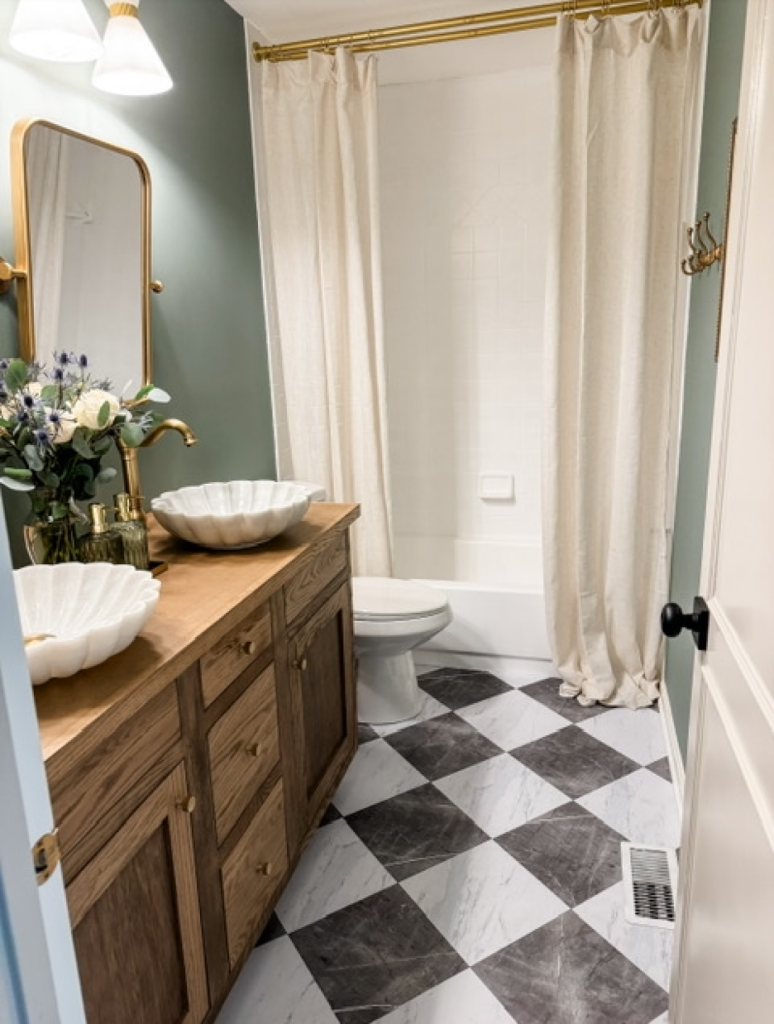
Peel-and-Stick Tile
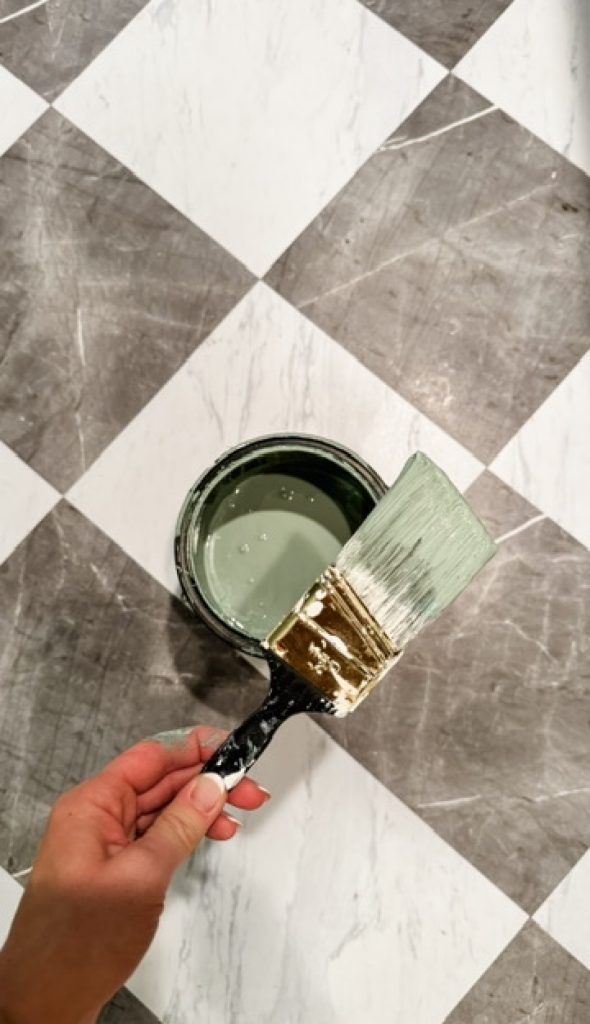
Peel-and-stick tiles are an easy way to update any space with minimal effort! They’re affordable, easy to install, and give a fresh look to kitchens or bathrooms. Perfect for all your budget-friendly makeovers!
Materials Needed:
- FloorPops Bonneville Marble Peel-and-Stick Tiles
- Primer (if needed)
- Utility knife or scissors
- Tape measure and ruler
- Pencil
- Level
- Sponge and a mild cleaner
First, prepare the surface
Good prep work is key to long-lasting results:
- Clean the Surface: Use a mild cleaner to remove any dust, dirt, or grease. A clean surface helps the adhesive stick better.
- Dry the Area: Ensure the surface is completely dry before installing, as moisture can affect adhesion. If applying over cement or wood apply a primer before installing tile.
Now, plan your layout
- Measure and Mark: Measure the area and decide on the tile layout, especially if you want a specific pattern.
- Test Fit: Place a few tiles without removing the backing to visualize the layout. This helps you see where any cuts will need to be made.
Time to apply the Tiles!
- Peel the Backing: Starting in one corner, peel off the backing to expose the adhesive.
- Stick and Press: Align the tile with your guideline, then press down firmly. Use a level to ensure the tile is straight.
- Smooth Out Air Bubbles: Press down or use a roller to smooth out any air bubbles, helping the tile adhere well.
Lastly, trim and fit tiles…
- Cut to Fit: Use a utility knife or scissors to cut tiles as needed around corners, edges, or vents.
- Finish with Detail: For areas that require more precision, like around outlets, make small, careful cuts for a clean look.
Tub and Tile Paint
To brighten up the tub, we used Dwils Tub and Tile Paint. The original beige color made the bathroom feel dated, and a fresh coat of tile paint was an affordable way to modernize the space. Here’s a step-by-step look at the process.
Materials Needed:
- DWIL Tub and Tile Refinishing Kit
- Painter’s tape (included in the kit)
- Cleaning supplies (degreaser, scrub brush, cloths)
- Protective gloves (included in the kit)
- Paint roller and brush (included in the kit)
- Sandpaper (included in the kit)
- Drop cloth
Step 1: Prep the Area
A clean surface ensures proper adhesion. Hence, cleaning the tub and tiles thoroughly is a must!
Use a degreaser to remove the soap scum, oils, and residue. Then, lightly sand the tub and tiles to roughen the surface, making it easier for the paint to stick. And once done, use painter’s tape to cover the edges, hardware, and surfaces you won’t be painting.
Step 2: Mix the Paint
The DWIL kit comes with the instructions. Just follow the instructions on how to mix the paint and activator, ensuring a smooth and even finish.
| Tip. Mix in batches. Only mix the amount you can use within a given timeframe, as tub and tile paints harden quickly once activated. |
Step 3: Apply the Paint
For the first coat, use a paint roller or brush to apply an even, thin coat over the tub and tile. Avoid heavy application to prevent drips. Then allow the first coat to dry completely (at least 2 hours). When your first coat has dried, apply a second coat for full coverage and color depth.
We ended up applying three coats for a better finish.
Step 4: Curing and Finishing
Allow 24-48 hours for the paint to cure, depending on room temperature and humidity. Keep the area dry during this curing period to ensure durability.
Painting the Trim and Walls
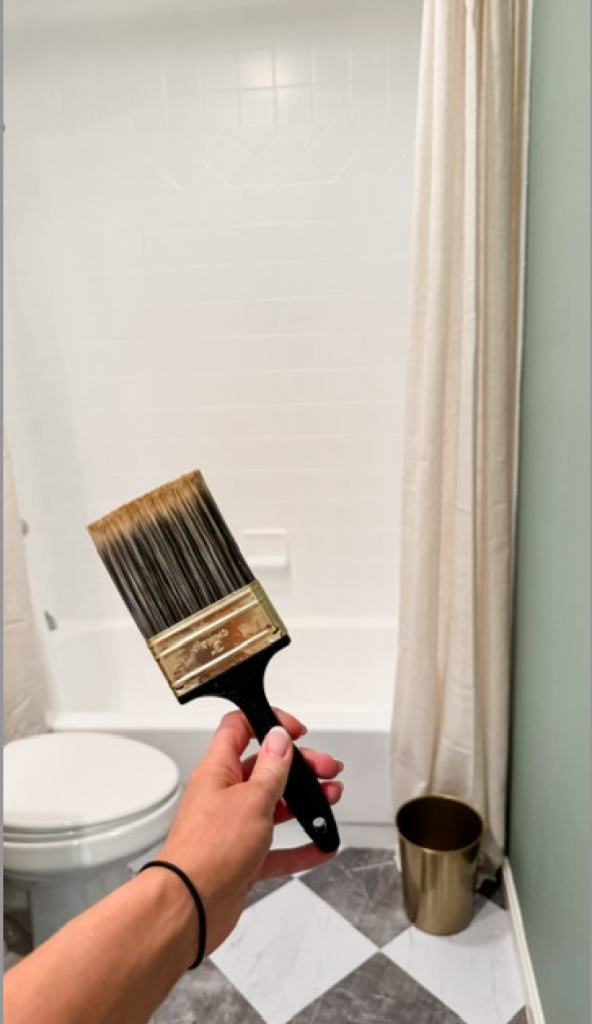
Adding a fresh coat of paint was a must! We chose the color Silverado Sage from the Magnolia Collection at Ace Hardware. This color brought warmth and a bold statement to the space.
Updating the Vanity
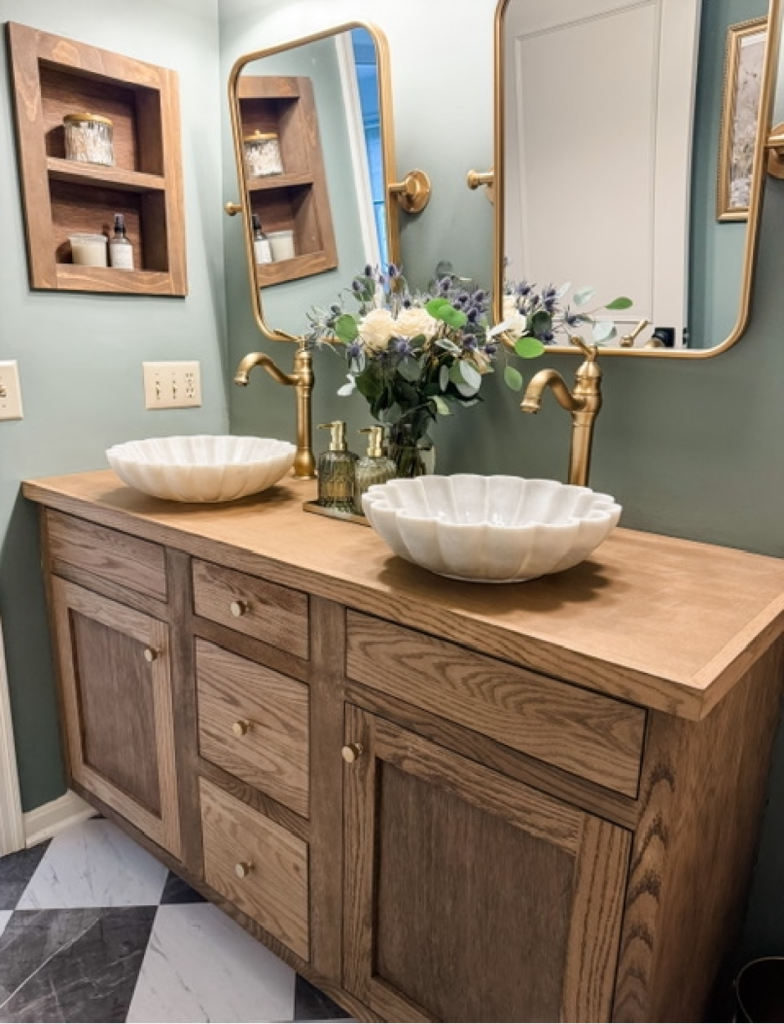
The vanity was in good condition, but the overlay cabinet doors and drawer profiles looked dated. We decided to modernize it by sanding it down, staining it, and converting the doors and drawers to inset for a contemporary look. Here’s how we did it:
Materials Needed:
- Sandpaper/sander
- Stain
- Polyurethane (Poly)
- Cabinet knobs
- Door hinges
- Wood materials
First, remove all the doors and drawers before sanding everything to prepare it for staining.
We started with a very rough 60 grit to get the previous poly off and then worked up to 120 grit before finishing.
Then cut the drawers, build doors, and a vanity top for a custom fit.
We were lucky that the previous drawers were oak slabs with a profiled edge big enough that we could cut the profile off and still have a big enough piece for the slab, and inset drawers. For the doors we weren’t so lucky, so we opted to make new, simple, shaker doors by cutting 2.5” red oak pieces, Kreg screwing the backs, routing in a ¼” red oak center panel, and sanding and staining.
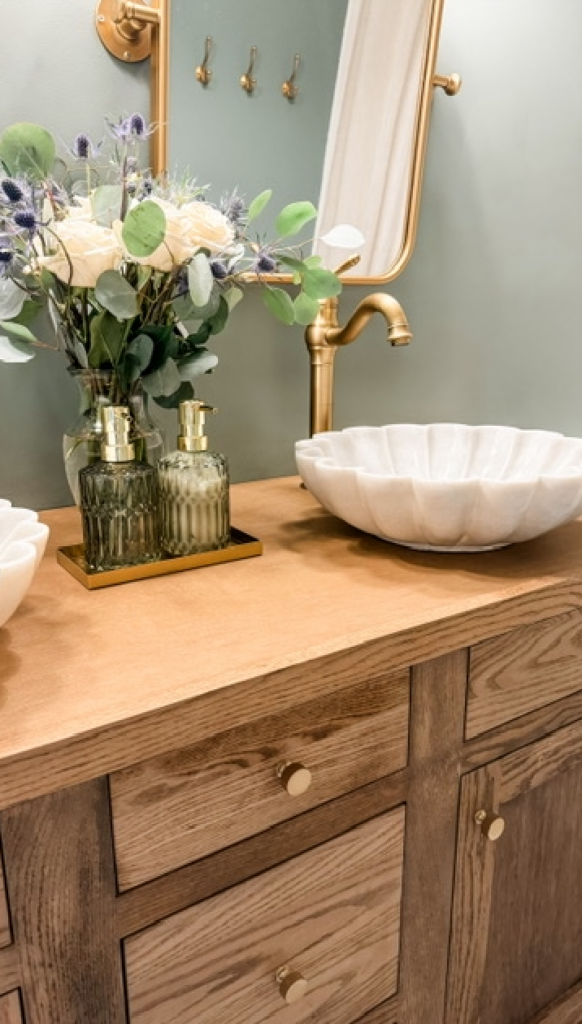
For the top, we used a ¾” piece of red oak plywood, cut it to length for 1” overhangs, and Kreg screwed on a piece of 1 ½” red oak hardwood for the front and side edges. This is a budget-friendly way of getting a classic wood top look for a fraction of the cost of a solid wood top.
After staining and applying Poly to protect the wood, install the doors and drawers and add hardware for the finishing touch.
| Tip. The trick here is simply setting the existing drawer slides back behind the face frame to give us the inset look and for the doors just switching to inset hinges. |
Adding the Final Touches
The final touches, like fixtures, faucets, décor, and hardware, are what really bring a space together. See below the finishing details we used for the final look.


