
I have wanted cane webbing nightstands for a long time, but I couldn’t bring myself to pay the prices that kept coming across online. It simply wasn’t in the budget for our new bedroom renovation, so I knew I needed to make them myself. Honestly, they turned out better than I could’ve imagined!

Supplies need:
- 2 Rast Pine 3 drawer dressers from Ikea
- 6 feet of 24-inch rattan square webbing
- Mod Podge
- 8- Wood feet
- Hardware
- Kills or a paint that blocks any stain
- Sander or sandpaper
- Wood fill
- Wood glue
- Nail Gun
- Wood- soft maple
- Paint (I used Sherwin Williams Frosted Flower)
- Paint roller and paintbrush
The first thing I did was assemble my two nightstands. If you haven’t put together Ikea furniture before, it’s very easy to do. I recommend not putting your drawers in until your project is complete. It will make it a lot easier to paint and assemble.
After my nightstands were assembled, I painted them using a stain-blocking primer. This is to stop the wood from bleeding through the paint over time. Do not skip this step. After applying one coat, I was ready to paint the nightstands the color I would like them to be. I chose Sherwin William Frosted Flower but feel free to use whatever color. I would recommend applying two coats of paint.
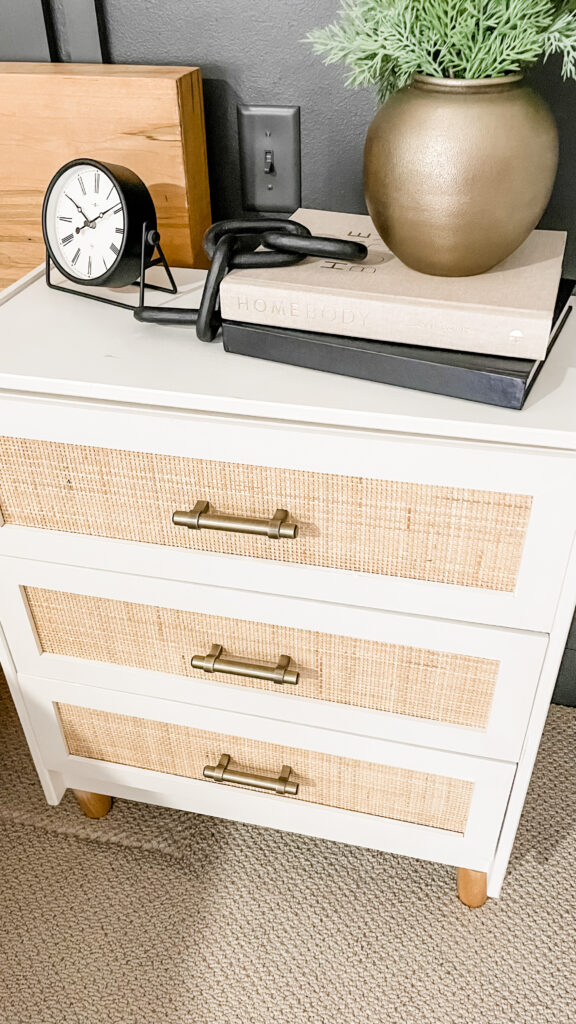
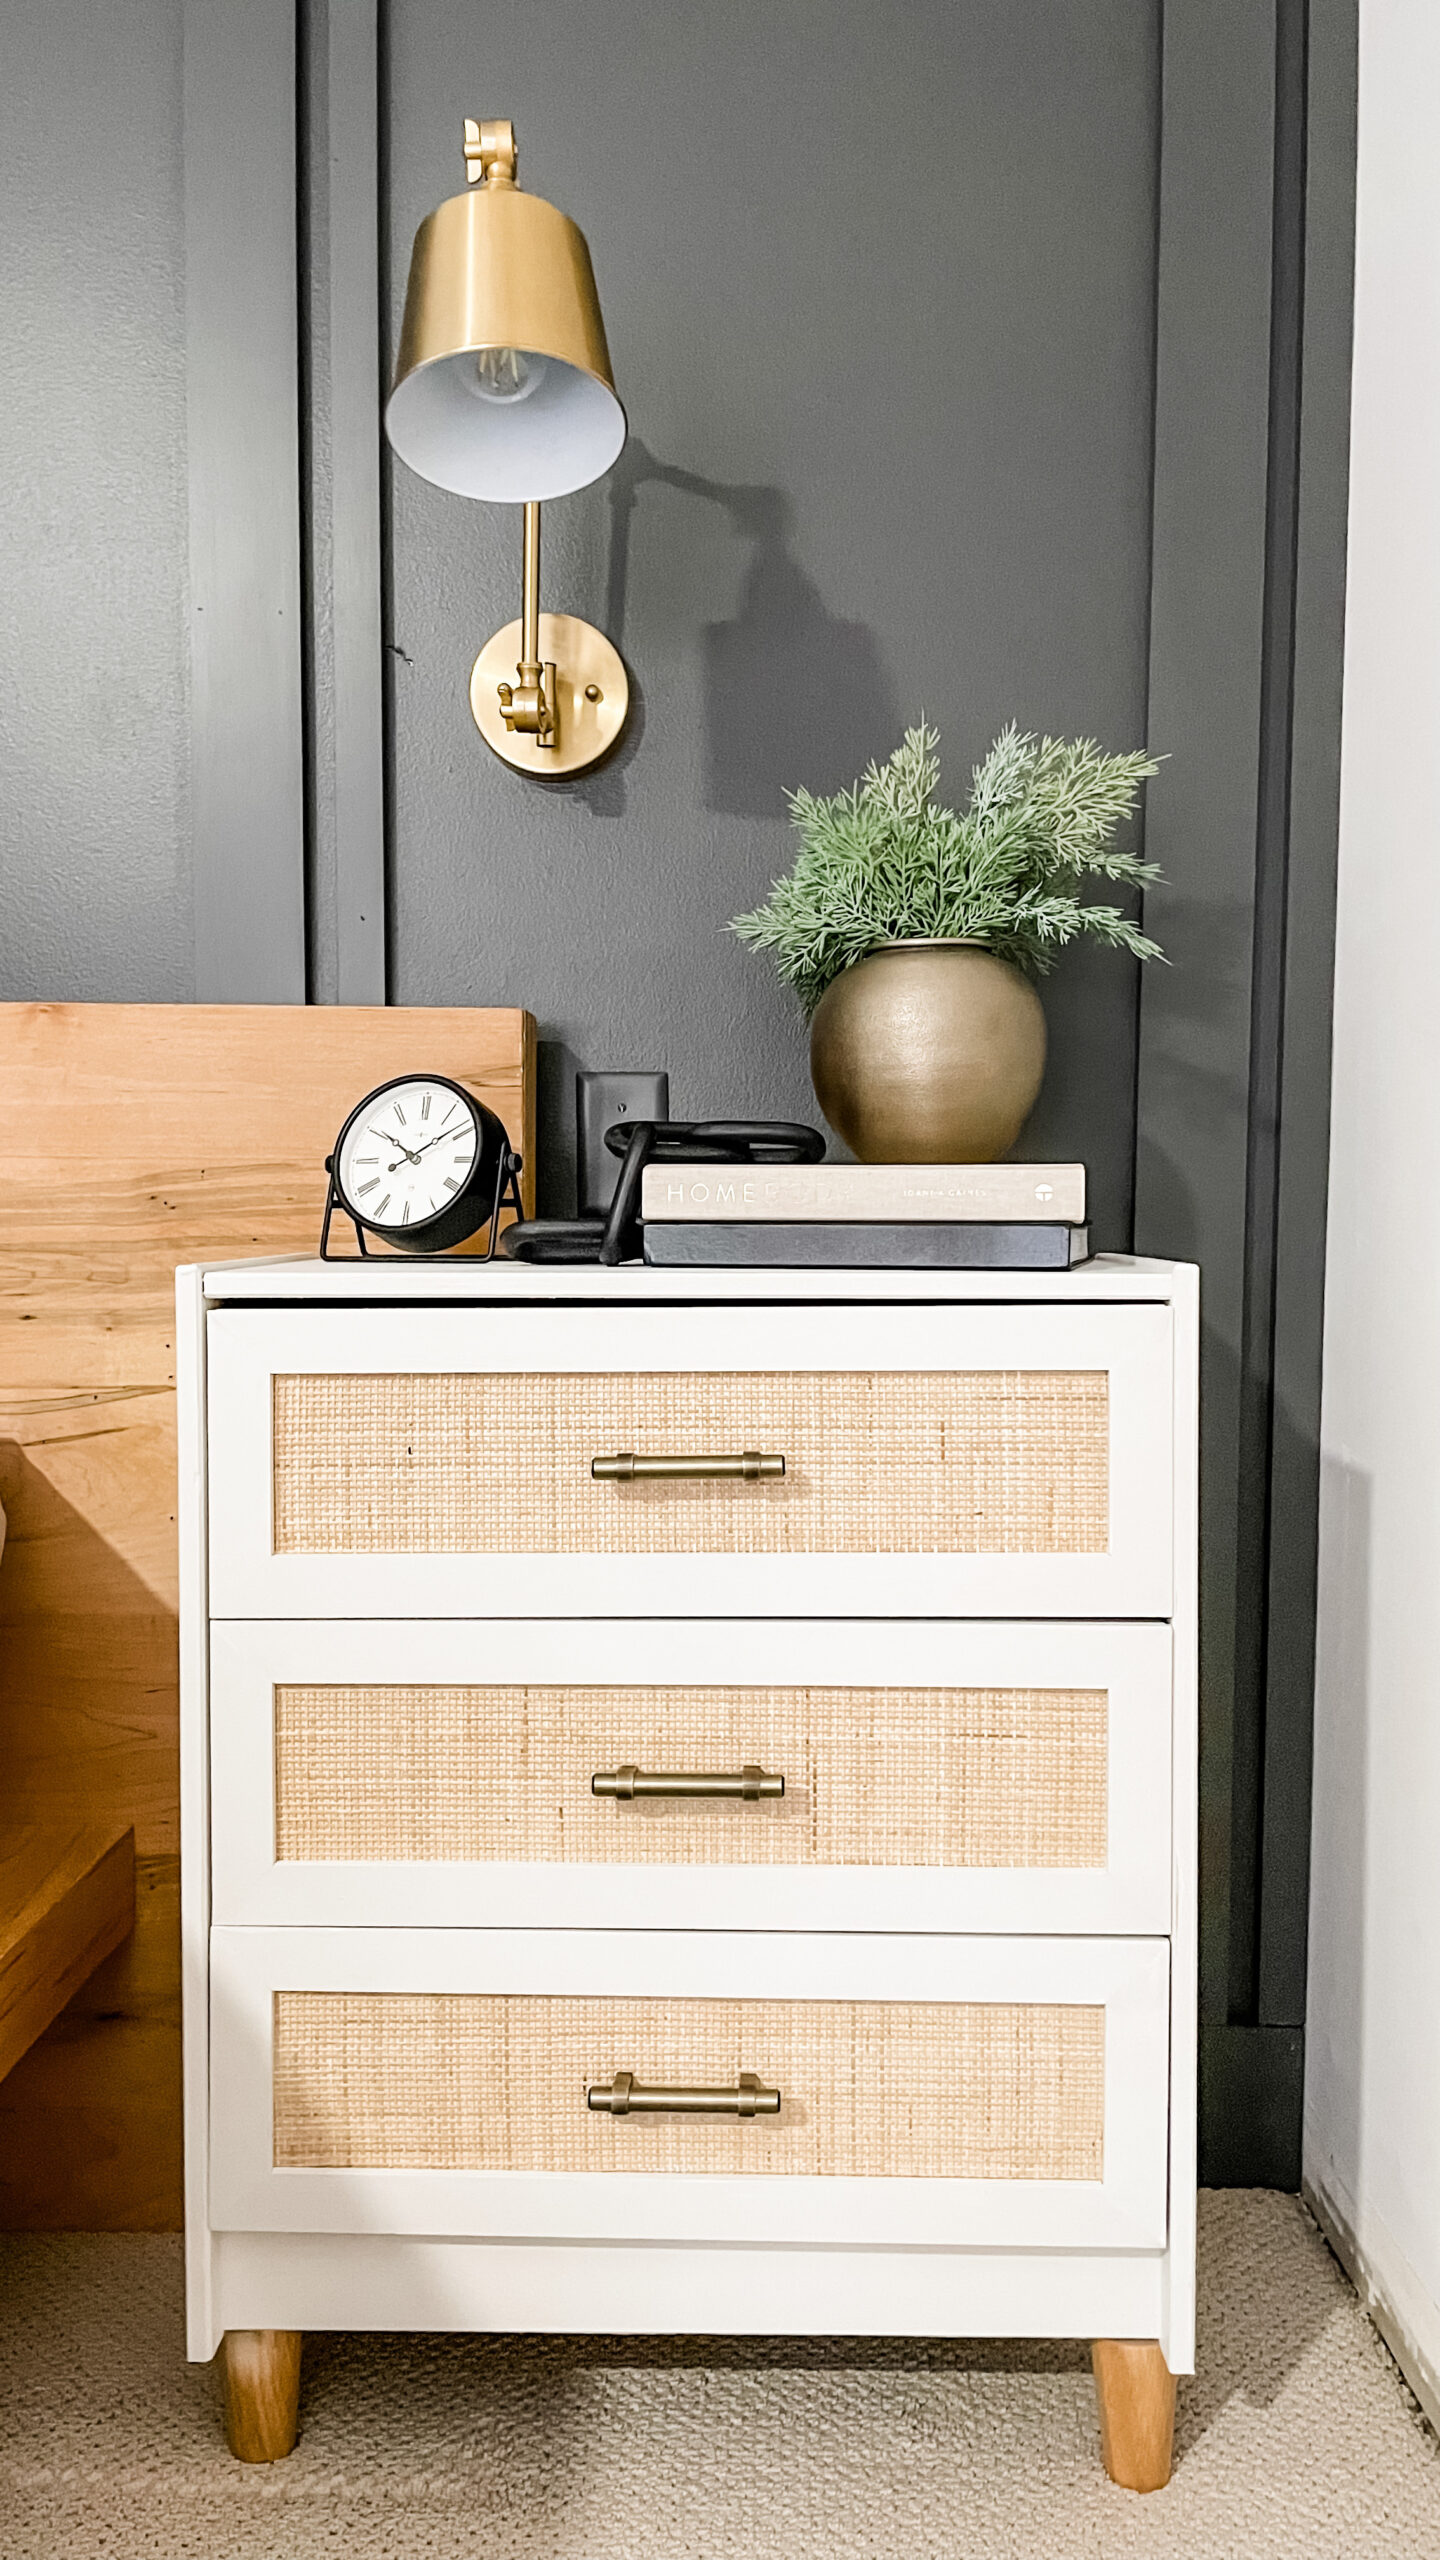
After your drawers are completely dry, you are ready to cut your cane webbing and glue them down to your drawer fronts. I measured my drawer fronts and then cut the cane webbing slightly smaller. I used Mod Podge as my adhesive to adhere the cane webbing to the drawer fronts. Then painted the mod podge onto the drawer fronts and laid the precut cane webbing on top. I then applied a layer of parchment paper and a baking sheet with some heavy books on top to flatten the cane webbing. Overall, it took about an hour to dry, but I recommend 3 hours to be safe. Once your cane webbing has adhered to your drawer fronts, you are ready to frame out each drawer. I used soft maple to frame out my drawer fronts. I would recommend pre-painting the frames before nailing them down. It will make your life so much easier. After that, I used my Ryobi cordless nail gun to nail my frames onto the drawer fronts. I also used a little bit of wood glue on the back of each frame for extra security.
Once everything was nailed into place, I used some wood filler to fill in my nail holes and joints. I sanded everything down with my Ryobi cordless sander when the wood filler dried. Finally, I touched up any spots that needed more paint.
I added a small piece of wood to the bottom of each nightstand to attach the wooden feet. Once I did that, I then drilled pilot holes for each wooden foot and screwed them into place. Lastly, I installed my new hardware on each drawer front. That’s it. Two new nightstands for half the price of the ones I came across online!
Here’s a quick little video of the whole process!