

I don’t know about you, but I am a sucker for good scones and delicious carrot cake, especially around springtime. So when I tell you these scones are a perfect balance between the two, you’ll have to trust me and make the recipe. It did not disappoint!
Here are the ingredients we need for this recipe
- 2 ½ cups of All-Purpose Flour
- 1 tablespoon Baking Powder
- 1/2 teaspoon Salt
- 1/4 teaspoon Nutmeg
- 2 teaspoon Cinnamon
- 1/2 teaspoon Ground Ginger
- 1/2 cup Sugar
- 7 tablespoon Cold Unsalted Butter, cut into small cubes
- 3/4 cup Finely Shredded Carrots
- 1/4 cup Chopped Pecans
- 3/4 cup Cold Heavy Cream
- 1 teaspoon Vanilla
- 1 tablespoon Heavy Cream for brushing the tops of scones
For the Cream Cheese Glaze
- 1/2 cup Cream Cheese (make sure it’s at room temperature)
- 1/4 cup Confectioner’s Sugar
- 1/4 cup Maple Syrup
- 1 teaspoon Vanilla extract
- 2 tablespoons Heavy Cream
How to bake these delicious Carrot Cake Scones?
Step 1. First thing first, preheat your oven to 425°F. Prepare a baking sheet lined with parchment paper or a baking sheet lined with a silicone baking mat.
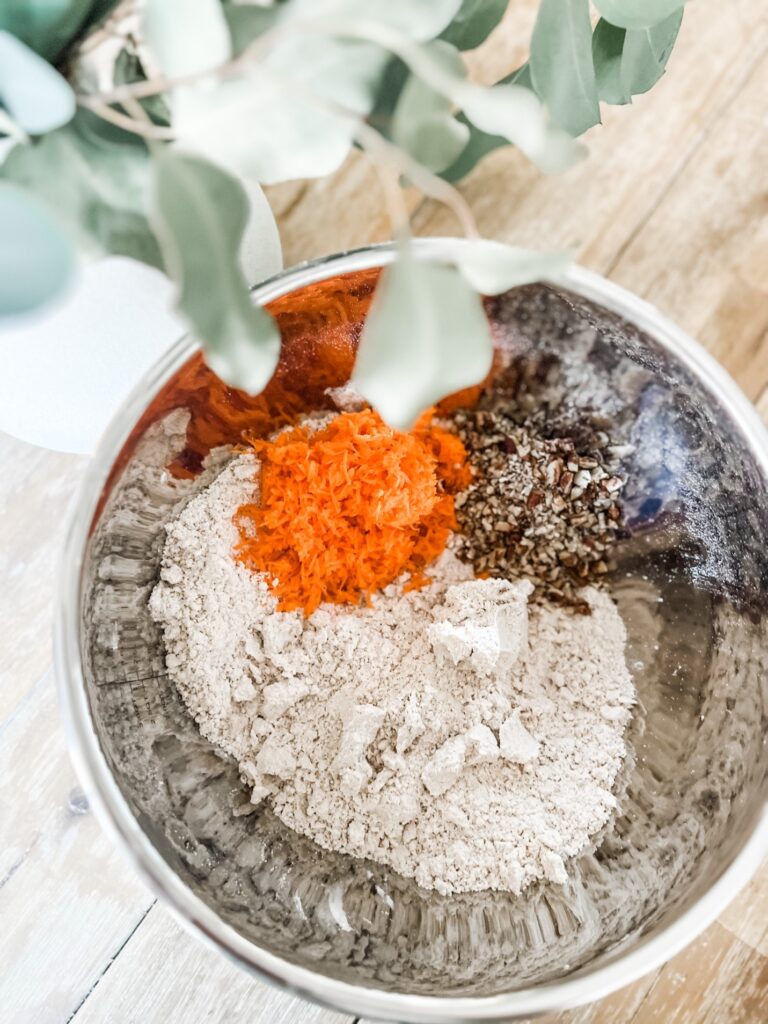
Step 2. After your oven is preheated and your baking sheet is lined, it is time to start preparing your dough. Add flour, baking powder, sugar, spices, and salt in a large bowl. Whisk until everything is combined. Cut your butter into small cubes and then add to your flour mixture. Use your hands or a pastry cutter to work the butter into the flour mixture until the mixture is crumbly.
Step 3. Using a cheese grater, shred your carrot into very fine pieces. Use a paper towel to get all the moisture out of the carrots before adding them to the flour mixture, then add chopped pecans. Mix everything before adding vanilla and cream.
Step 4. Once you have added your vanilla and cream, use your hands to incorporate all ingredients. The mixture will eventually form a ball and shouldn’t be overly dry or moist. Add a little more heavy cream if your mixture isn’t coming together.
Step 5. Place dough onto a lightly floured surface or a piece of parchment paper. Press dough into the surface to form a small disc about 6-7 inches and about 1 inch thick. After creating your disc, use a pizza cutter to cut dough into 8 equally shaped triangles (just like a pizza)—transfer wedges to your lined baking sheet and refrigerate for 15 minutes.

Step 6. Once the scones have rested in the refrigerator for 15 minutes, brush the tops of each scone with a small amount of heavy cream before placing them into your preheated oven. Depending on your range, bake anywhere from 14-18 minutes. I have a convection oven, and these only took 14 minutes, but a regular oven may take a bit longer.
Step 7. Once the scones are lightly browned and have risen, remove them from the oven and place them onto a cooling rack. Let cool for 30-40 minutes before glazing.
Now, to glaze your carrot cake scones with cream cheese…
While your scones are cooling, you can prepare your cream cheese glaze. Add room-temperature cream cheese, confectioner’s sugar, maple syrup, vanilla, and heavy cream into a mixing bowl. I cannot express enough how important your cream cheese is at room temperature. If it is slightly cold, you will see clumps of cream cheese in your glaze, so if needed, place your cream cheese in a small bowl and microwave for a few seconds before using it. Once those ingredients are placed into your mixing bowl, use a hand mixer to whip everything together. If you want your glaze to be thicker, add more confectioner sugar; if you want it to be thinner, add more heavy cream.
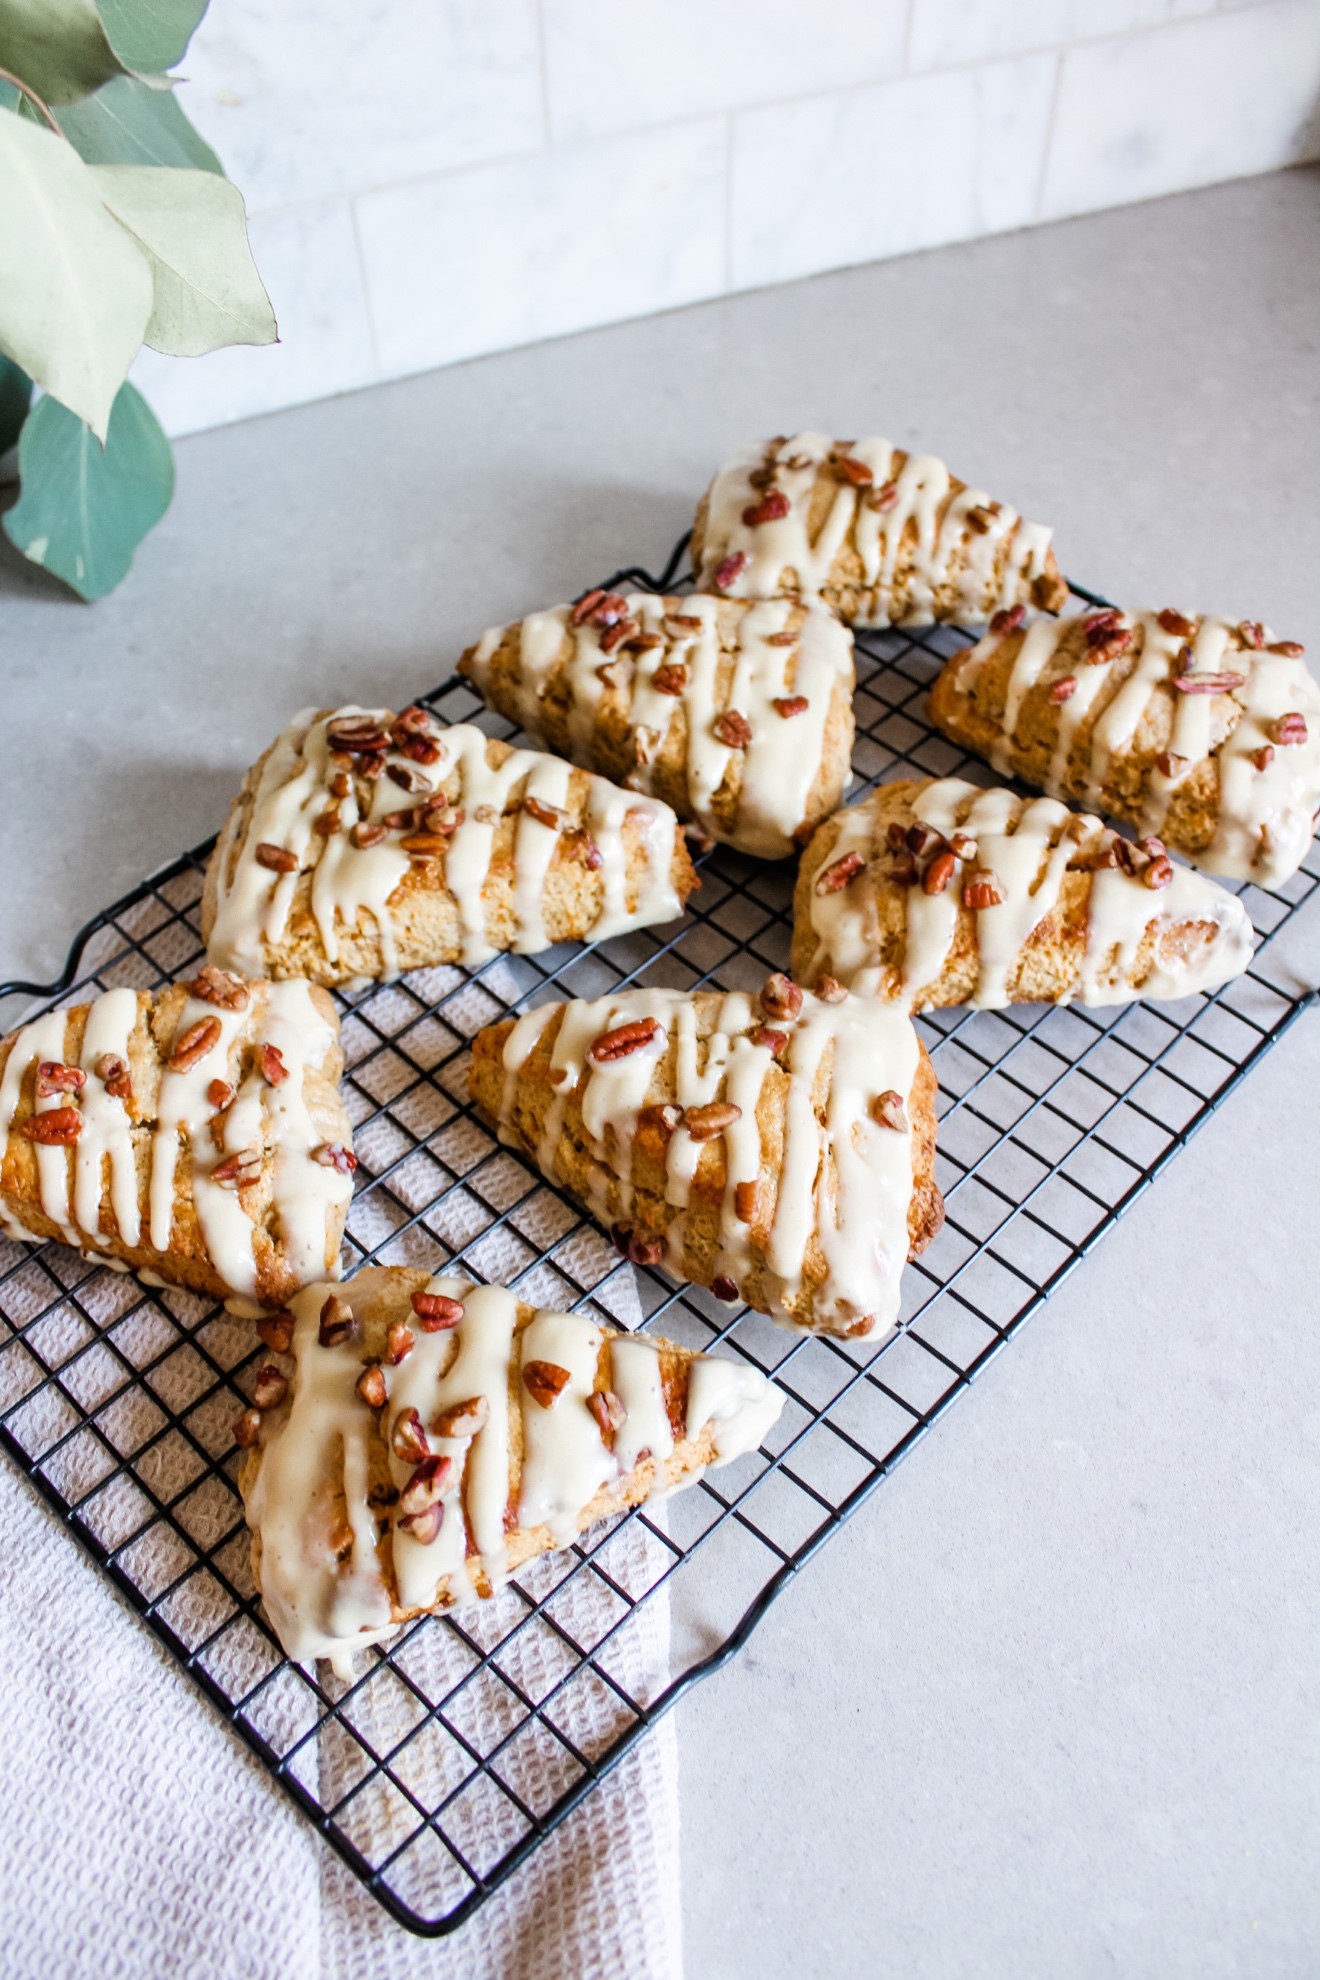
Once the glaze is well mixed, spoon the glaze onto scones or add the glaze into a piping bag and drizzle the glaze onto scones. Then top with chopped pecans if you would like. Enjoy!

I loved how these carrot cake scones turned out! This is a perfect springtime treat or perfect for an Easter brunch! I hope you enjoy them as much as we did!


