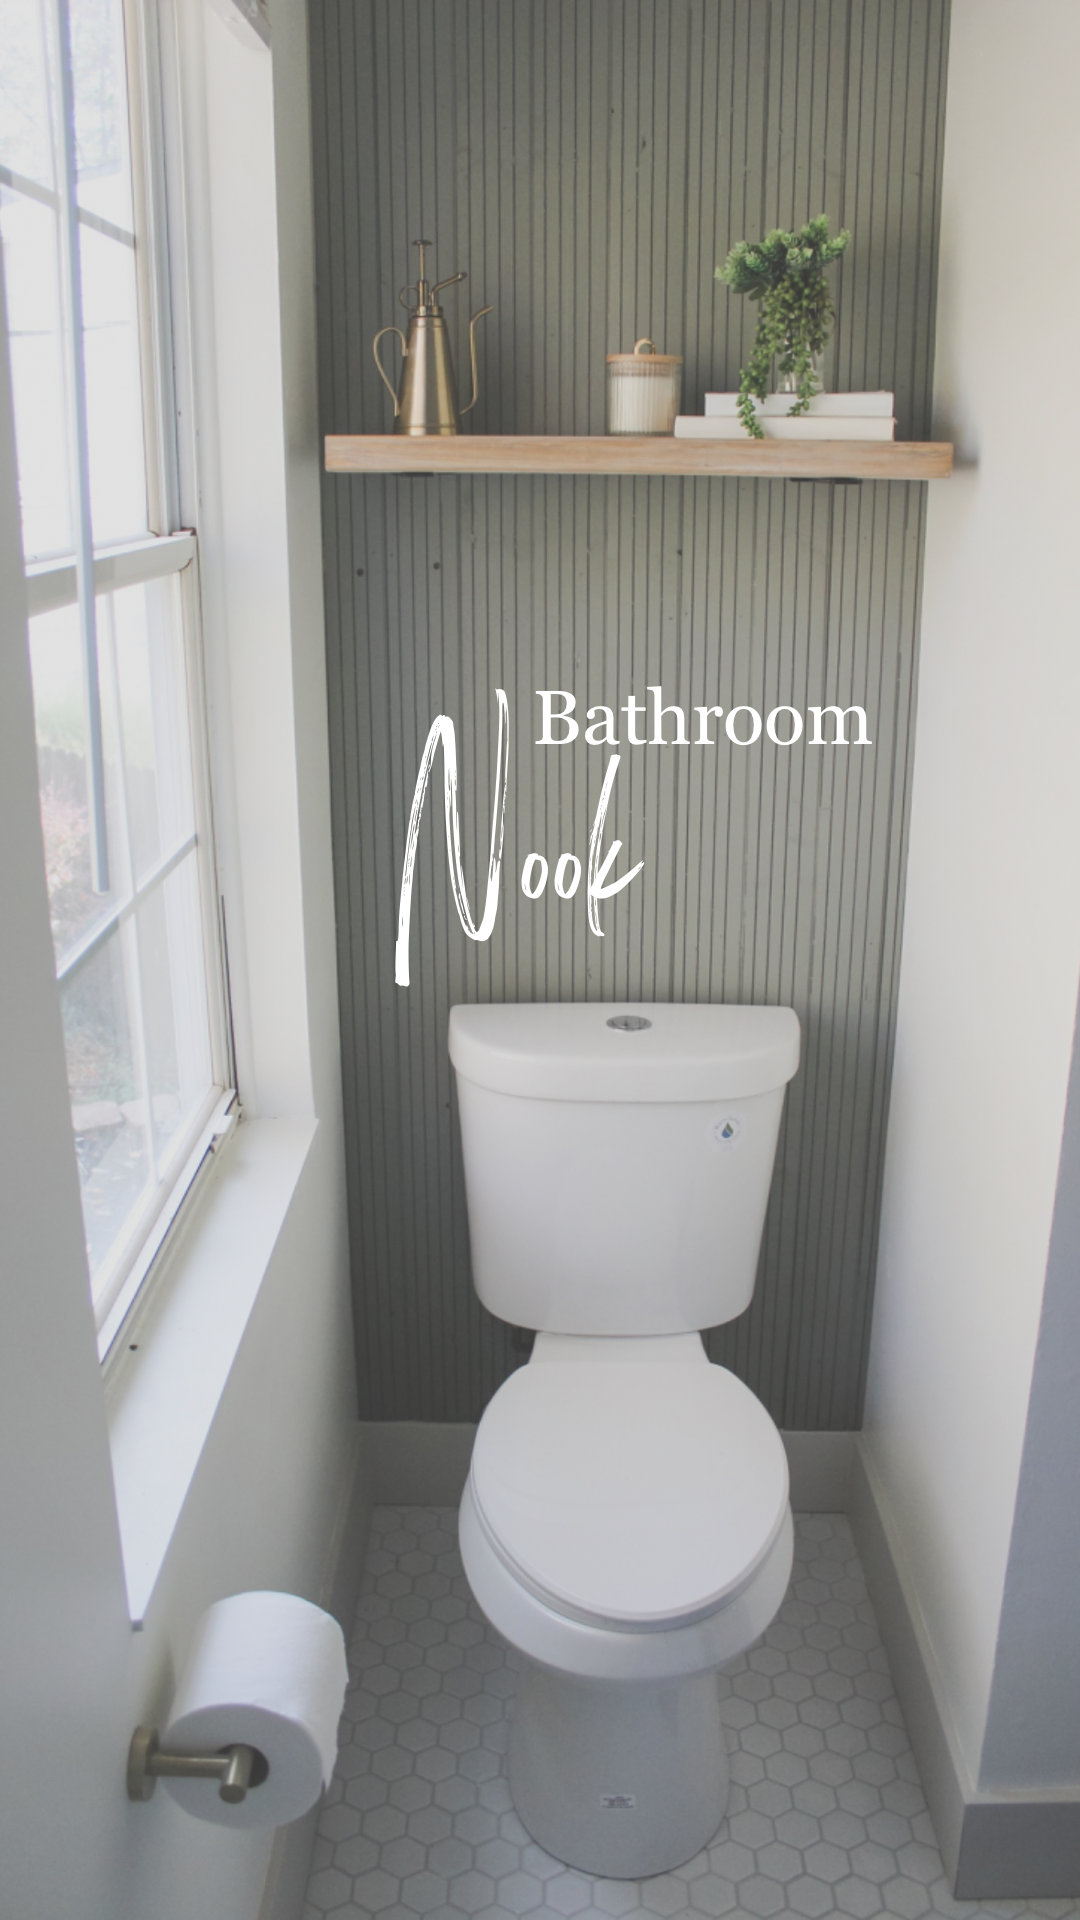

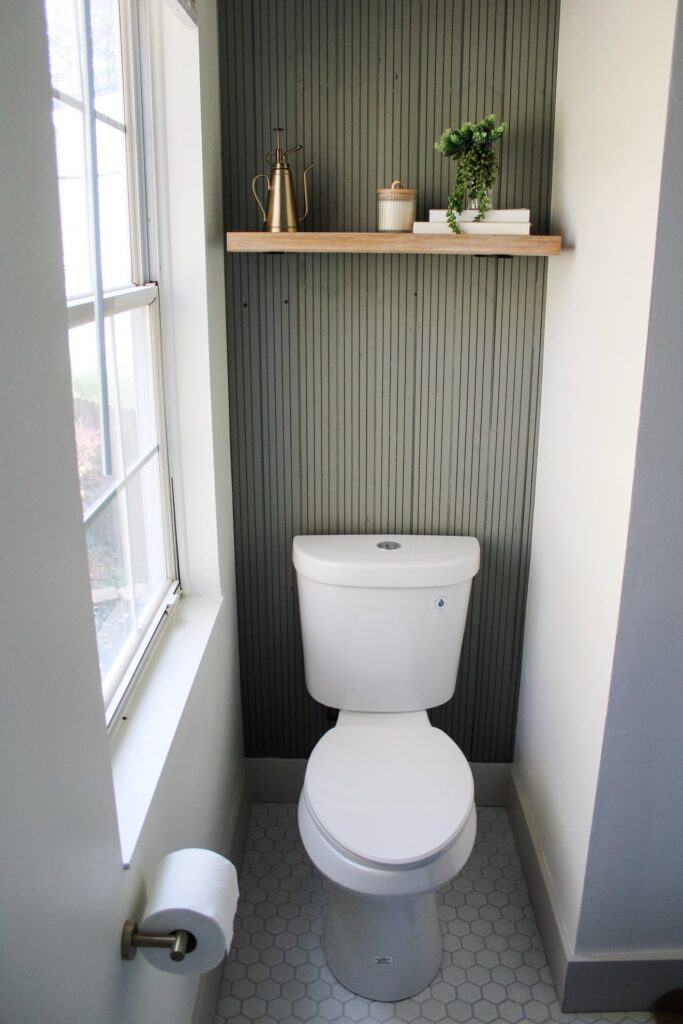
My favorite DIY projects are ones that can be completed in a day and make a significant impact on a space. This little DIY bathroom nook accent wall is precisely that! Let me walk you through how easy this process was so you can recreate this in your own home.
First things first

Supplies needed for this quick and easy DIY accent wall:
- Paintbrush
- Table saw
- Nail gun
- Ship lap
- Paint
- Chop Saw
- Tape measure
- Shelf brackets
- Pinewood
- Stain
- Drill
- Jig Saw
The first thing you’ll need to do is measure the size of the bathroom nook. From there, you’ll need to map precisely where the boards will lay. If you need to rip down any boards to make them fit, it will be the two-end boards, and you’ll want those to be the same size for symmetry.
Once you know how many boards you roughly need, you want to apply a coat of paint or 2 to the back sides of the boards. I prefer to use the backsides for the fun texture it provides. Ideally, two coats are best, mainly depending on the paint color you choose. This will save you so much time in the long run. Trying to paint behind the toilet can be rather tricky.
Time to start installing!
You’ll need to measure the height of the wall from the baseboard to the ceiling. Then, cut that first piece of shiplap on your chop saw to that size. You’ll also want to rip that first board down on a table saw to fit the wall accordingly, as stated above. Be sure to check for plumb. It’s likely the wall is out a bit, so you’ll need to do a tapered rip on the table saw.
From there, the installation process is pretty straightforward. Use a nail gun to nail each board into place. I typically use four nails per board: one at the top, one at the bottom, and 2 in the middle. It helps if you turn your nail gun at a slight angle so that the nail goes a bit sideways. This will keep the board from moving or the nail from popping out. After your first board is installed, you can repeat this process with the other boards. Just make sure to measure the baseboard to the ceiling for each board in case your ceiling isn’t level.
Once you hit where the toilet water line was, use the jig saw to cut a small half circle at the bottom of one of the shiplap boards. From there, you can slide in overtop of the water line. After you have installed the last shiplap board, fill and sand any nail holes and touch them up with paint.
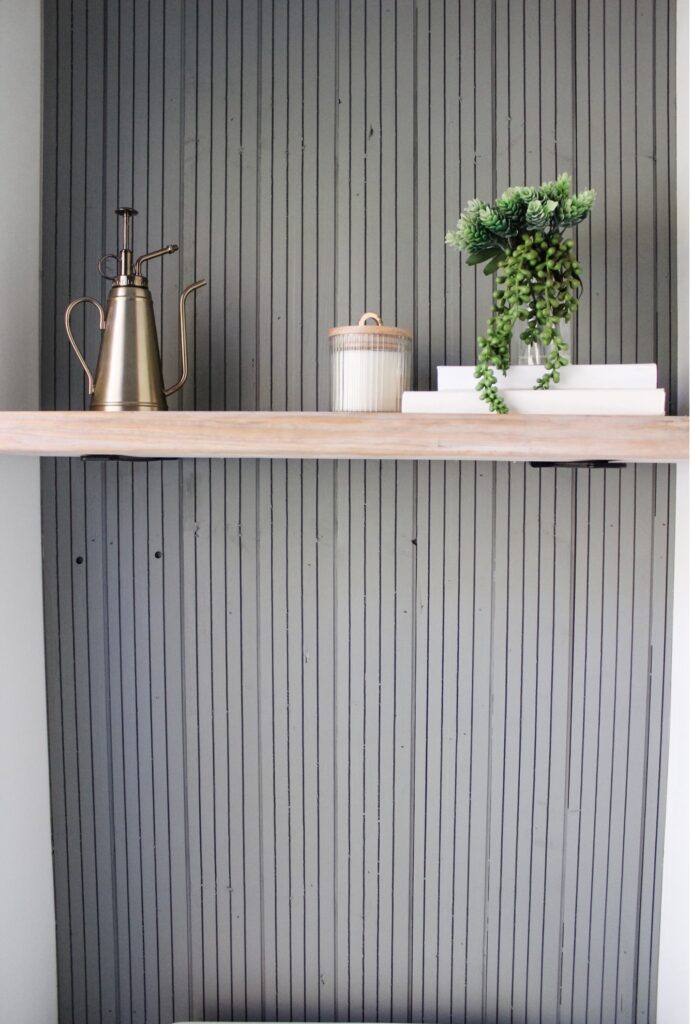
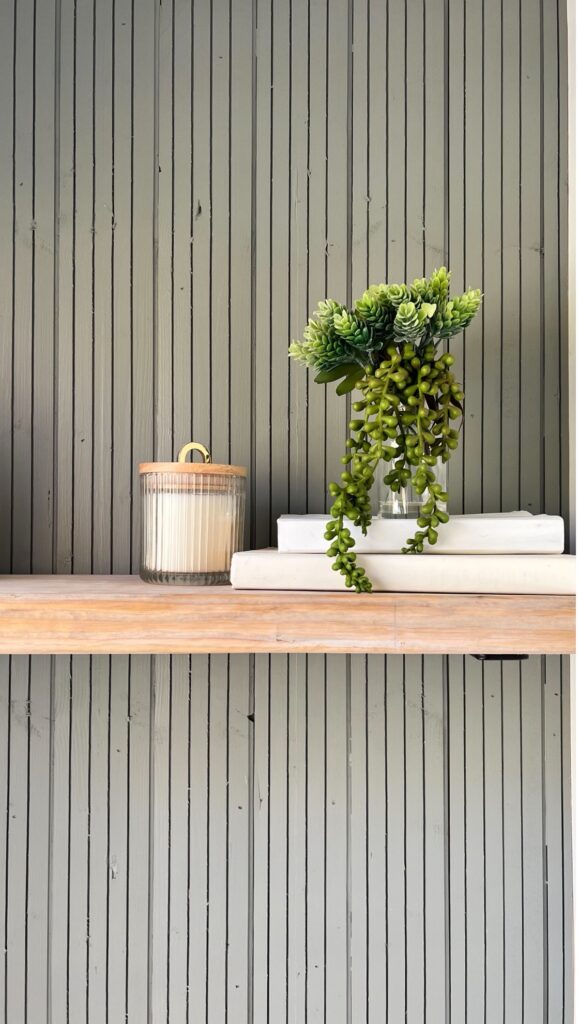
Lastly, install shelf brackets to the desired height and cut a piece of pine for a shelf. For the stain, I used Weathered Oak and Walnut. Then, I finished with a whitewash. Add decorations, and that’s it!
I hope you enjoyed this DIY accent wall as much as I did! I can’t wait to see what you create!


