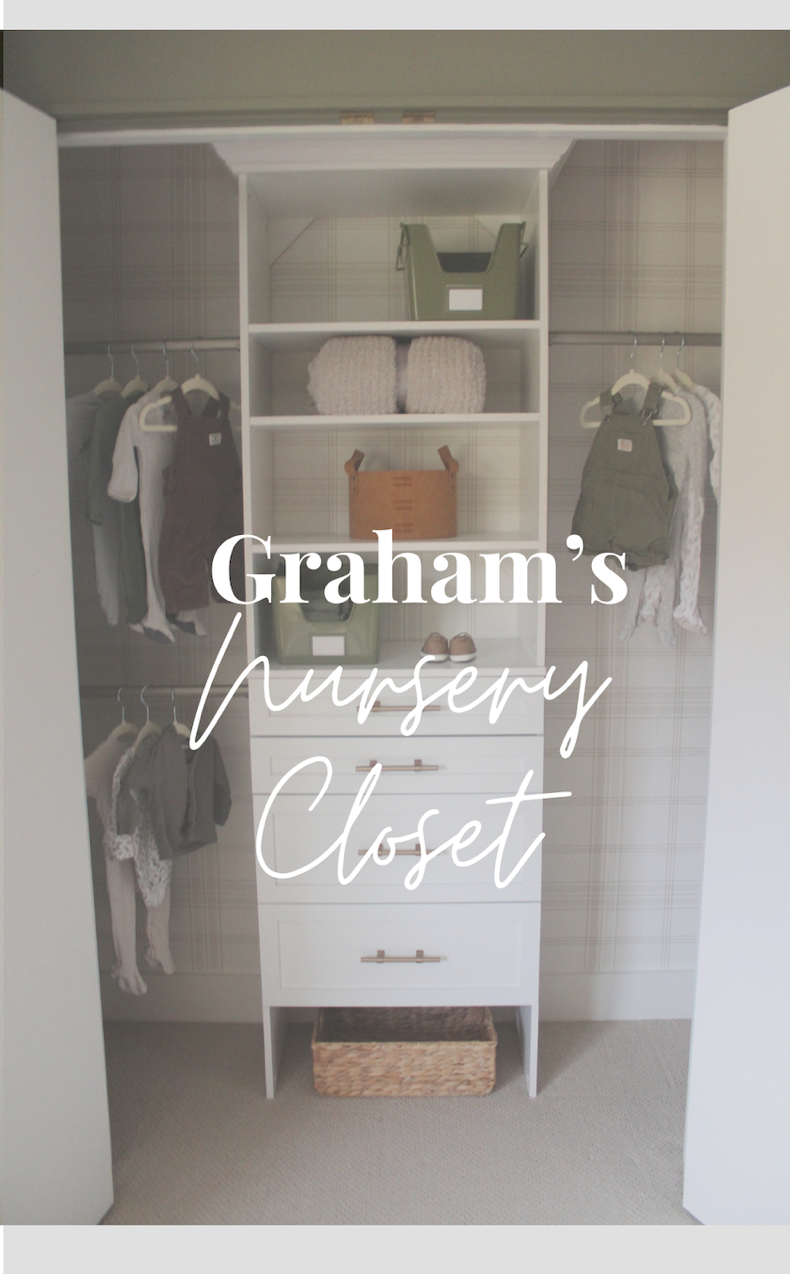

I have always loved the look of a custom closet with built-ins. However, I could never justify the price, which is why all of the closets in our home still have the old closet wiring system in them. However, when it came time to renovate the nursery I looked around at the room and realized a small dresser wasn’t going to cut it for storage. We had a lot of items we needed to store for Graham. Not only shoes and clothing but diapers, wipes, swaddles, blankets, burp clothes, toys and so on. I didn’t want to feel overwhelmed every time I opened his closet, so I decided to put in a closet system ourselves and elevate it a little by adding some wallpaper, storage bins and crown molding.
This was such an easy DIY project that I am confident anyone can do. Not only that, but this is a weekend project! It really didn’t take much time, but I promise it made such a big impact.
Items you’ll need:
Items used to organize:
So let me walk you through how to create your own custom closet look.
Step 1: Measure Your Space
The first step in building a custom closet is to measure your space. Measure the width, height, and depth of the area where you want to install the closet system. Make sure to measure the height from the floor to the ceiling and the width of the walls on either side of the space. This will help you determine the size of the closet system you need to purchase.
Step 2: Choose Your Closet System
Once you have your measurements, you can choose the closet system you want to install. We found that Lowes had a wide variety of closet systems to choose from for the best price. However, you can also check Home Depot, Wayfair or Ikea. For this project and what our needs were, Lowe’s pricing was unmatched.
Step 3: Plan Your Closet Layout
Before installing your closet system, it’s important to plan your closet layout. You can use the online design tool available on the Lowes website to help you visualize your closet design. The tool allows you to select the type of closet system you want to install, the layout, and the number of shelves and rods you need. You can also add accessories such as drawers, baskets, and shoe racks.
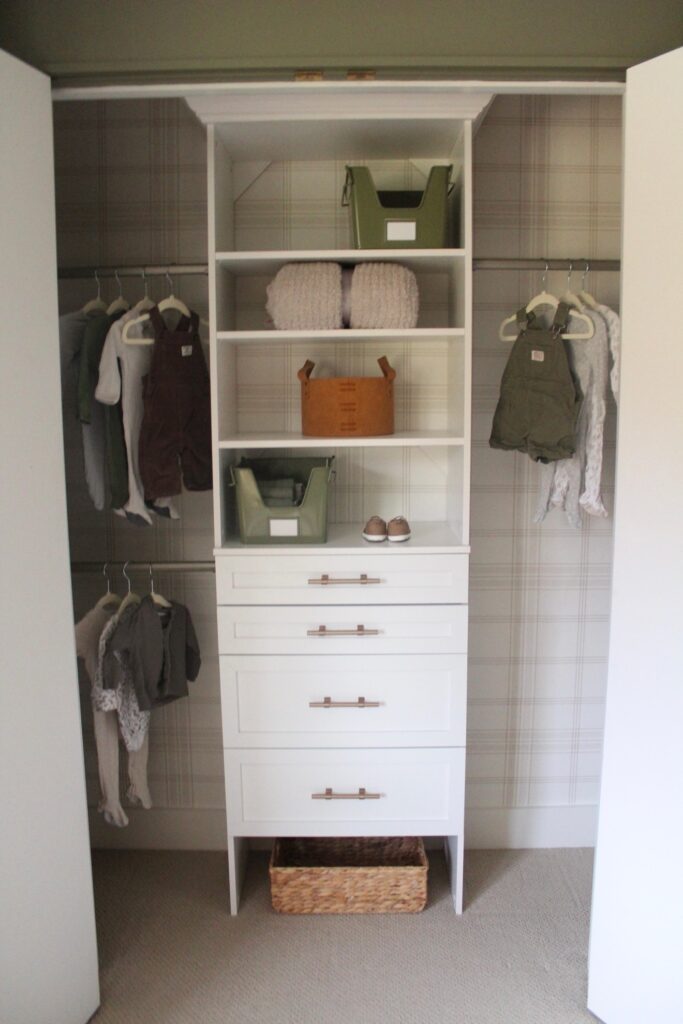
Ikea has this feature as well. I knew that I wanted to have a stack of shelving and drawers in the center of the closet and multiple rods for hanging clothes. We found a very reasonably priced system from Lowes. The system came with a shelving unit and 3 rods, so we only needed to add drawers. We decided to go with 2 smaller drawers for storing items such as burp clothes and swaddles and 2 deeper drawers for storing items like diapers and blankets.
- ClosetMaid Brightwood 25-inch White Tower Organizer
- ClosetMaid Brightwood 24-8 in x 4-92 in x 13-43 in White Drawer Unit
- ClosetMaid Brightwood 24-8 in x 9-96 in x 13-43 in White Drawer Unit
Step 4: Install Your Closet System
Once you have your closet system and layout planned, it’s time to start assembling. This process went rather quickly. The ClosetMaid directions are easy to follow and the whole system only took about an hour to assemble. However, before we installed we decided to wallpaper the closet. Since the rest of the room is very dark and moody, I wanted to add some brightness to the closet. It would be fun for the closet to be bright and airy. I didn’t want the wallpaper to be anything too crazy, just a simple design that would elevate the space and found the most perfect wallpaper from York Wallcoverings.
I love their wallpaper because they have such a variety of not only designs but options from regular wallpaper all the way to peel and stick.
The design I ended up going with was their Charter plaid wallpaper in the color sand.
This wallpaper does not come in a peel-and-stick option, but they still make installation so easy!
Simply lay down your wallpaper and spray the back of the wallpaper with water. Fold your wallpaper in on both sides so that it is sandwiched together and so that the water and glue can activate. Let sit for about 2 minutes then peel apart and place onto the wall. If you haven’t wallpapered before, I recommend watching a few videos ahead of time, however, I find the 2 most important tips are drawing a level line on the wall to ensure that your first piece of wallpaper is plum. Next, make sure you start in a corner. Also, make sure to have access to wallpaper hangover on the top and bottom. After the whole wall is wallpapered you can go back and cut a level line. Not all walls are even, plumb or level, so this will ensure you get full coverage.
This closet is small, so wallpapering it didn’t take too long. Once everything was wallpapered, we were ready for the installation of the closet system!
The first thing we did was measure center of the closet and marked out where either side of the cabinet would be. After that, we carried in our closet system and put it into place. The system comes with an attachment to secure it to the wall which is a must. After the closet system was secured, we added drawers and new hardware. This system did come with hardware, but I preferred gold to match the rest of the room.
For the hardware, we used a champagne bronze industrial bar pull.
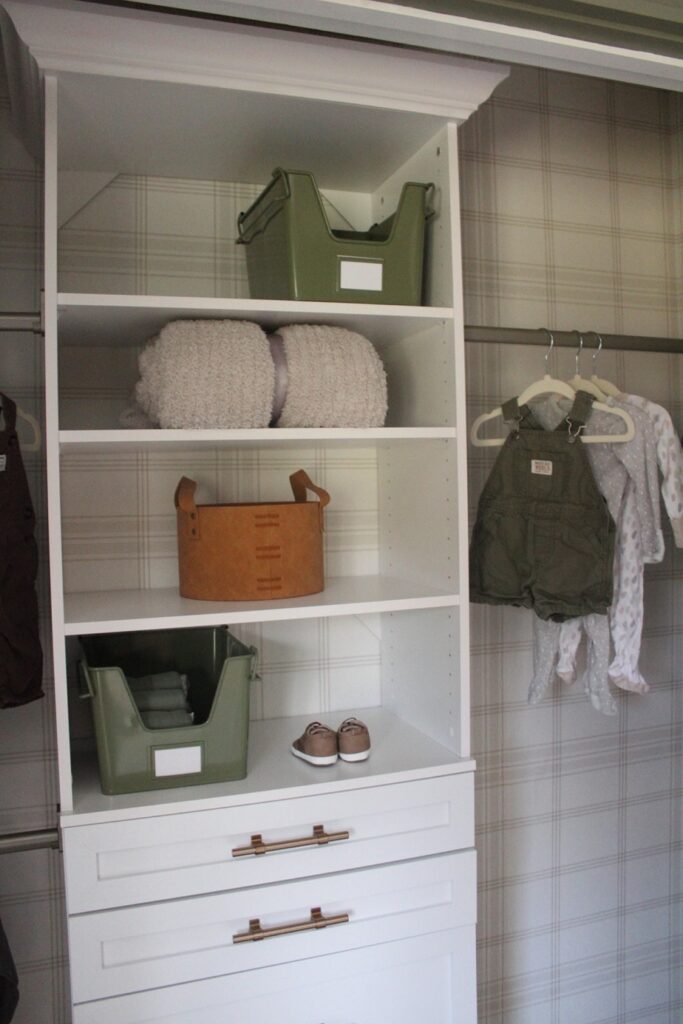
Lastly, we added baseboards to the closet and crowns to the top of the closet built in. To me, it felt a little unfinished and I found the crown really tied everything together!
Step 5: Organize Your Closet
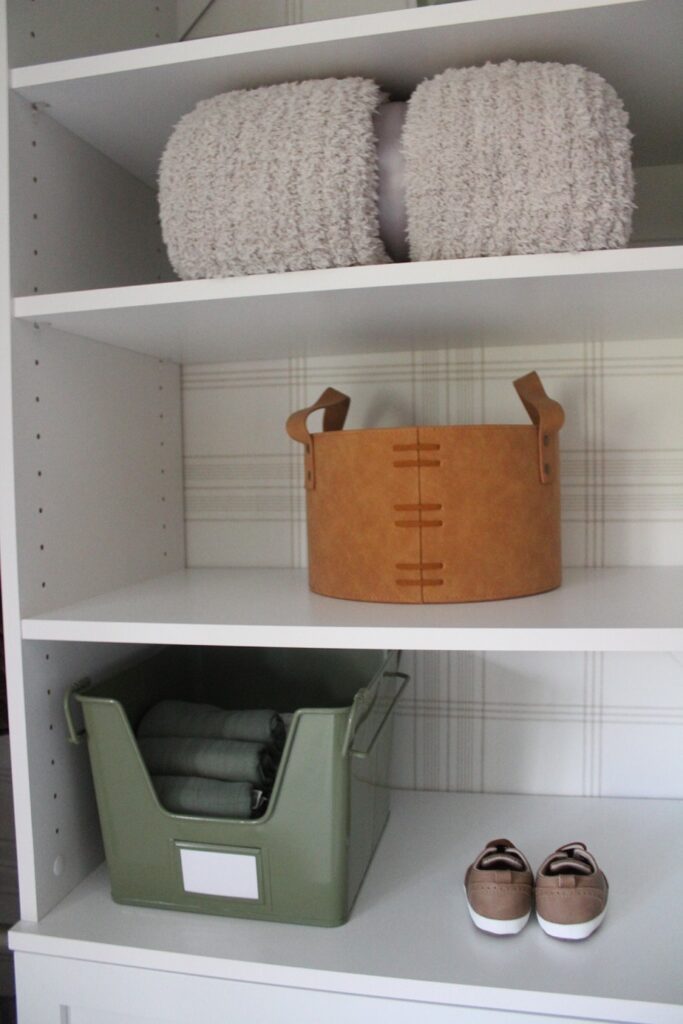
After your closet system is installed, it’s time to organize your closet. This is where the fun begins! I found some really cute bins from Target that tied in some natural tones as well as the olive green tone I had throughout the whole room. I can’t tell you how good of a feeling it was to hang all our baby boy’s new clothing in his new closet. We are so excited to meet him and this project really made me feel prepared.
I hope this step-by-step of how we created our custom closet in our nursery inspires you to create your own! I really feel like this custom closet solution is a great way to increase storage space in your home. By following these simple steps, you can create a functional and organized closet that meets your needs and budget.
With the right closet system and a little
creativity, you can transform your closet into a space that is both functional and stylish.
Check out the Before and After video.


