
If you’re anything like us, you have plenty of scrap wood at your house and if you’re anything like me, you’re constantly trying to find new ways to use it up. These DIY Christmas gingerbread houses were a perfect opportunity to do so. So let me walk you through how we made these cute little gingerbread houses.

Supplies you’ll need to create this cute gingerbread houses:
- Wood (we used some leftover 2x4s but whatever you have laying around should work)
- Weathered oak stain (or stain color of your choice)
- Paint pens
- Table saw
- Chop saw
- 100 grit sandpaper
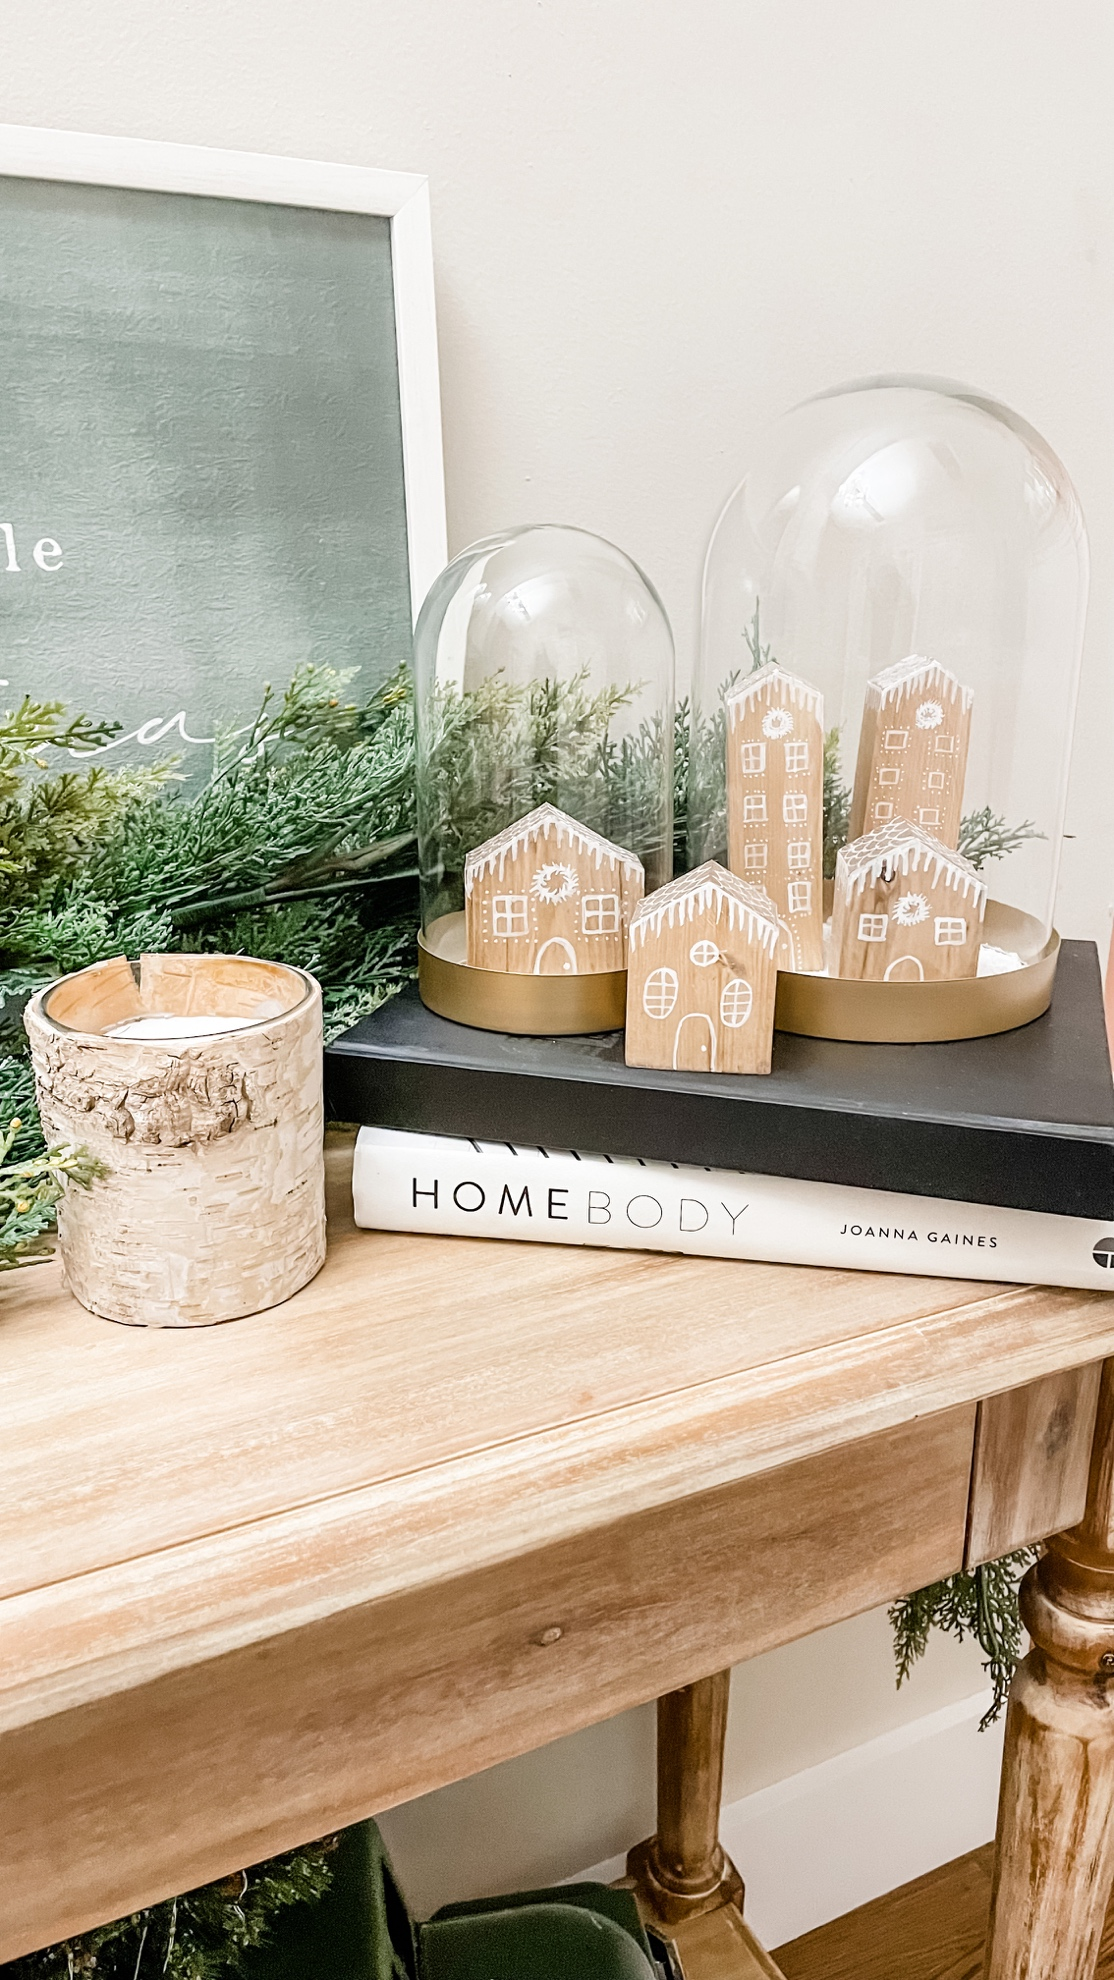
We wanted each house to vary in size, so feel free to do the same. We simply ripped each board down vertically to the size we wanted on the table saw. Then used the chop saw to cut each wood piece to the length we wanted. Again, we wanted the size and heights to vary so have fun with it and don’t feel like they all have to be the same. After each wood piece was cut to about the right length and width we wanted, we used our chop saw set to a 45-degree angle to cut a triangle on the top of each wood piece. This gave the appearance of a roof. Lastly, I sanded each one lightly with 100 grit sandpaper before staining them with my favorite Weathered Oak stain.

After the stain was dry, I used white paint pens to add some details to the homes – drawing on windows, doors, and wreaths. Again I made each home a little different. And that’s it! A super simple Christmas DIY that uses up some material you have laying around. I love to have cute little gingerbread houses on our entryway table, on top of our coffee table books, or even on our dining table. You can even cut a small slit out of the top of each one and use them as place card settings!


