
I recently made the easiest Valentine’s day name settings and I can’t wait to share them with you. My favorite part was that I used materials I had laying around the house. I also love that these place settings don’t have to be used just on a tablescape, you could use them for décor or even as a tag on Valentine’s day present.
Materials needed for this DIY
- Wax paper
- Black Sharpie – I would prefer thin but thick is what I had around the house
- Paper
- Crayons- pink, red and white or whatever you prefer
- Pencil sharpener
- Ironing board
- Iron

How to create this fun valentine’s day name-setting?
The first thing I did was print out the names of my friends who would be attending brunch. I did this because I don’t love my handwriting and I like that printing it out on a computer it makes sure my writing size and font are consistent. Though if you have good handwriting you can skip this step. Next, I traced the name of each of my guests onto wax paper using a sharpie (I would have preferred a thin sharpie). After that, I used a pencil sharpener to shave pink, white and red crayons into a small dish.
I then placed a sheet of wax paper onto my ironing board. Then sprinkled my crayon shavings onto the wax paper. Be careful to not overdo it with the shavings, a little goes a long way. You won’t want the melted crayons to bleed out onto your ironing board.
After placing my crayon shavings onto the ironing board, I then placed the wax paper with my traced names on top of the shavings.
Lastly, I put down a piece of computer paper onto the wax paper to create a barrier between the wax paper and the iron so that my hot iron would not melt the wax paper.
I then began ironing. This process is super quick, and it only takes a few seconds to melt the crayon shavings below.

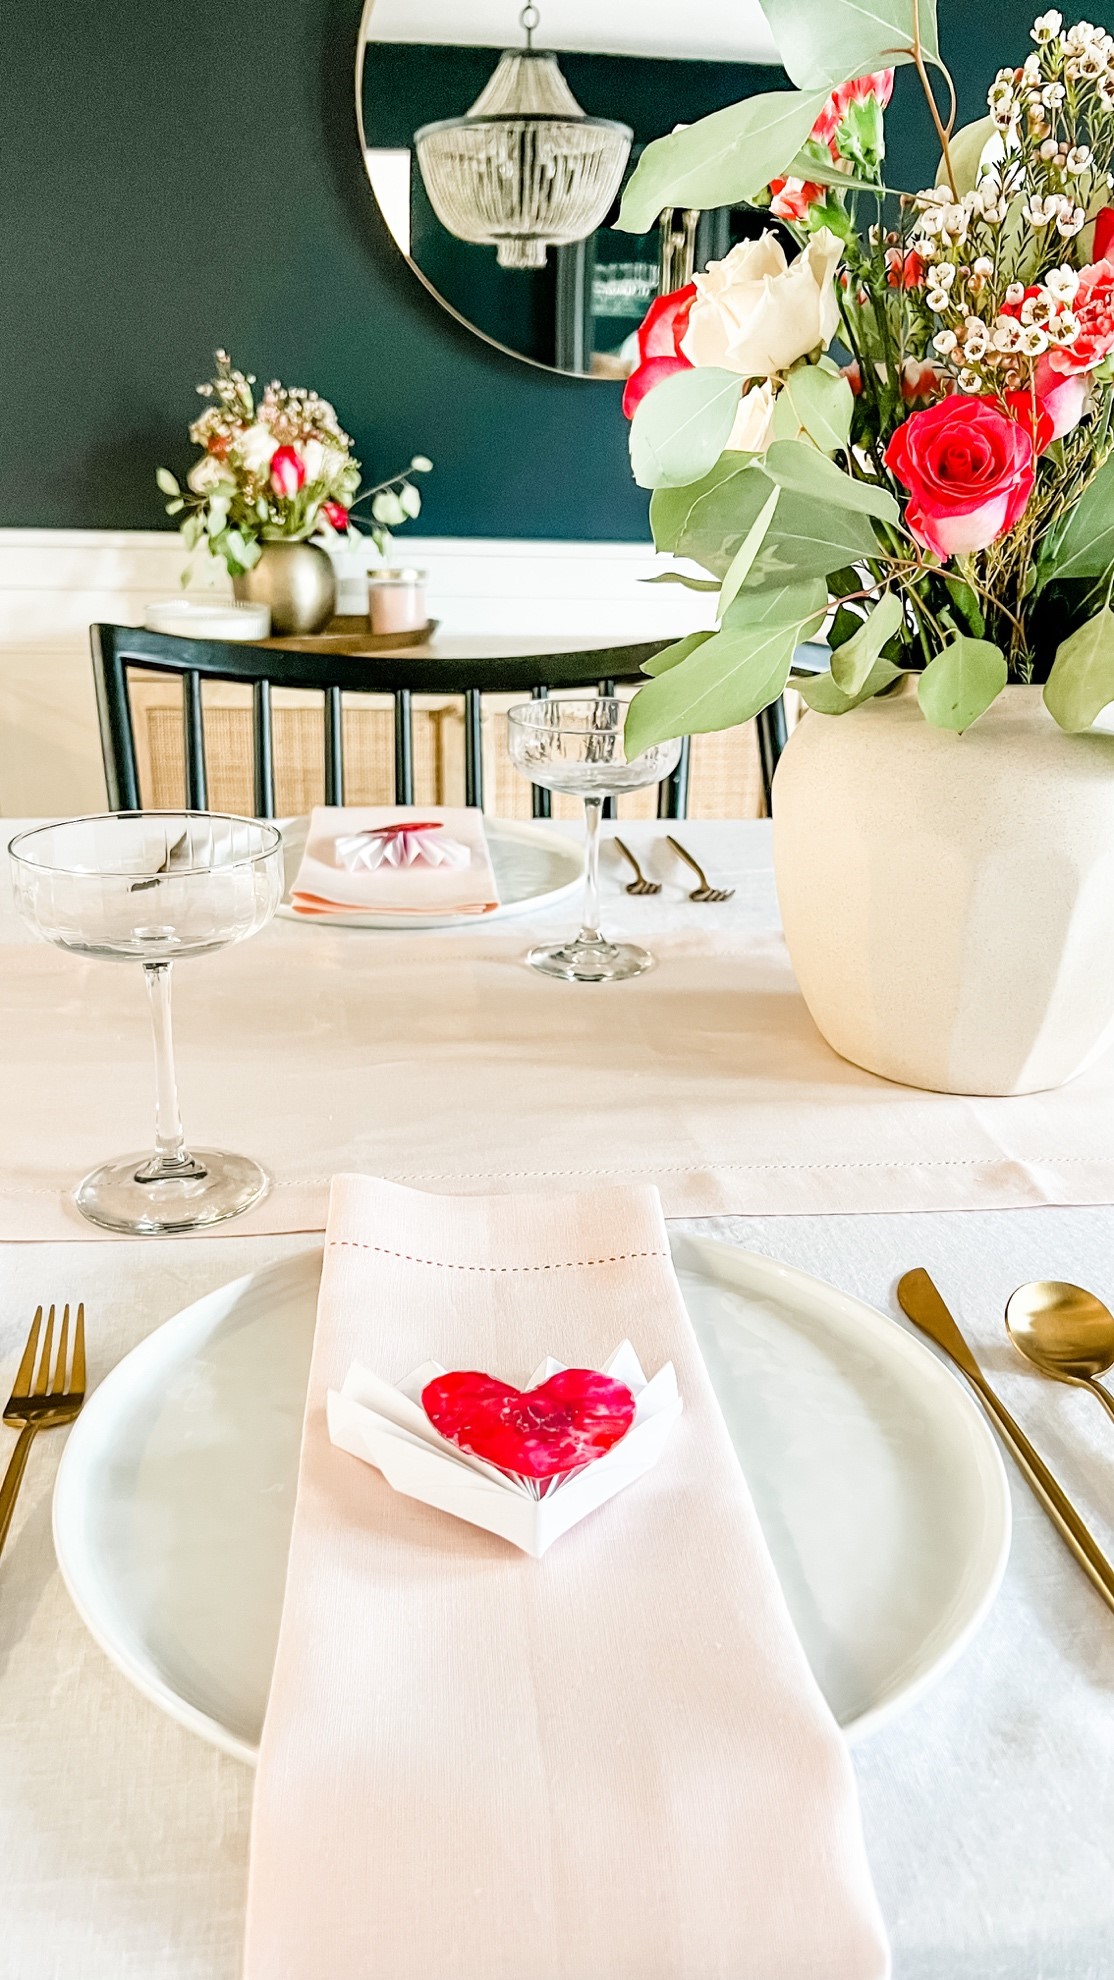
After you can tell all the shavings are melted let dry for 5 minutes before cutting the wax paper into a small heart or your desired shape.
As I said, these are fun name tags that could be used as tags on gifts or as place-setting markers as I did. I also think these would be fun to hang in the window and let the light reflect through them. Here is a quick video showing the process. I hope you found this how-to helpful. Be sure to share and tag me if you decide to make your own!


