
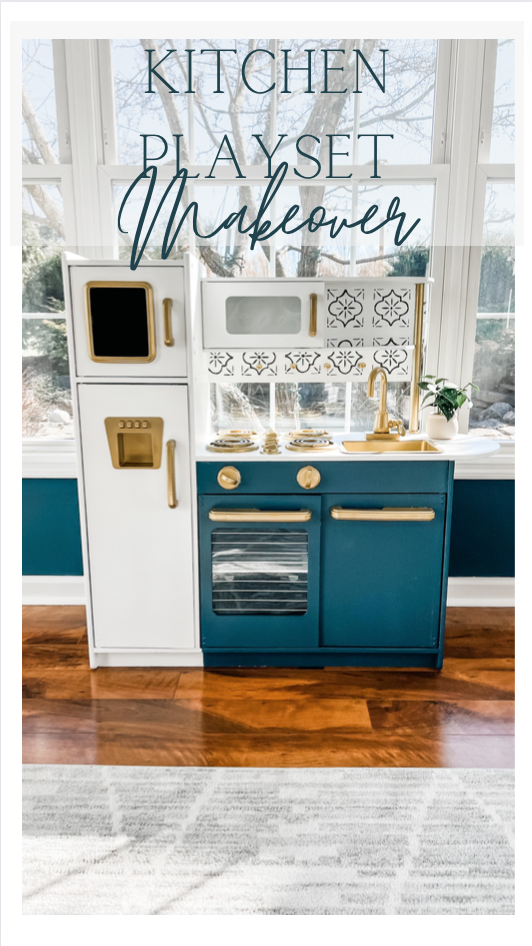
I recently gave my sister’s sunroom/playroom a little facelift. The area is right off her kitchen, and honestly, it was a bit of an eye sore. She had been using it as two functions: a sitting area but also a kids room. However, when it came to the sitting area side of it, it wasn’t very inviting.
Thankfully we changed that with a little paint, a new light fixture, some new furniture and a little décor. However, there was still one thing that was originally in the room that was going to be staying in the room. And, it really was an eye sore even with the rest of the space being refreshed. That being a kids play kitchen set.
This kitchen playset had seen better days. After a lot of play time it was looking pretty rough, stickers placed all over it, a little dirty to not mention crumbs and coins stuck in the oven grids. I knew that renovating that space won’t feel complete unless I do something with the kitchen playset.
So that’s when I decided to give it a little makeover.
Materials needed for this makeover
- 120 grit sand paper
- Paint brush
- Paint – I used two different kinds.
- Sherwin Williams pure white in satin
- Together by Magnolia in satin
- Stencil
- Spray paint-gold
- Paint sprayer
- Priming bonder
Doing the makeover for the Kitchen Playset is as easy as 1-2-3!
The first thing I did was give the kitchen playset a really good clean using a Clorox spray and then soap and water. After it dried, I then removed anything that could possibly be removed to make painting the kitchen set go so much more smoothly. I removed all cabinet pulls, the glass behind the microwave and oven, sink, chalkboard sign, water dispenser on fridge, microwave, hooks and shelf.
After that, I spray painted everything that had been silver to gold. For the items that couldn’t be removed, you can tape them off or spray them directly as you are going to paint the whole kitchen set anyways.
I used this gold spray paint. Honestly, I have tried others in the past and found that the coverage on this one is unmatched.
After applying 2 coats of spray paint, I allowed everything to dry. Then I taped off anything on the kitchen set that I was unable to removed such as the faucet and oven grids.
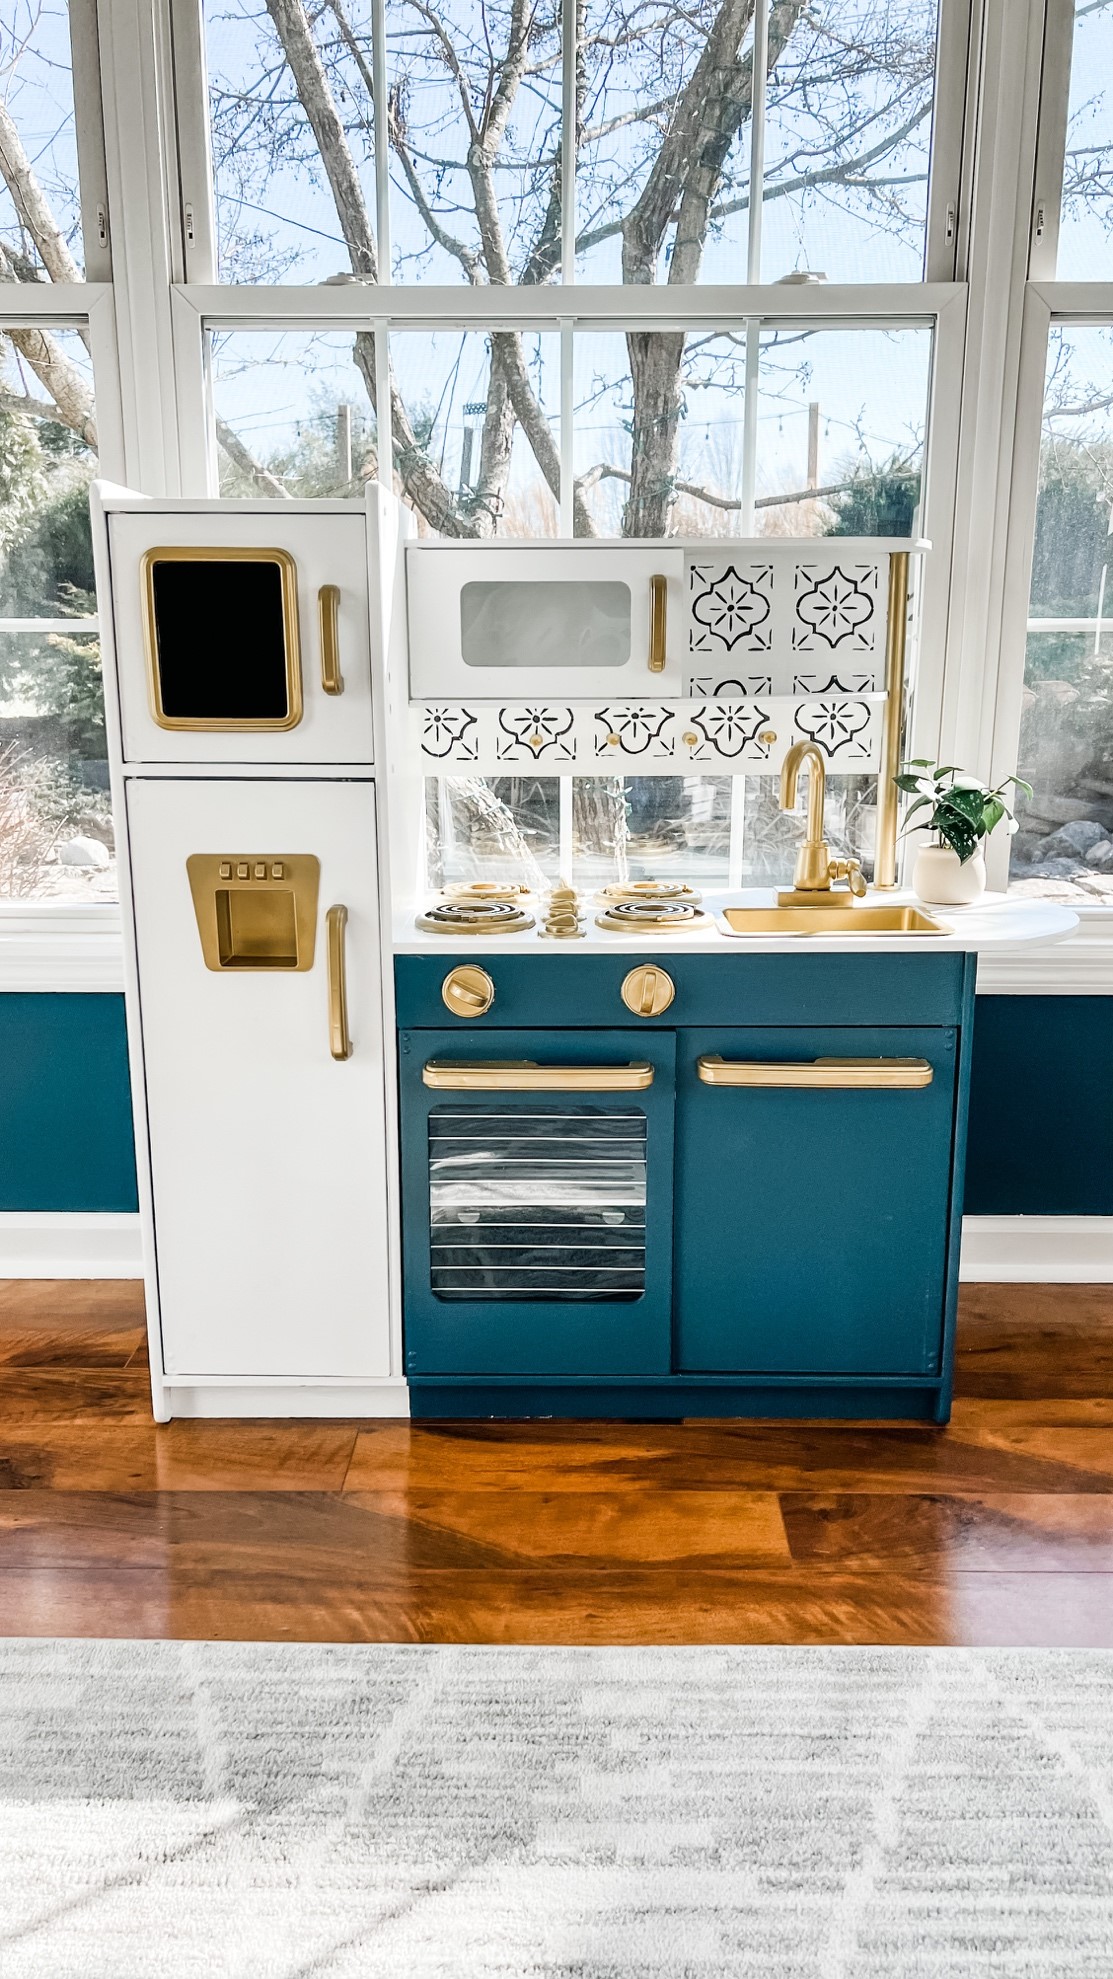
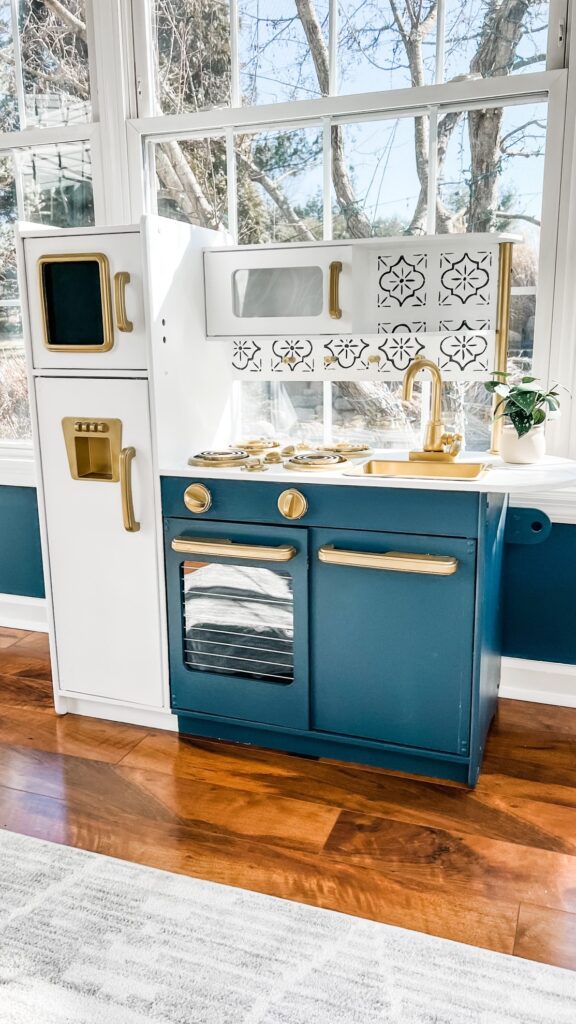
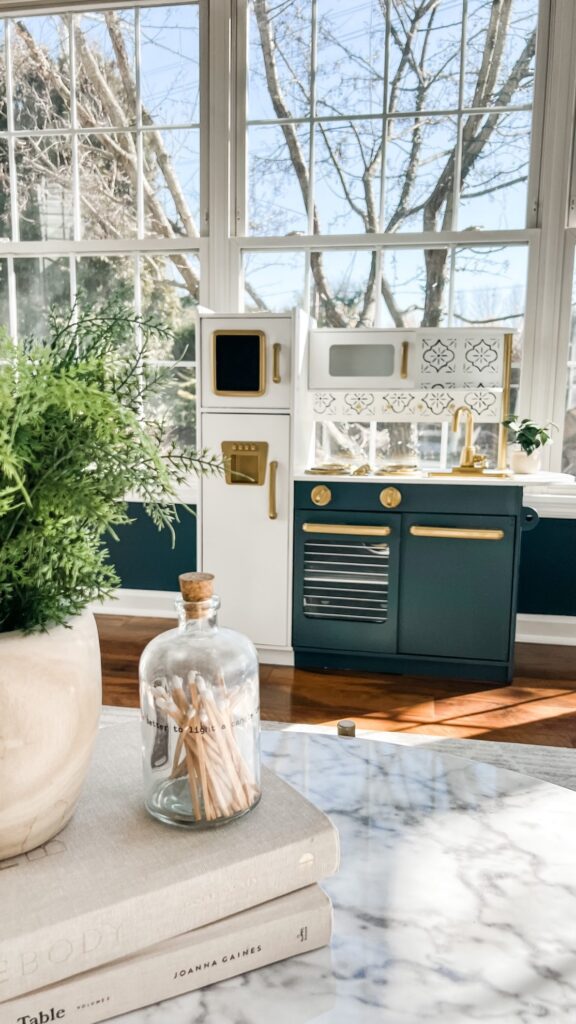
I then lightly sanded the whole kitchen playset with 120 grit sandpaper. This process isn’t fun, but I do find it makes the bonding primer adhere better. Then, I applied a priming bonder after sanding everything. I used a paint brush in the areas that are a little tight and a foam roller on any larger areas. I prime everything from the outside of the kitchen set to the inside. After 2 coats of primer, you are then ready to start painting. For this kitchen set I decided to give it a two-tone look making the fridge and microwave white and the lower cabinet and oven navy blue to match the rest of the room. Both paints were in satin. I personally think satin just holds up a little better with all the playtime the kitchen set is about to get.
When it comes to painting, you could easily use a foam roller and paint brush again and apply the paint the same way you applied the primer. However, if you have a paint sprayer then I highly recommend that! It makes the process go so quickly!
I personally love the Wagner paint sprayer using the detail nozzle. Simply fill the sprayer with your paint color and add a little water and stir. You want it to be somewhat runny so that it sprays easier and gives a nice finish. Both the blue and the white took two coats. I painted the white first without taping off where the blue was going and then painted the blue second. However, when I painted the blue I used painter’s paper and tape to cover anything that was going to remain white. Once the paint had dried for 24 hours and fully cured, I started on the backsplash.
How to make that pretty backsplash?
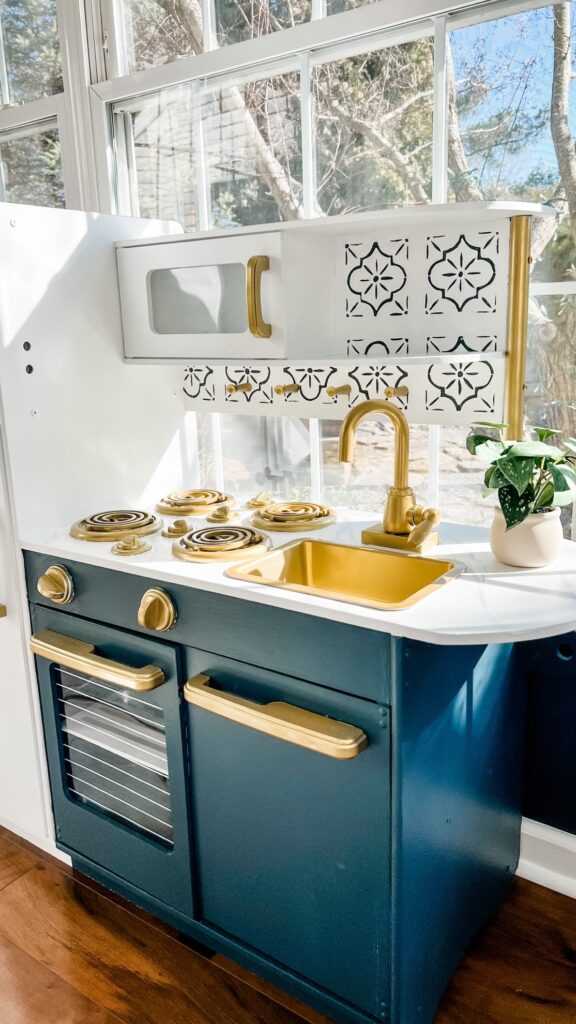
The backsplash maybe the most tedious part of this whole project however I think it has the biggest impact. Using a stencil I ordered from Amazon, I measured how to layout my stencil so that it would look even. After I felt good about my game plan, I started painting. Using painters’ tape on all 4 sides of the stencil to hold it in place, I used a foam roller to apply blue paint onto the stencil. However, the stencil did bleed and I had to go back in with some white to touch it up. If I were to do this again, I would do 2 things differently. I would have used a spray to adhere my stencil in place so that there would be less bleeding – Such as this one
Also, I used a small sponge instead of a foam roller for better control.
After stenciling on the backsplash, I was ready to remove all painters tape so that I could add one last little detail: Marble countertops. Sure I could have kept them white however my sister was putting a marble coffee table into the room and I thought it would be adorable if it matched. I honestly was
shocked by how quickly this process was and how good it ended up looking.
To create my marble countertops on the kitchen set, I mixed together a black paint from a previous project with the white satin paint I used on the rest of the kitchen set. I then used a small paint brush, wet paper towel and dry paint brush to help create the marble affect. Taking the light grey paint on my thin paint brush, I lightly brushed on what looked like marble veining.
I highly recommend looking up a few marble veining images beforehand to give yourself an idea of the look you’re going for. After I painted my fake marble veining line, I took a dry paint brush and lightly tapped it. This blurred the veining so that it wasn’t so harsh. Lastly, I took a damp paper towel to again blur the line a little.
Once everything was dry, I then reassembled everything, and that’s it! I think it’s safe to say this kitchen playset has a second life and will get even more playtime. I hope this helps you or inspires you to transform your own kitchen set.
Some kitchen playsets can be so expensive, ranging from $100-$1000 dollars. You’d be surprised though to see how many are listed as free on Facebook market! So steal yourself a free one and make it look however you want!
Here’s a quick video showing the whole process.


