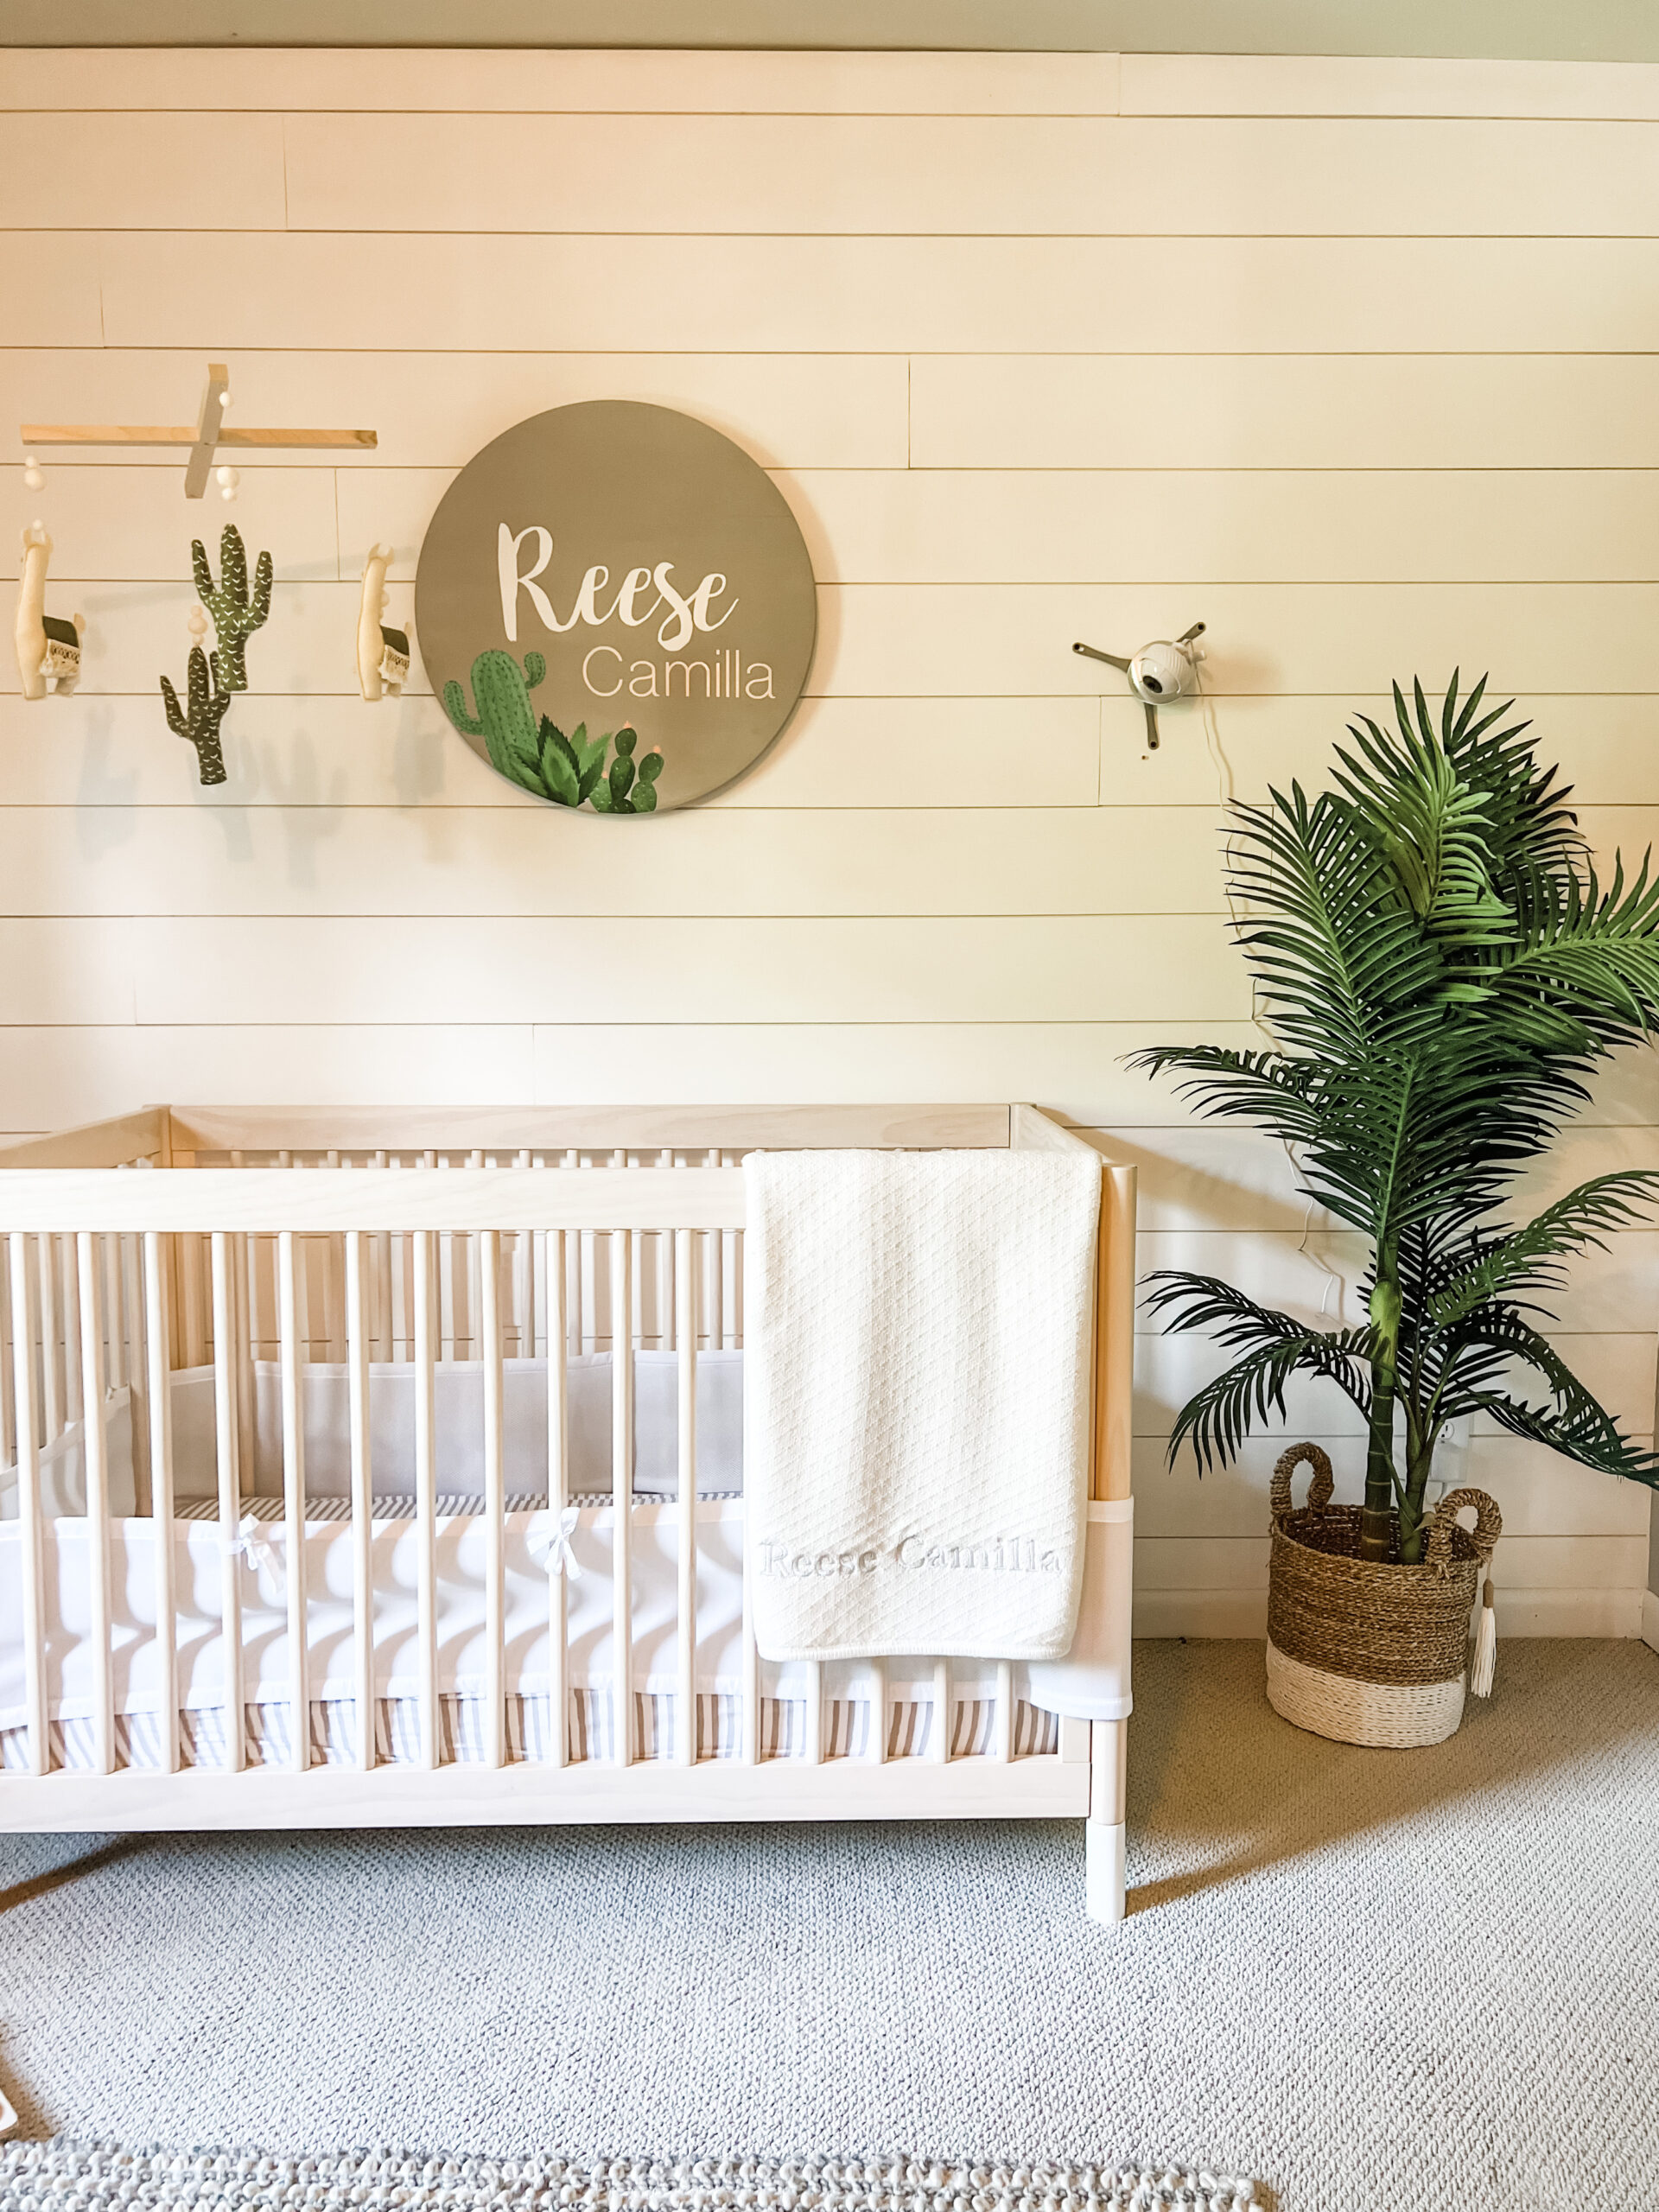

Shiplap walls are by far the easiest accent wall in my opinion, but they really can make a huge impact to a space. When planning out Reese’s nursery, the room felt very basic to me and lacked any type of character. I knew I wanted to add an accent wall to the room, but I also didn’t want it to feel overwhelming. I wanted the nursery to feel calm, light, bright and welcoming. Which is why I decided to add some simple white shiplap to go behind Reese’s crib. The first thing we did was measure out the wall we wanted to add shiplap to so that we could get an idea of how much shiplap we would need. We then ordered shiplap from a local wood distributor near our home. Your local Lowe’s or Home Depot will carry this, but we got a better rate from the lumberyard. We also took a quick trip to a local hardware store to grab some supplies we would need.

What you’ll need:
- Nail pulls
- Nail gun
- White paint – I used Sherwin Williams Pure White
- Wood fill
- Sandpaper
- Saw
- Shiplap
- Stud Finder
We then removed the current baseboard on that wall and removed all nails. Then took measurements of width of the wall and cut each shiplap board to that exact measurement. Walls can vary even if it is the smallest amount and you don’t want to be left with huge gaps on either sides where your board meets the wall. We attached each board to the wall using an 18 gauge nail gun. Don’t worry about shooting directly into the face of the shiplap because you will fill all nail holes at the end. To give your boards the best support and strength to stay on the wall, make sure to shoot into studs (mark out with a stud finder). Some DIYer use liquid nails but to be this is a better option, styles change and liquid nails will ruin your walls if you ever decide to take the shiplap down.
After shooting up all your shiplap boards, go in with wood fill and fill each nail hole with a putty knife. After it dries, lightly sand with a 120 grit sandpaper to give yourself a smooth and paintable surface. I used a brush to paint between each shiplap groove and a foam roller for the fronts of each board to give the wall a smoother finish.
And that’s it! A quick easy accent wall that any first time DIYer can do!


