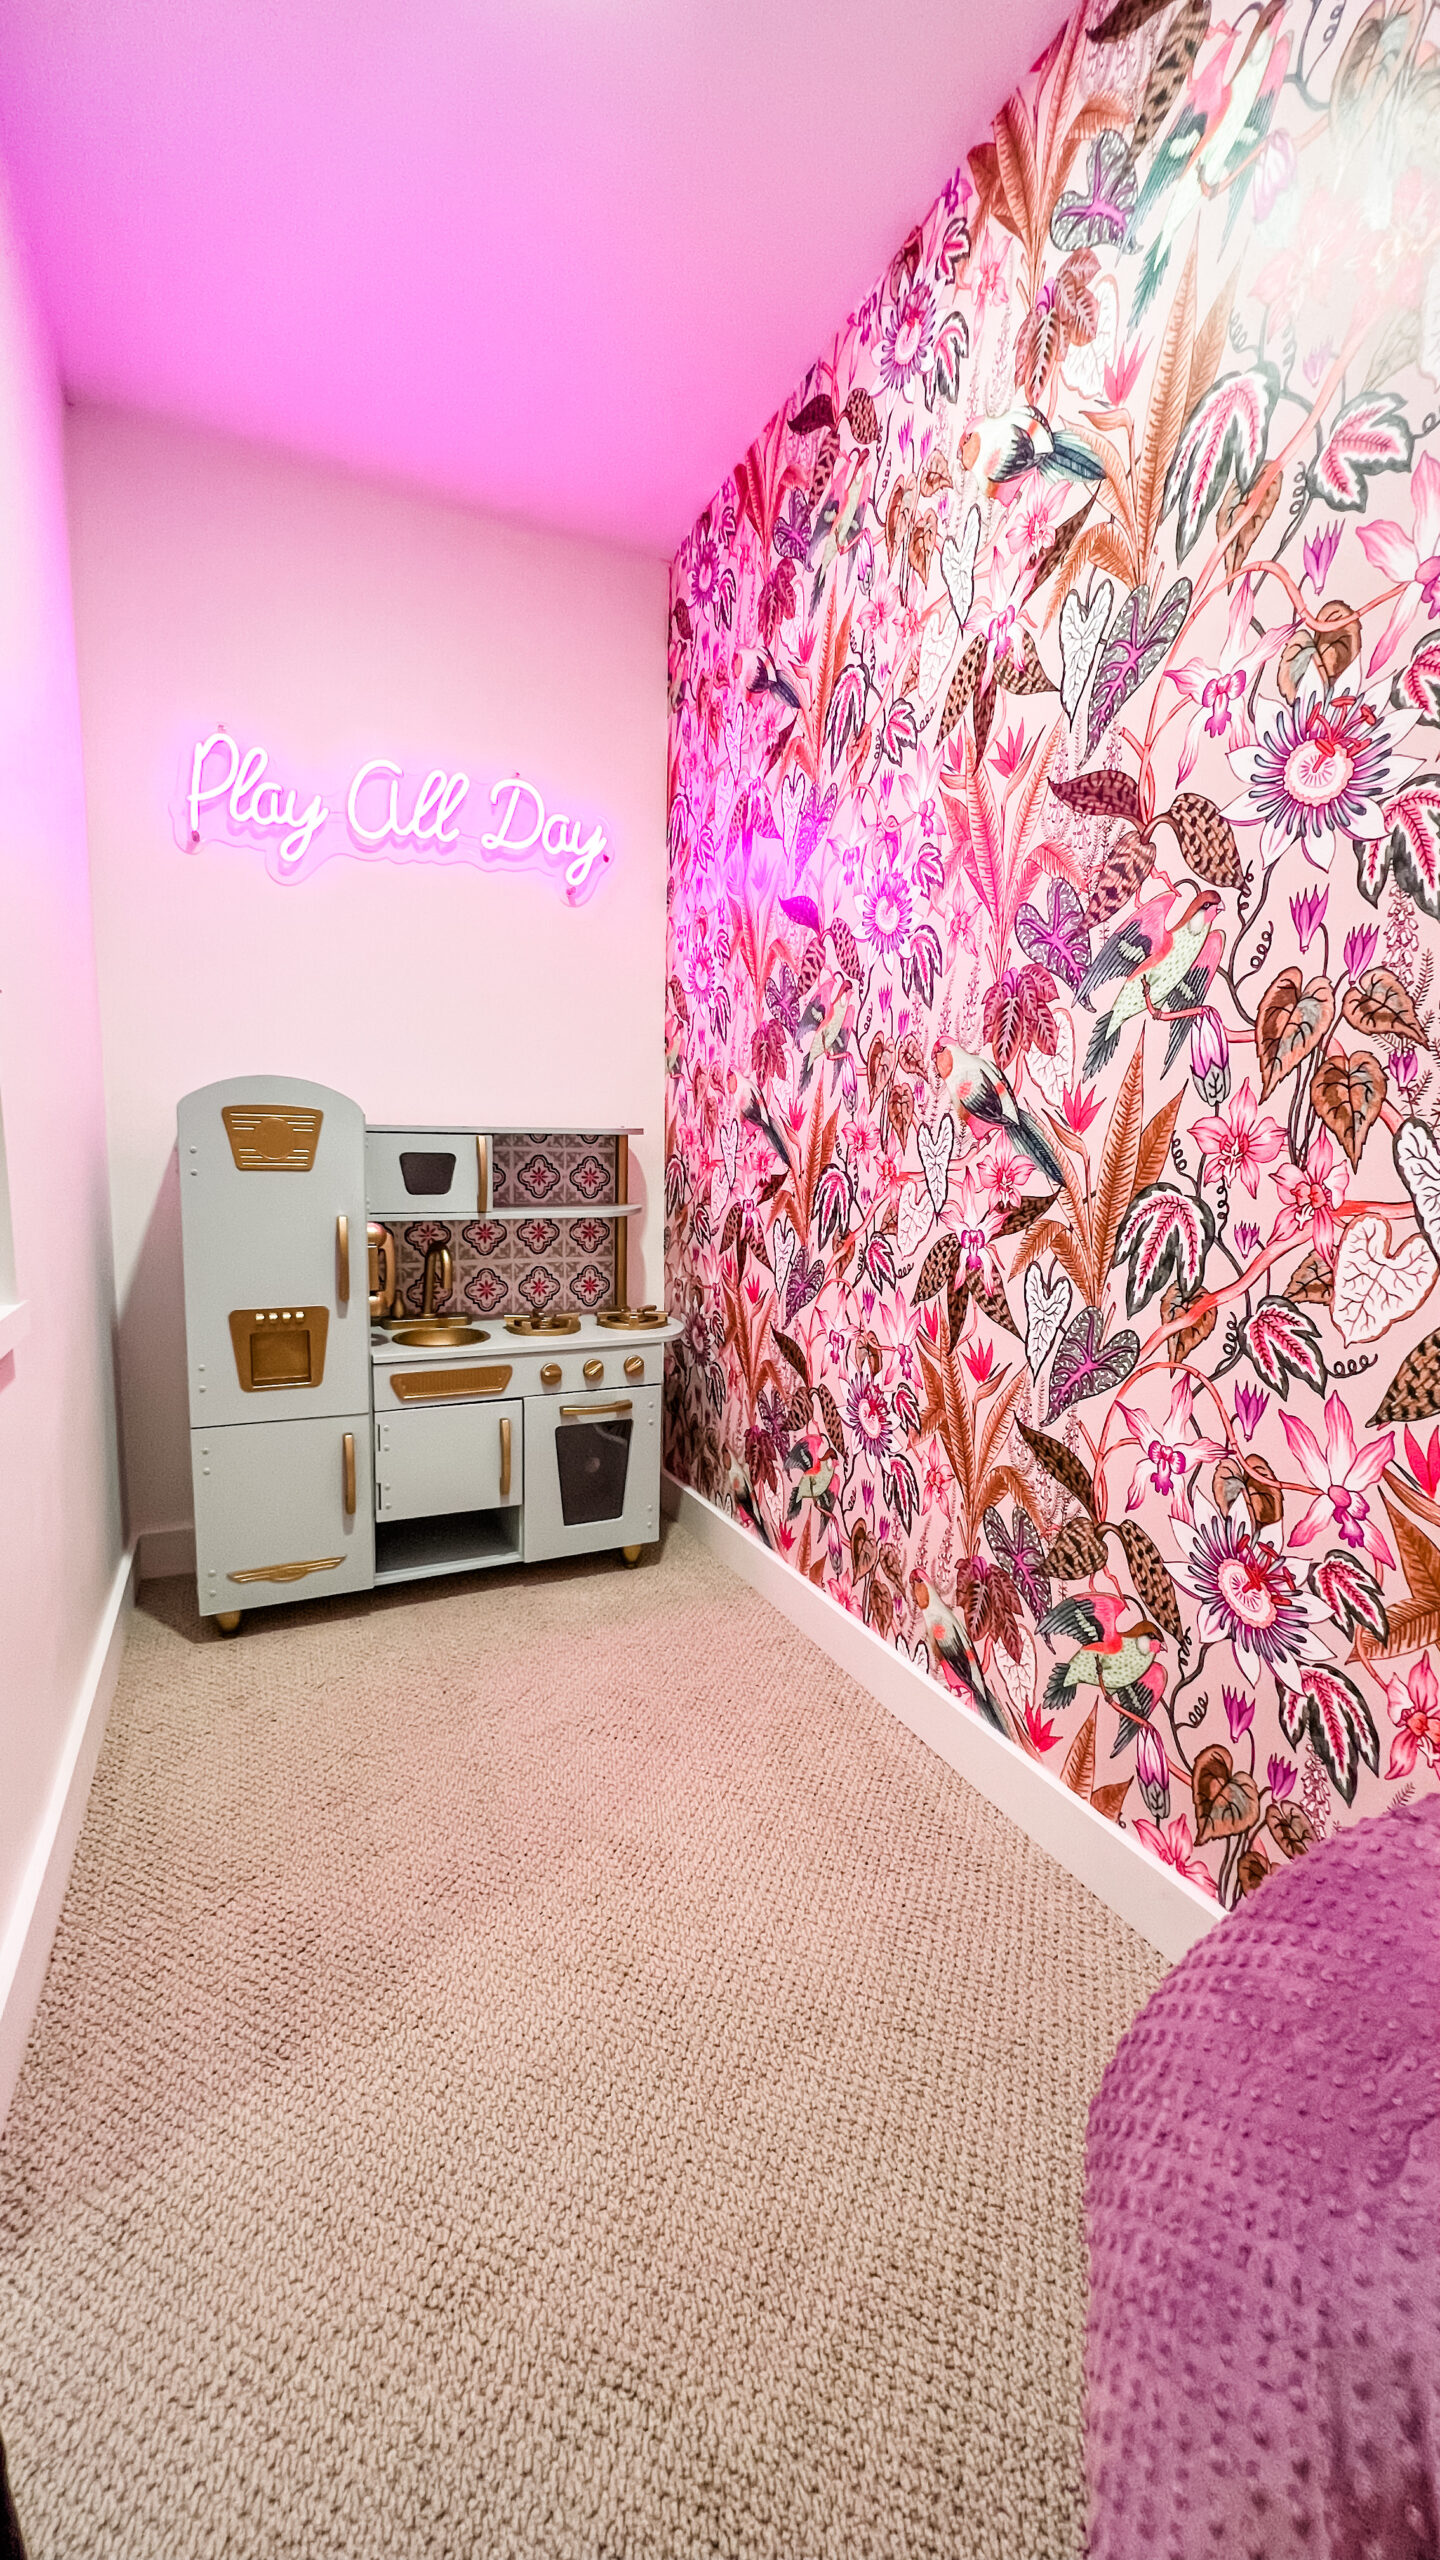

Installing wallpaper can vary depending on the type of wallpaper you are using. For our Playhouse project for Reese, I wanted to add something bright and fun right when you opened the door. Most of our home is pretty neutral, and I wanted this space to feel completely different, so we chose to go with a bright and vibrant wallpaper from Milton and King. We picked Milton and Kings Parrot Jungle wallpaper in the color oatmeal.
We installed a traditional wallpaper for our playhouse renovation, which we needed to paste and apply. I will go over these steps and how you can make it go smoothly, but first, let me explain why we picked this wallpaper over another kind.

Let’s talk about the advantages of Non-woven wallpaper.
- Breathable – These high-quality wallpapers are breathable, helping them endure mold and mildew.
- Easy Paste-The-Wall installation – Made from both natural and non-porous synthetic fibers. These non-woven wallpapers will not absorb moisture from the adhesive. Apply the paste directly to the wall. The paper will not expand or contract with no booking time required.
- The wallpaper rolls are finished precisely to have no overlap. Meaning the panels butt up to each other for ease of installation and a seamless pattern
- Cleanable – Dirt, dust and other marks can be cleaned using a damp cloth with soapy water, which was a must when putting this in a toddler’s playhouse.
- Durable –withhold wearing and tear-resistant. This is a great advantage as the wallpapers will not get torn during installation or removal- again, much needed in a space my toddler and friends will be playing.
- Easy to Remove – Once completely dry and installed, non-woven wallpapers will come off quickly. It should come down in full sheets without the dreaded steamer or water. Without causing any damage to the walls upon their removal. Styles change, and Reese is going to grow. I may want to change up this wallpaper to reflect whatever she is into then.
Installing wallpaper and what materials you’ll need:
- Large sponge
- Paint roller
- Wallpaper paste
- Utility knife
The first thing we did was make sure the wall we were going to be wallpapering was clean and dry. From there, we mapped out how many panels we would need and marked out where the first panel should go for it to be level. We then began rolling the wall with a roller and wallpaper paste where the first wallpaper panel was to go. After applying a generous layer of wallpaper paste, we laid on our first panel.
When laying the first panel, ensure you do not butt your panel directly into the corner of the wall or the top of the wall. You want it to overhang on both. Not all walls are level/plumb, so the most important thing is your wallpaper is straight and level. You’ll cut off the excess overhang on the top and sides after the wallpaper is installed to give you a seamless finish.
Make sure you work in sections. Each wallpaper panel at a time. You don’t want to paste the entire wall at once and take the risk of the wallpaper paste drying. If you notice any bubbles, use your dry sponge to apply pressure and work the bubble to the edge of the wallpaper to remove it.
Using a sponge instead of a credit card or another sharp object assures you don’t rip or damage your wallpaper. Pay attention to the pattern as you hang your wallpaper to ensure everything is lining up correctly.
Once all your panels are hung, use your utility knife and a ruler to cut the wallpaper overhang on the top and sides of your wall. I use a ruler to ensure my cuts are straight.


