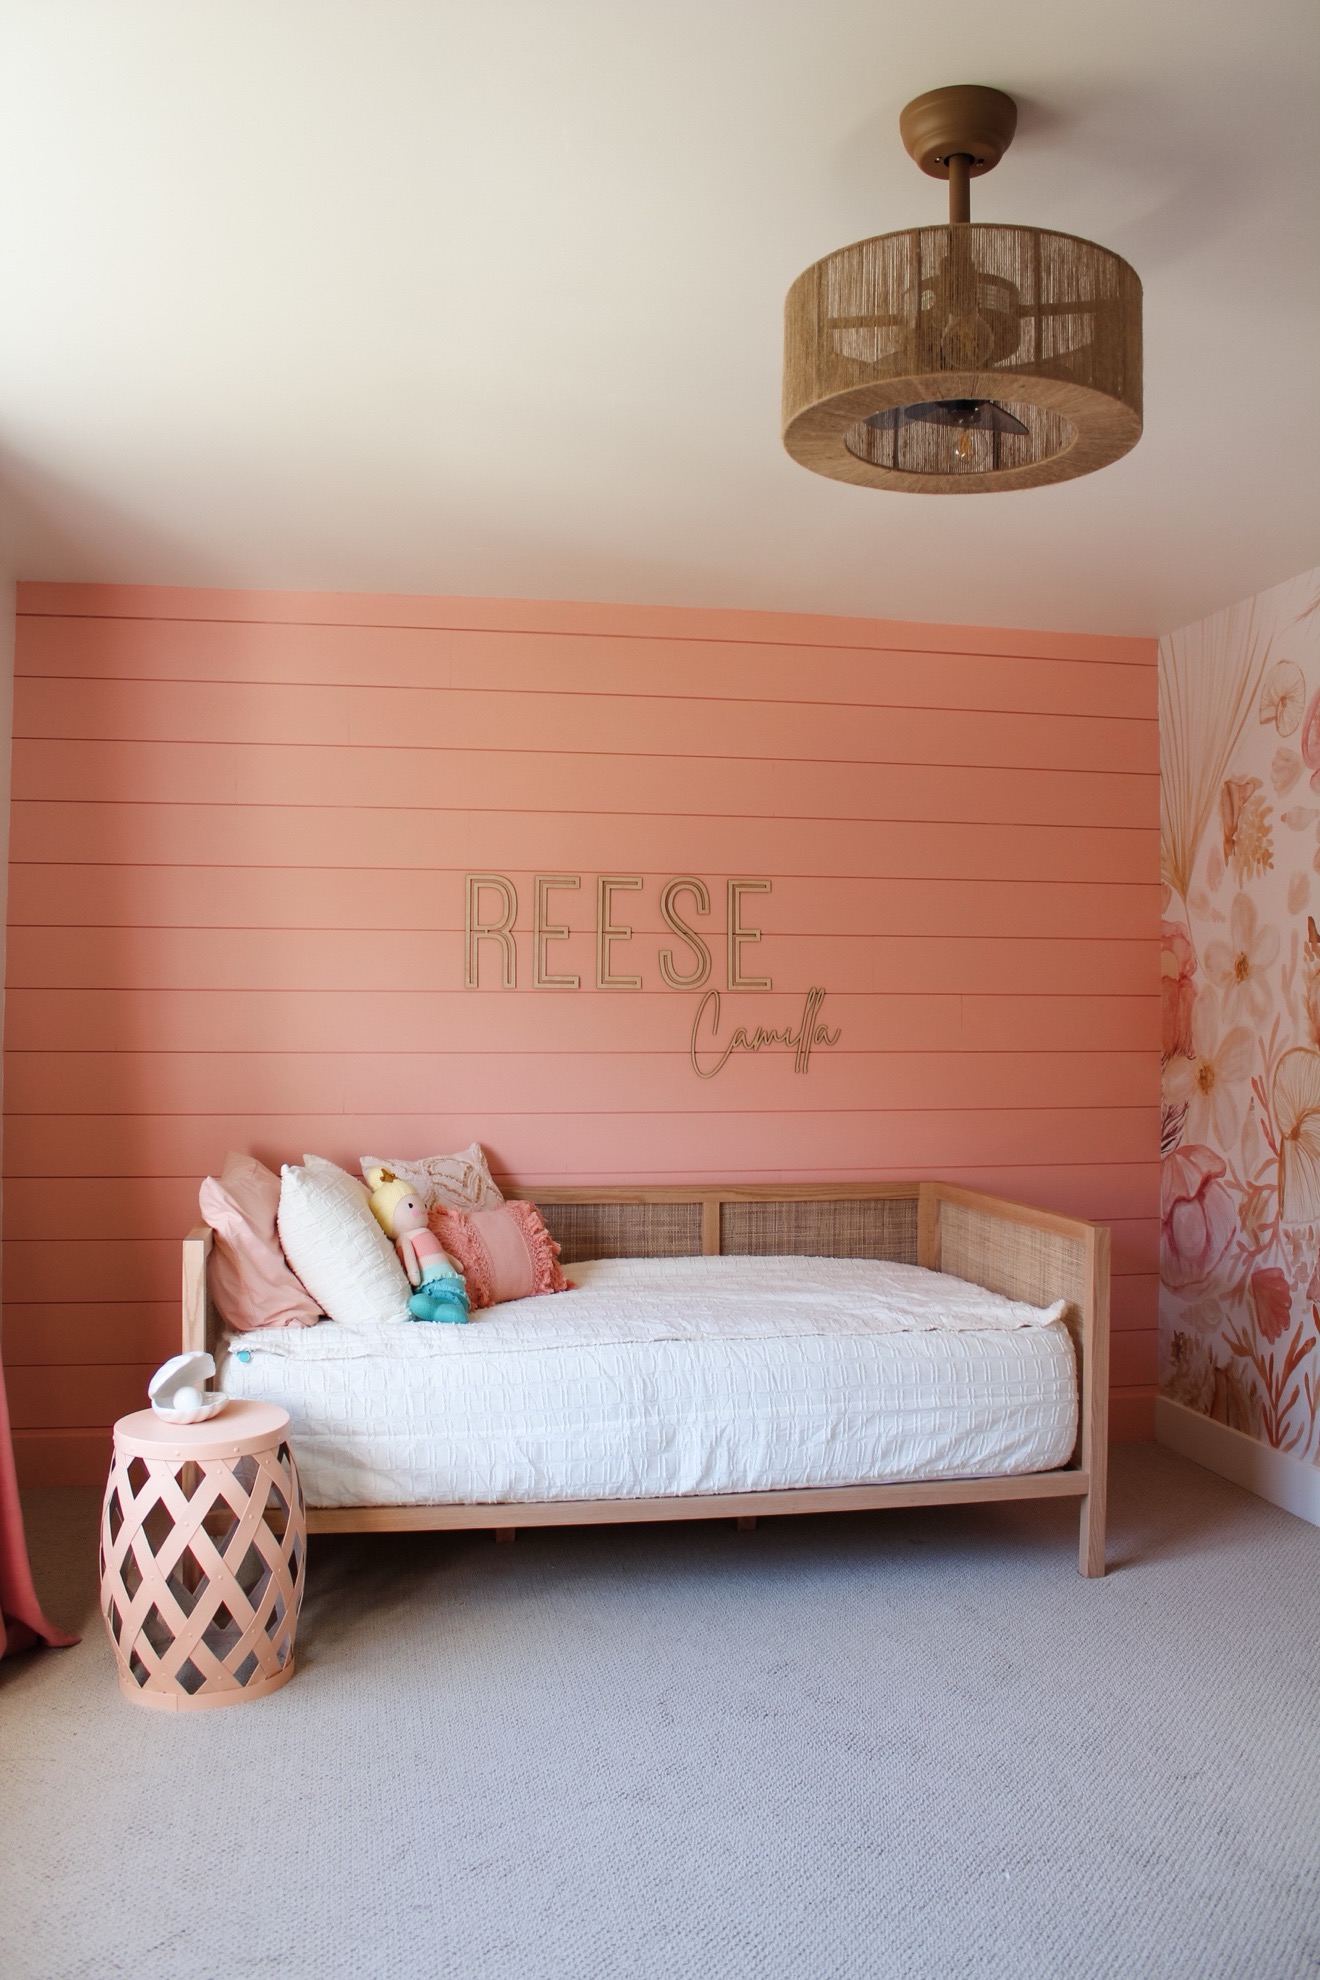

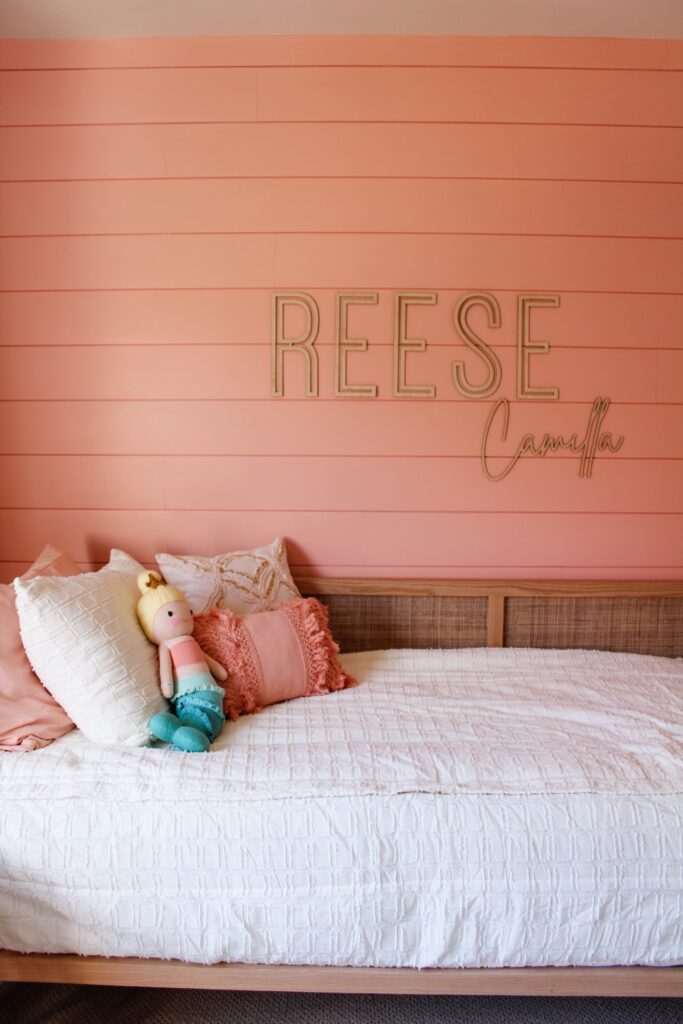
Building a day bed for Reese’s mermaid room was challenging but rewarding. Noah’s background working as a carpenter in a custom cabinet shop certainly helped, but building unique furniture was a new test for us. Knowing we wanted to transition Reese from a crib to a ‘big girl bed’ and wanting something that fit the mermaid theme but also could aesthetically stand on its own, we felt the day bed was a great option. We liked that functionally, day beds are three-sided, so there was less chance of her falling out of bed, and from an appearance standpoint, we really liked using cane webbing as paneling. Overall, this project stretched us, but we feel most people could do it on their own if they took their time and paid attention to detail.
Items Needed to build this day bed:
Let’s get it started!
Step 1. Milling the Lumber
The first step is to mill the lumber. We took s4s (finished on 4 sides) red oak boards that were 2” thick and ripped them into several 2” x 2” boards. Once ripped down, we used a palm sander to sand the four faces of the boards to remove blade marks and ‘chatter’
Step 2. Cutting to Length
Next, we took our 2 x 2” sanded boards to the chop saw and cut all of our individual pieces for the frames of the bed. The design for the bed had four frames, and the overall size was 28” tall, 42” deep and 72” wide.
Step 3. Assembling Frames
The next step was to take the cut pieces and assemble the frames of the bed. The construction method was Craftsman style, so all joints were butt joints that died into each other square (no miters).
For the back panel and the mattress panel, where there were sides that would not be seen, I used a Kreg Jig to drill pocket holes and fastened these with pocket screws and wood glue – a relatively fast process. For the side panels that would be visible from both ends, I used a doweling jig to drill holes into all the parts and connected them with ¼” dowels and wood glue.
Once each panel was assembled, we clamped them together and let them sit overnight. Important learning lesson here, both the wood and the glue need to be at room temperature. Our first glue-up was done in the cold, and some of the glue joints failed.
Step 4. Sanding/Filling
Once all of the frames were glued up and hardened, we popped the clamps and got to sanding. We started with 80-grit sandpaper. After the first round of sanding, we filled any gaps with wood filler and then worked our way up to 120-grit sandpaper, making sure all of the joints were smooth.
Step 5. Routing out the backside
Since we wanted the look of a recessed panel, we needed to route or rabbet a shoulder out of each panel where the wicker would go. I started with a ½” rabbeting bit and worked my way down so that the groove landed 1” from the face and 1” from the rear, perfectly centered on each panel. This process is dusty, loud, and takes a lot of time. Very important to be patient and go slow. Once all edges were routed out, we took sandpaper and broke the sharp inside edge before installing the wicker.
Step 6. Polyurethane
Before installing the cane webbing, the next step was finishing the frames with polyurethane. We went with a water-based product in a warm matte finish. Applied the poly with a brush, and then once dried, we buffed it with 400 grit sandpaper between cotes. We did three cotes.
Step 7. Installing the Cane Webbing
We haven’t worked with wicker much, so this step was challenging for us. We started by soaking the rolls of cane webbing in warm water in our bathtub for 3o minutes. This caused the wicker to loosen and expand.
Next, we laid the panels down on the ground and rolled the wicker over the openings. With a small pneumatic stapler, we pulled the wicker tight into the groove and shot about every 2 inches into the panel. You want to pull the panel tight but not too tight, as it will naturally tighten as it dries out. Important to follow the lines on the wicker to ensure the webbing is running in straight lines.
Once all of the panels were shot on, we took a razor knife and trimmed the excess wicker
Step 7. Trimming out
Next, we wanted to cover up the staples and the rough ends of the wicker on the backside of the panels and also help hold the panels in place, so we added a small ¼” x1/4” wooden spline on the backside. This was more Red Oak that was ripped down, sanded, chut at miters, and shot on with a 23 gauge nailer.
Step 8. Assemble the Bed
The final step was to assemble the bed. We started by routing grooves into the mattress frame so that we could recess ¾” boards across for more mattress support. Next, we predrilled and attached the frames using 5/8 x 4” Lag screws. On the back side of the bed, we used 90-degree angle supports to add strength. Lastly, we cut small chunks of wood to go down to the ground under the mattress and give the bed more support in the middle.
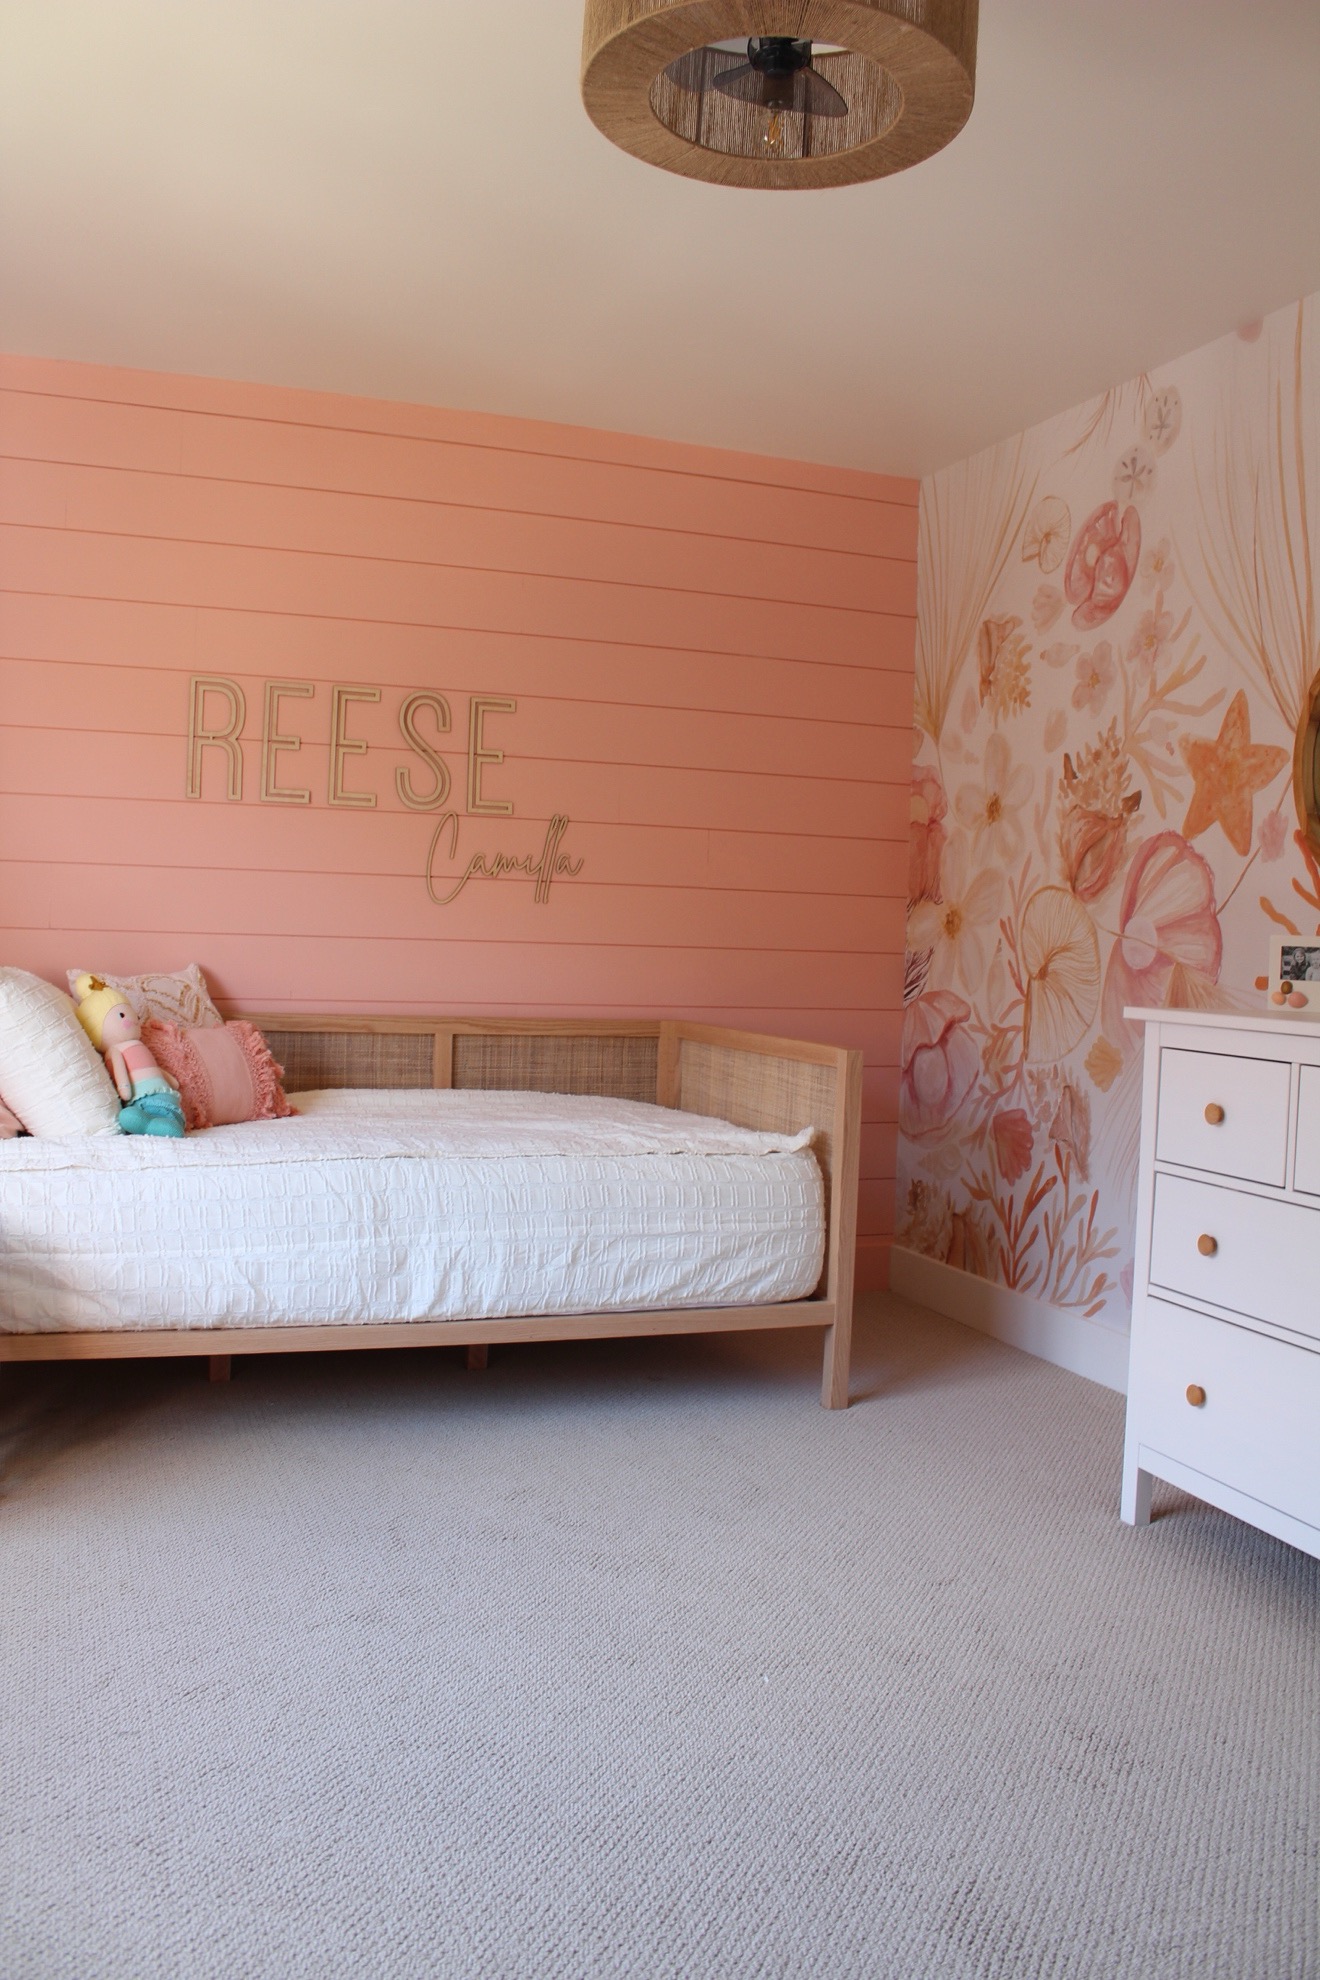
And that’s pretty much it. We decorated the mattress with mermaid-themed linens and pillows, and it was ready for a happy toddler. Again, this project falls into the simple but not easy category for us. Each step is fairly simple and intuitive, but as with most woodworking projects, it takes patience and precision to achieve the vision you set out for. I hope this helps if you set out to make your own day bed. Good luck!


