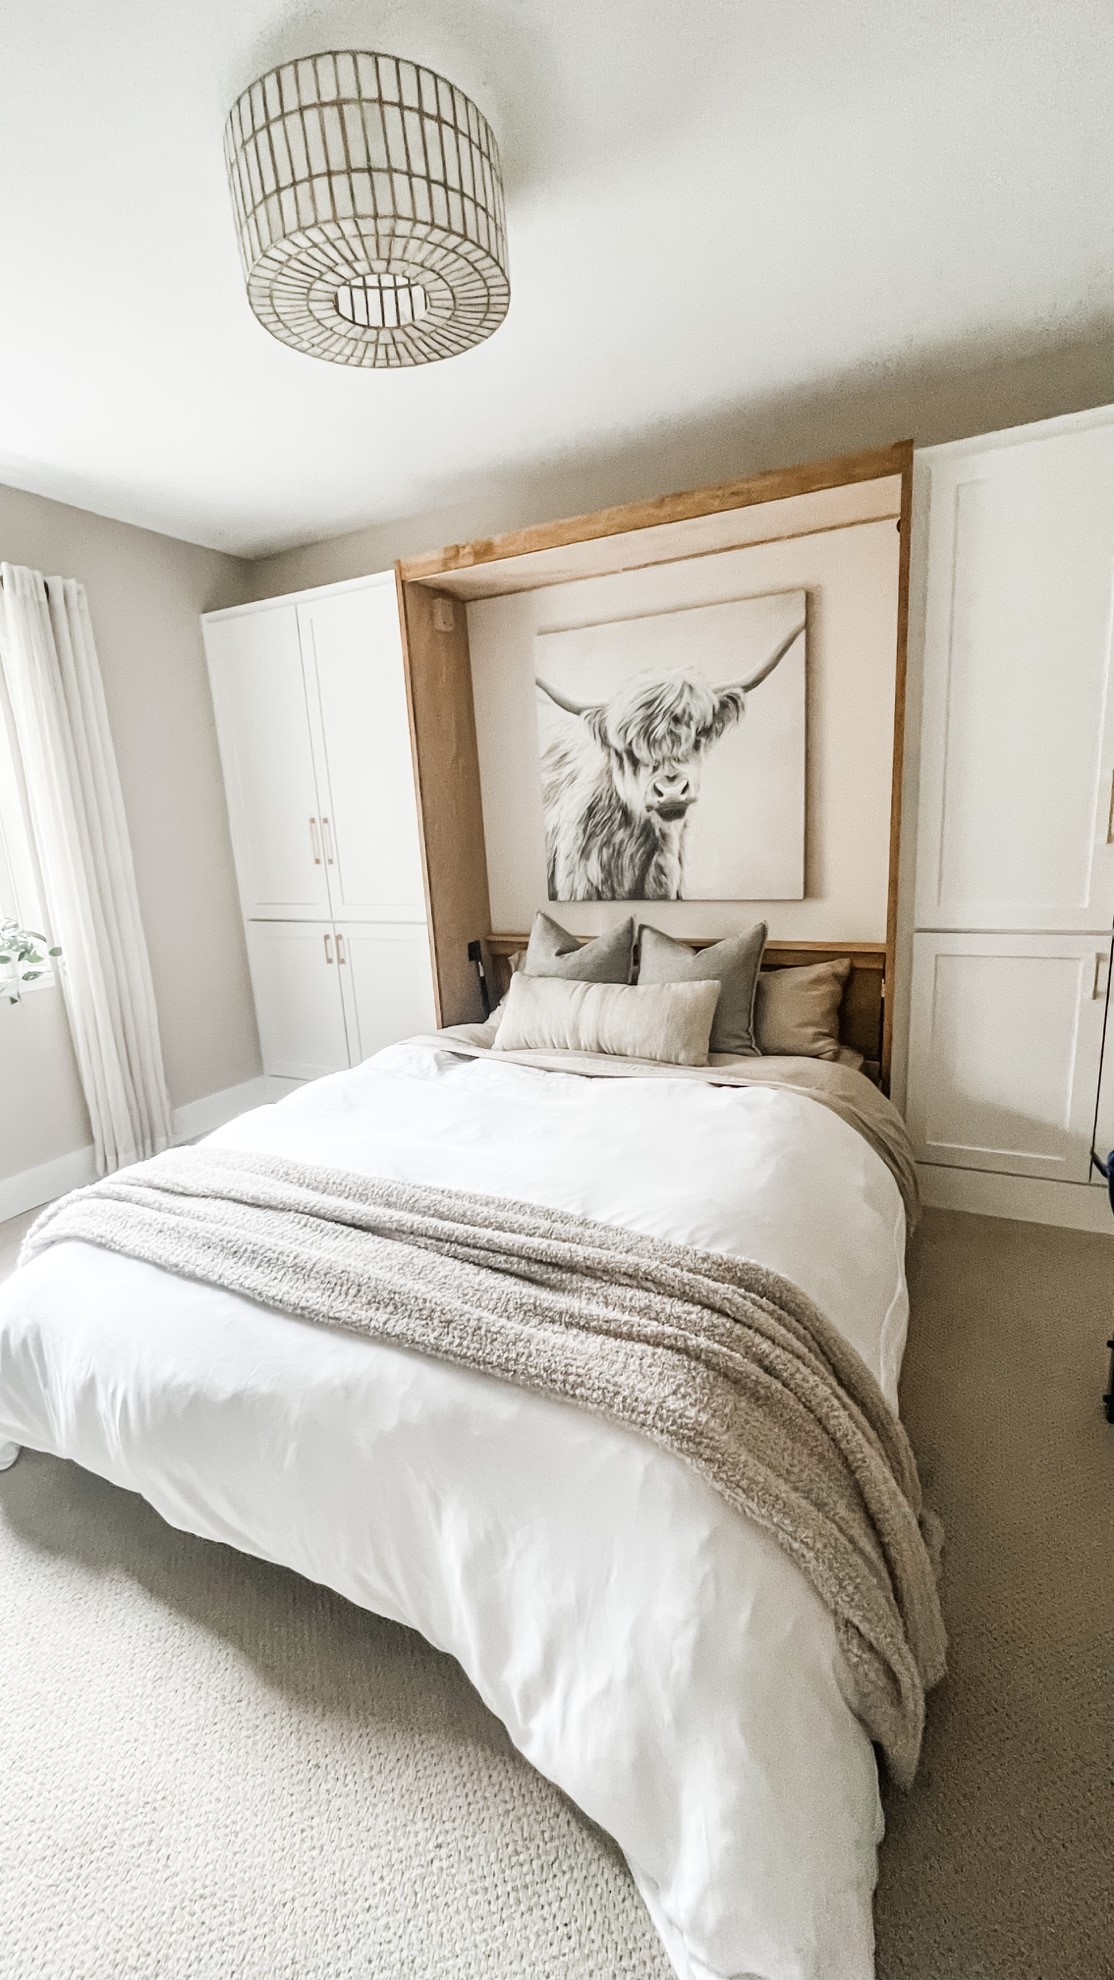

Adding a murphy bed was the key element in turning our basement gym into a multi-functional room with capabilities such as a guest bedroom, a gym, and an office. It is a collapsible mechanism that can fold against a wall to create more usable space. Having it is a fantastic solution for maximizing space in small living quarters. Not only do they provide a comfortable sleeping area, but they also fold away when not in use, leaving you with more room to move around.
If you want to build it on your own, consider a Deluxe Murphy Bed Mechanism kit from Create-A-Bed. That’s what we used, and it is an excellent option to consider.
Here’s a step-by-step guide to building a Murphy bed using a kit from Create-A-Bed.
First, gather your materials.
Before you begin, gather all the materials you’ll need to build your Murphy bed. The deluxe Murphy bed mechanism kit from Create-A-Bed will come with most of the necessary hardware, but you’ll also need to purchase lumber, screws, and finishing materials. We predominantly used ¾” birch plywood from The Home Depot. We went with clear pine from The Home Depot for the few areas that needed solid wood.
Now, measure and cut your lumber.
Measure and cut your lumber to the dimensions specified in the Create-A-Bed instruction manual. This will include the bed frame, the support legs, the outer cabinet, the headboard, and the fascia boards. We initially ripped our plywood with a table saw and did our cross-cutting with a circular saw. On the narrower boards, we used our chop saw for cleaner cuts.
Time to assemble the bed frame!
Assemble the bed frame according to the instructions provided. This will involve attaching the side panels to the headboard and footboard and installing the bed slats. Much of the time and focus is spent on ensuring the provided hardware is installed in the correct location so everything functions correctly. Most of the pieces were tacked together with 18 gauge nails and followed up with drywall screws. We used wood glue and finished nails in the highest-traffic areas.
And now, the fun part –installing the Deluxe Murphy Bed Mechanism!
The deluxe Murphy bed mechanism kit from Create-A-Bed comes with detailed instructions for installing the mechanism. The process involves attaching the bed mechanism frame to the wall and then the bed frame to the mechanism. We started by centering the unit on the wall and then marking plumb lines to ensure our cabinet was sitting correctly. Once we had the cabinet where we wanted it, we screwed it to the wall with 3″ cabinet install screws being sure to hit studs. The folding bed mechanism has a lot of weight and torque, so it’s important to secure the unit to the wall tightly. Once the bed was attached to the wall, we engaged the hydraulic pistons for the folding mechanism. Lastly, we made a few tweaks so that the reveals on the face of the bed when shut looked even.
Lastly, install the support legs.
Once the mechanism is installed and fastened to the wall, attach the support legs to the foot of the bed frame. When folded down, these legs will support the bed, so make sure they’re securely attached.
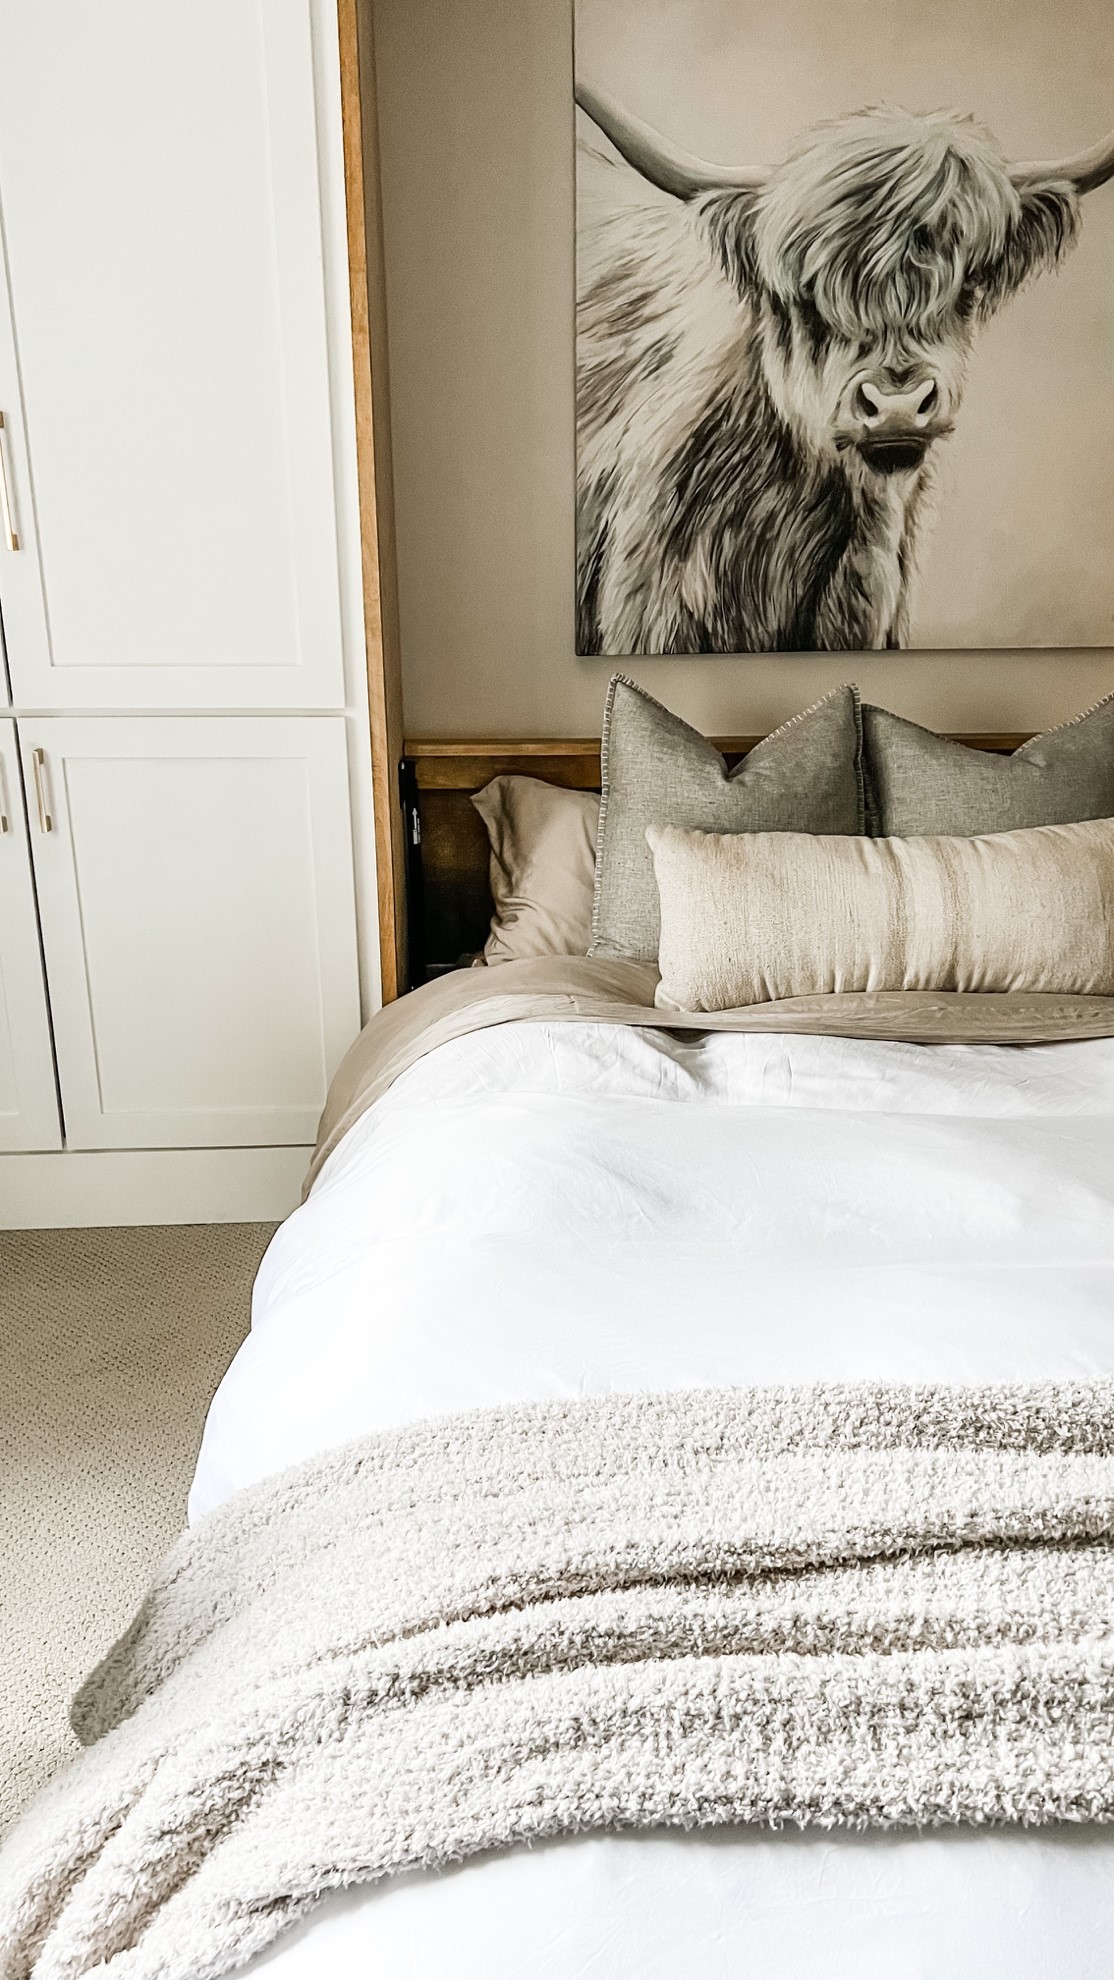
You can finish the bed as desired with the bed frame and mechanism installed. This may involve sanding and staining or painting the wood and adding any additional features you’d like, such as a headboard or storage shelves.
We wanted the header piece to look like a traditional headboard, so we sanded and stained the parts with a Golden Oak stain.
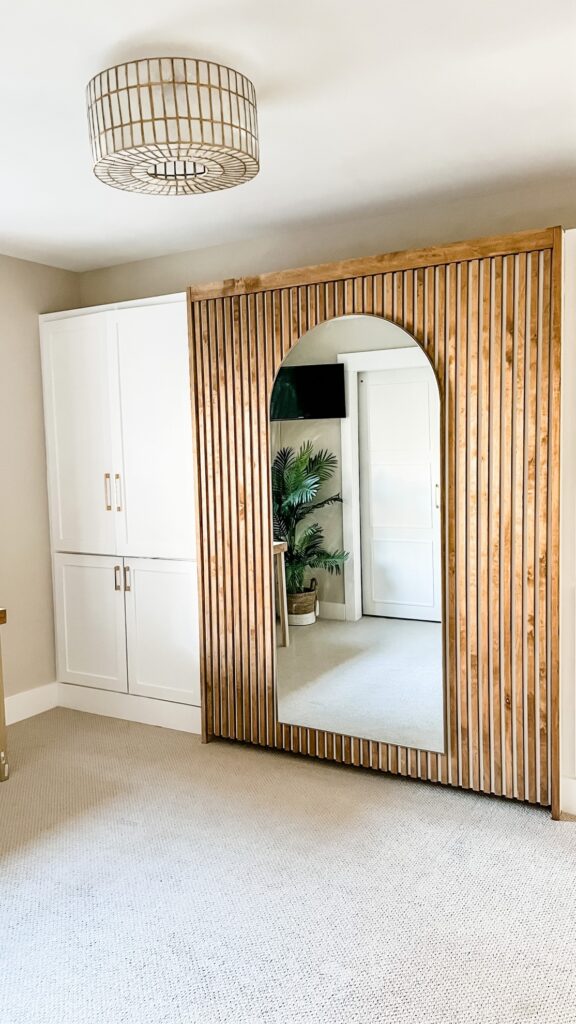
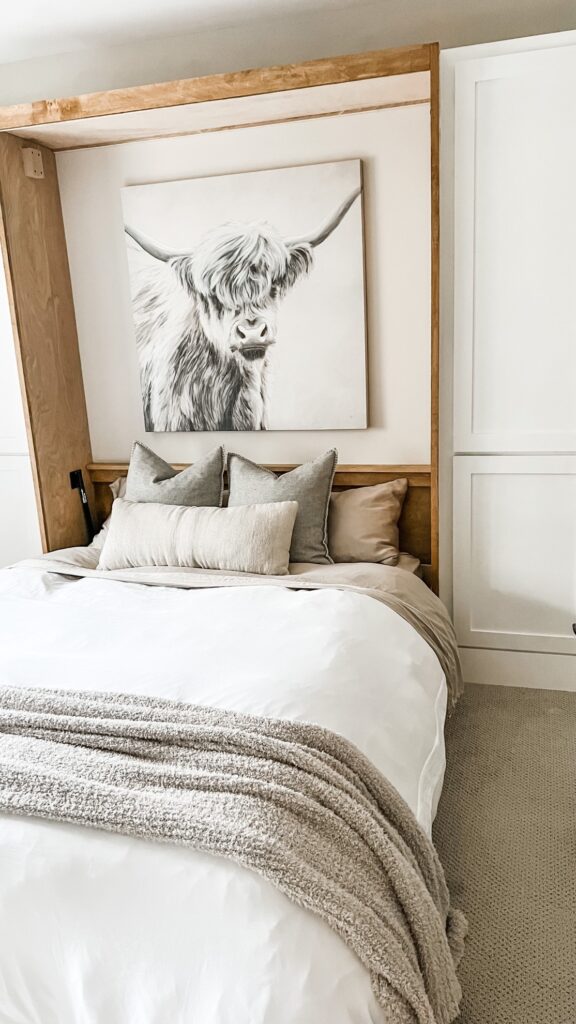
Here’s how it looks when the murphy bed is folded up and down.
One last thing. Don’t forget to test your murphy bed!
Before using your Murphy bed, test it to make sure it works correctly. Fold the bed up and down a few times to ensure it’s secure and functioning as it should. We found that the hydraulic pistons were overpowering the weight of the mattress, and the bed wouldn’t stay down. Thankfully we added a slat wall to the face, which added enough weight to offset this, but if we didn’t have that, we would have added some other sort of weight to keep the bed down.


