
Here is a quick DIY tutorial where we will show you how to turn your ordinary dry-walled fireplace into a stunning focal point using Elasto Shield. This innovative product allows you to achieve a concrete look without the hassle or expense of traditional materials. Follow along as we guide you through the step-by-step process to create a beautiful faux cement finish for your fireplace.

Materials Needed:
- Elasto Shield (sufficient amount based on the size of your fireplace)
- Painter’s tape
- Plastic sheeting or drop cloths
- Putty knife or trowel
- Sanding block or sandpaper
- Paint roller and tray
- Paintbrush
- Water
Optional: Concrete pigment for tinting (if desired)
Step 1: Prepare the Space
Start by thoroughly cleaning the surface of your fireplace to remove any dirt, dust, or debris. Use a damp cloth or sponge to wipe down the walls and let them dry completely. Next, use painter’s tape to protect any adjacent surfaces such as the mantle or walls that you don’t want to get the Elasto Shield on. Lay down plastic sheeting or drop cloths to protect the floor and surrounding area from any spills or splatters.
Step 2: Mix the Elasto Shield
Follow the manufacturer’s instructions to mix the Elasto Shield. Typically, you’ll combine the powder with water in a bucket and stir until you achieve a smooth, lump-free consistency. If you want to tint the Elasto Shield, now is the time to add concrete pigment and mix thoroughly until you reach your desired color.
Step 3: Apply the Elasto Shield
Using a putty knife or trowel, apply the Elasto Shield to the fireplace’s surface. Start at the top and work your way down, spreading the product evenly in a thin layer. You can apply multiple coats for added texture and depth, allowing each layer to dry completely before applying the next. Be sure to work quickly, as the Elasto Shield has a short working time once mixed.
Step 4: Texture the Surface
Once the Elasto Shield is applied, use your putty knife or trowel to create texture on the surface. You can achieve a variety of effects depending on your preference, such as smooth and sleek or rough and rustic. Experiment with different techniques until you achieve the look you desire.
Step 5: Finishing Touches
After allowing the Elasto Shield to dry completely, carefully remove the painter’s tape and plastic sheeting. Use a sanding block or sandpaper to smooth out any rough edges or imperfections in the finish. If desired, you can also seal the surface with a clear coat to protect it from wear and tear.
Step 6: Enjoy Your New Fireplace!
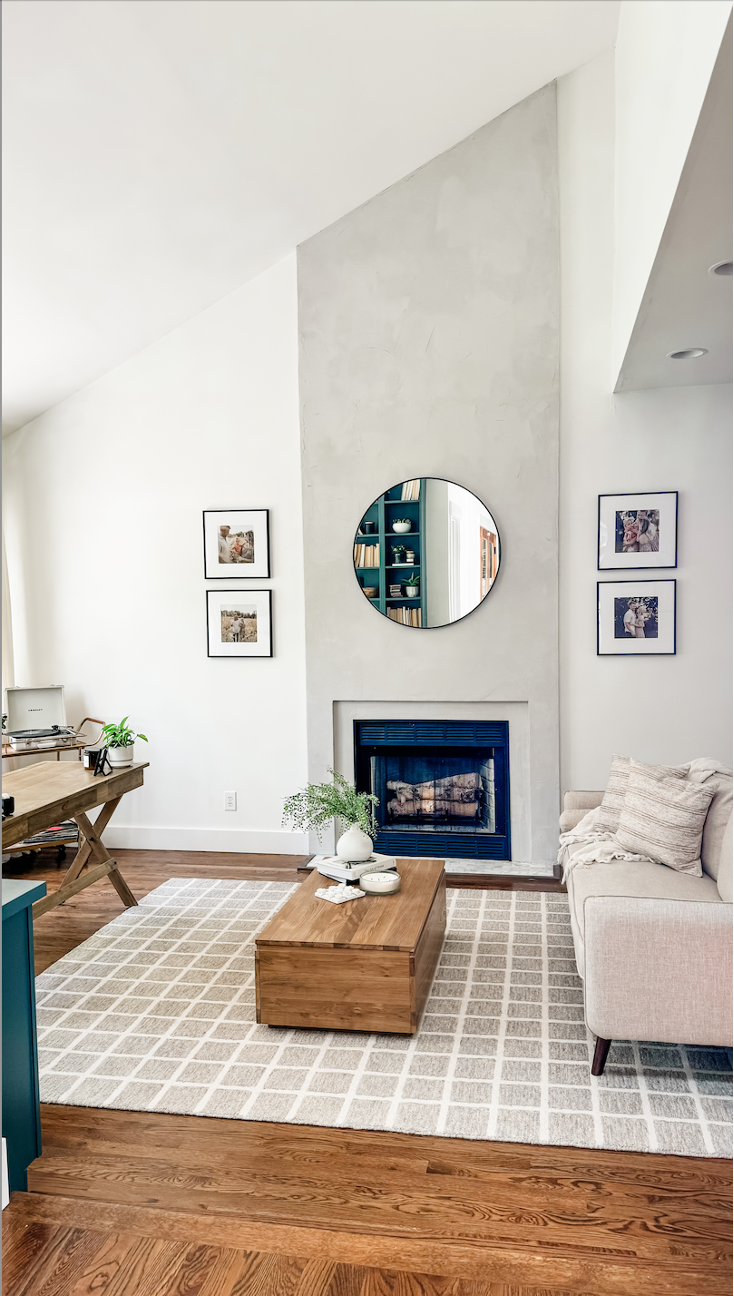
Once the sealant is dry, step back and admire your handiwork. You’ve successfully transformed your dry-walled fireplace into a stunning focal point with a faux cement finish.
We hope you found this blog helpful in learning how to create a faux cement finish for your fireplace. With just a few simple steps and some creativity, you can achieve professional-looking results without breaking the bank!
Here is the exact product we used.


